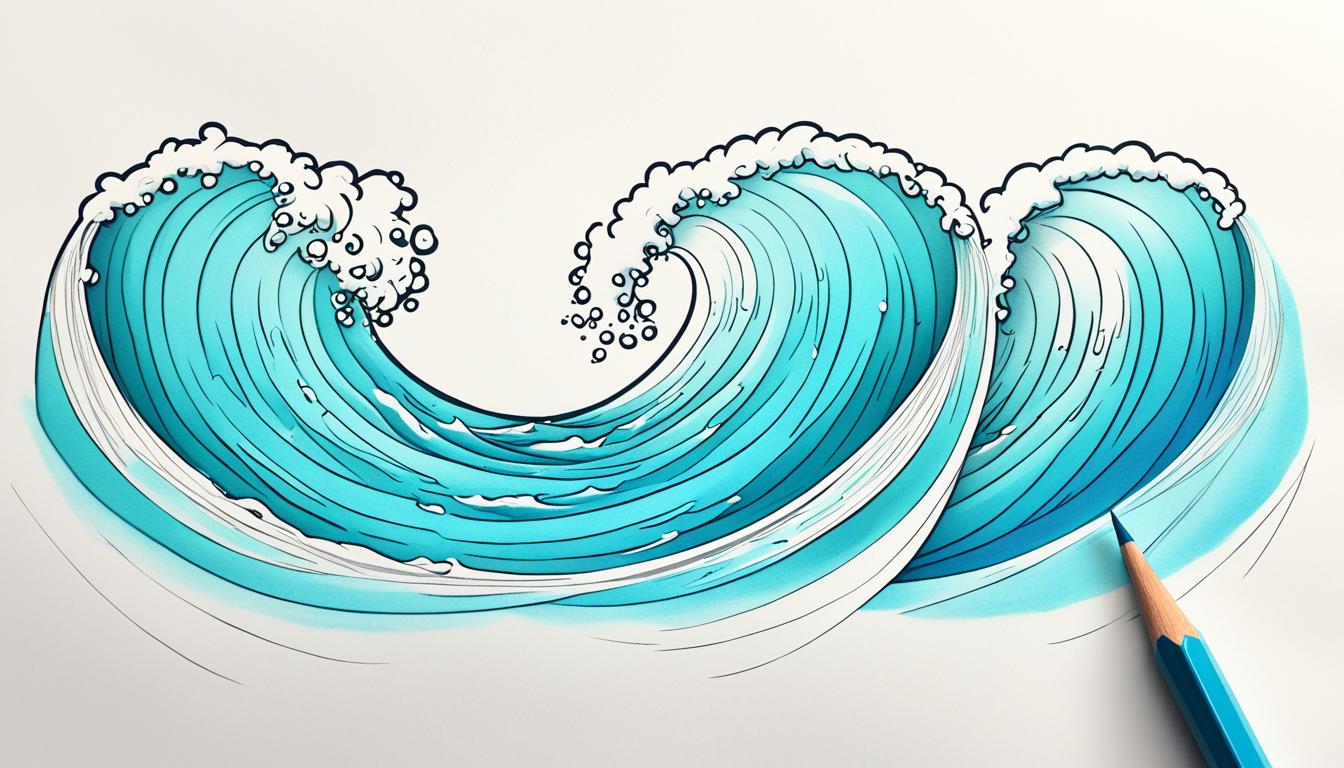
How to Draw Waves – Drawing Turorials and Coloring Tips
Have you ever wanted to capture the breathtaking beauty of crashing waves in your artwork? Mastering the art of drawing waves can be a captivating journey that allows you to create dynamic and realistic ocean scenes. But where do you start? How can you bring movement and intensity to your wave illustrations?
In this article, we will provide step-by-step drawing tutorials and coloring tips to help you unlock the secrets of drawing waves. Whether you’re a beginner or an experienced artist looking to enhance your skills, our comprehensive guide will equip you with the knowledge and techniques needed to create stunning wave illustrations.
From understanding the structure and movements of waves to incorporating light and shadow for added realism, we will cover it all. Get ready to dive into the world of wave art and unleash your creativity!
Key Takeaways:
- Learn the step-by-step process of drawing waves
- Discover techniques for adding depth and movement to your wave illustrations
- Explore color and shading tips to make your waves come to life
- Understand the dynamics of water movements to create realistic wave drawings
- Unlock the secrets of capturing reflections and creating ripples in your wave illustrations
An Easy Guide to Drawing Waves
Drawing waves may seem daunting, but it can be broken down into simple steps. In this section, we will guide you through the process of drawing waves in an easy and approachable way. By following these steps, you will be able to create your own wave illustrations with confidence.
Step 1: Start by sketching the basic shape of the wave using light strokes. Pay attention to the curve and flow of the wave, capturing its natural movement.
Step 2: Add more definition to the wave by refining the outline and adding details such as foam and spray. Study reference images or observe waves in real life to understand how these elements appear in different situations.
Step 3: Use shading techniques to create depth and volume in your wave. Darken the areas where the wave curves and add highlights to areas where the light hits the water.
Step 4: Experiment with different pencil pressures and strokes to create texture in the water. This will give your wave a more realistic and dynamic appearance.
Step 5: Don’t forget to observe the surrounding elements such as the sky, beach, or other objects that may be present. Adding these details will enhance the overall composition and bring your wave drawing to life.
With practice, you’ll improve your skills in drawing waves and develop your own unique style. Remember to be patient and enjoy the process of bringing waves to paper.
Necessary Materials
Before you start drawing waves, it’s important to gather the necessary materials. The right tools and supplies will ensure that you can create beautiful and realistic wave drawings. Here are the essential materials you’ll need:
Drawing Pencils
To capture the varying tones and textures of waves, you’ll need a set of graphite pencils of various hardness. The different grades of pencils will allow you to achieve light and dark values, creating depth and dimension in your drawings.
Eraser
Mistakes happen, even to the best artists! An eraser is an essential tool for making corrections and fine-tuning your wave illustrations. Look for a high-quality eraser that won’t smudge or damage your paper.
Paper for Drawing Waves
Choosing the right paper is crucial for achieving the desired results in your wave drawings. Look for good-quality drawing paper that is heavyweight and has a smooth surface. This will allow you to easily blend and layer graphite, creating smooth gradients and realistic textures in your waves.
With these materials at hand, you’ll be ready to dive into the world of drawing waves and bring your ocean scenes to life with stunning wave illustrations.

Preparation
Before diving into the wave drawing tutorial, it’s important to find a quiet and comfortable space where you can concentrate. Creating a relaxing environment will help you fully engage with the drawing process and enjoy the experience. Take a moment to prepare yourself mentally and emotionally for the tutorial ahead.
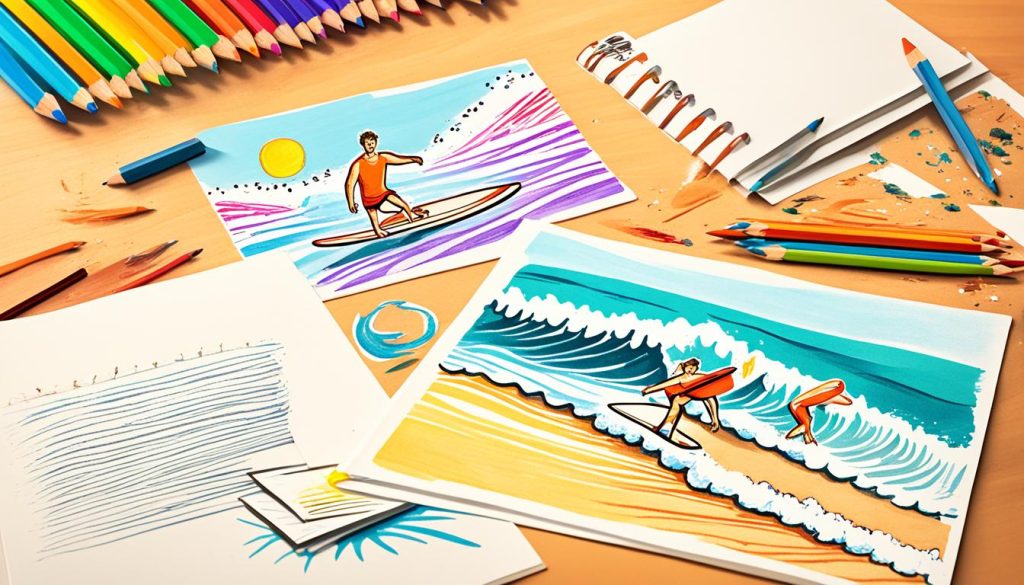
Finding a comfortable space is crucial for successful wave drawing. Ensure that you have a clean and clutter-free workspace that allows you to focus on your artwork without distractions. Whether it’s a dedicated art studio or simply a corner of your room, find a space where you feel inspired and at ease.
Consider the lighting in your workspace as well. Natural light can provide a clear and accurate representation of colors, while artificial light may alter the appearance of your drawings. Experiment with different lighting conditions to find what works best for you.
If you enjoy listening to music while you draw, create a playlist or choose calming tunes that can enhance your creative flow and set a soothing atmosphere.
Additionally, gather all the materials you’ll need for the wave drawing tutorial. Make sure you have your drawing pencils, eraser, and high-quality paper readily available. Having everything within reach will allow you to focus on the drawing process without interruptions.
Once you’ve prepared your space and assembled your materials, take a moment to center yourself. Close your eyes, take a few deep breaths, and clear your mind. Visualize the beautiful waves you’re about to create and let the excitement for the tutorial build.
Tip: Finding a comfortable space and preparing yourself mentally and emotionally before starting the tutorial will help you create your best wave drawings. Remember to eliminate distractions, set the right lighting, and gather all the necessary materials for a seamless and enjoyable drawing experience.
Step-by-Step Instructions on How to Draw Waves
Learning to draw waves can be an exciting and rewarding experience. In this section, we will provide detailed step-by-step instructions that will guide you through the process of creating realistic and dynamic wave drawings. Whether you’re a beginner or an experienced artist, these instructions will help you master the art of capturing the beauty and movement of waves on paper.
Sketching the Basic Structure
Start by sketching the basic structure of the wave using light, loose strokes. Focus on capturing the overall shape and flow of the wave. Pay attention to the curves and angles, as they will determine the movement and energy of the wave. Use a reference image or observe real waves to understand their unique characteristics.
Remember, waves come in various forms and sizes, so feel free to experiment and explore different wave shapes. This will help you develop your own artistic style and create more diverse wave illustrations.
Refining the Shape
Once you have sketched the basic structure, refine the shape of the wave by adding more defined lines and curves. Pay attention to the areas where the wave curls and breaks. Use lighter or heavier pencil strokes to indicate the different areas of the wave, such as the crest and the trough.
Take your time during this step and don’t worry about making it perfect. Waves are constantly changing, so embrace the natural imperfections and variations in your drawing. This will add authenticity and a sense of movement to your wave illustrations.
Adding Shading for Depth and Movement
To create depth and movement in your wave drawings, add shading to mimic the play of light and shadow on the surface of the water. Start by identifying the primary light source in your drawing. This will determine the areas of the wave that are highlighted and the areas that are in shadow.
Using a combination of cross-hatching, blending, and smudging techniques, gradually add shading to your drawing. Pay attention to the areas where the wave curls and bends, as these are the areas where the shading will be the darkest. This will help create a three-dimensional effect and make your wave illustrations come to life.
Remember, practice makes perfect. Don’t be discouraged if your first attempts don’t turn out exactly as you envisioned. Keep experimenting, learning from your mistakes, and refining your techniques. With time and practice, you will become more skilled at drawing realistic and captivating waves.
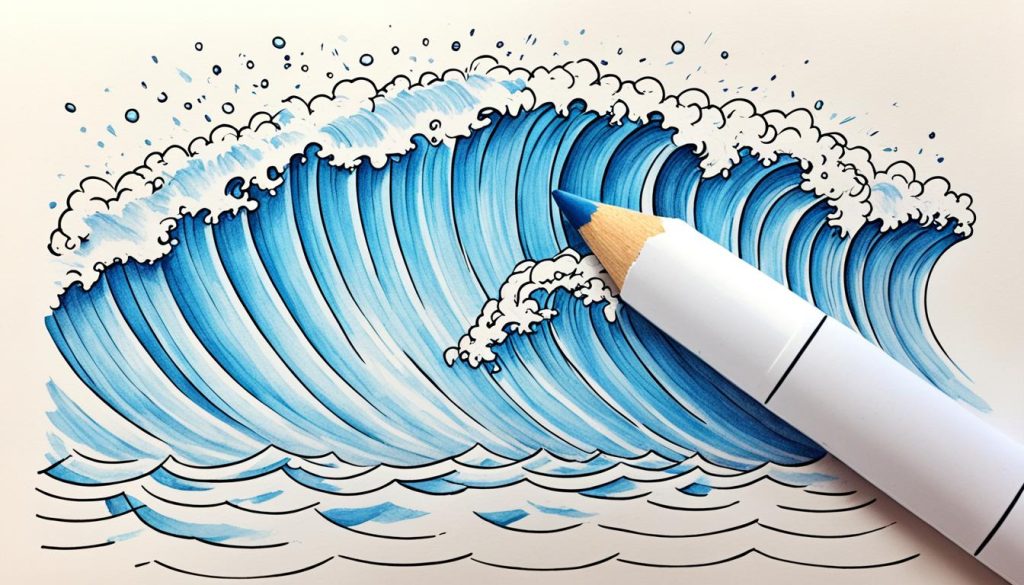
With these step-by-step instructions, you now have the tools to embark on your wave drawing journey. Grab your pencils, find your creative flow, and let the waves inspire your artwork. As you continue to practice and refine your skills, you will unlock new possibilities for expressing the beauty and power of the ocean through your drawings.
Tips to Remember
Drawing waves can be a challenging task, especially if you’re just starting out. However, with a few handy tips and techniques, you can improve your drawing skills and create more realistic wave illustrations. Here are some valuable tips to keep in mind as you embark on your wave drawing journey:
- Observe real waves: Take the time to study real waves and observe their shapes, movements, and patterns. By understanding how waves interact with the environment, you can better replicate their characteristics in your drawings.
- Start with basic shapes: Begin your wave drawing with simple shapes like ovals or crescents. Use these basic shapes as a foundation and gradually add details to create more complex wave structures.
- Focus on the motion: Waves are constantly in motion, and capturing their movement is essential for realistic illustrations. Use flowing lines and varying line weights to convey the sense of motion and energy within your waves.
- Experiment with different techniques: Don’t be afraid to try different drawing techniques to achieve the desired effect. Use cross-hatching, stippling, or blending methods to create texture and depth in your wave illustrations.
- Pay attention to light and shadow: Light and shadow play a crucial role in creating realistic drawings. Study how light interacts with the waves and use shading techniques to add depth and dimension to your illustrations.
“Drawing waves is all about capturing their essence—their shape, movement, and energy. Remember to observe, experiment, and have fun with your drawings!”
Wave Drawing Techniques
Here are some wave drawing techniques that can help you achieve more realistic and dynamic wave illustrations:
- Layering: Build layers of lines and shading to create depth and volume within your waves.
- Foam and spray effects: Use fine lines and quick strokes to depict the foam and spray that forms at the crest of waves.
- Highlighting: Add highlights to certain areas of the waves to create a sense of light hitting the water.
- Contouring: Use contour lines to define the shape and contours of the waves.
By combining these techniques with observation and practice, you’ll be able to master the art of drawing waves and create stunning illustrations that capture the beauty and power of the ocean.
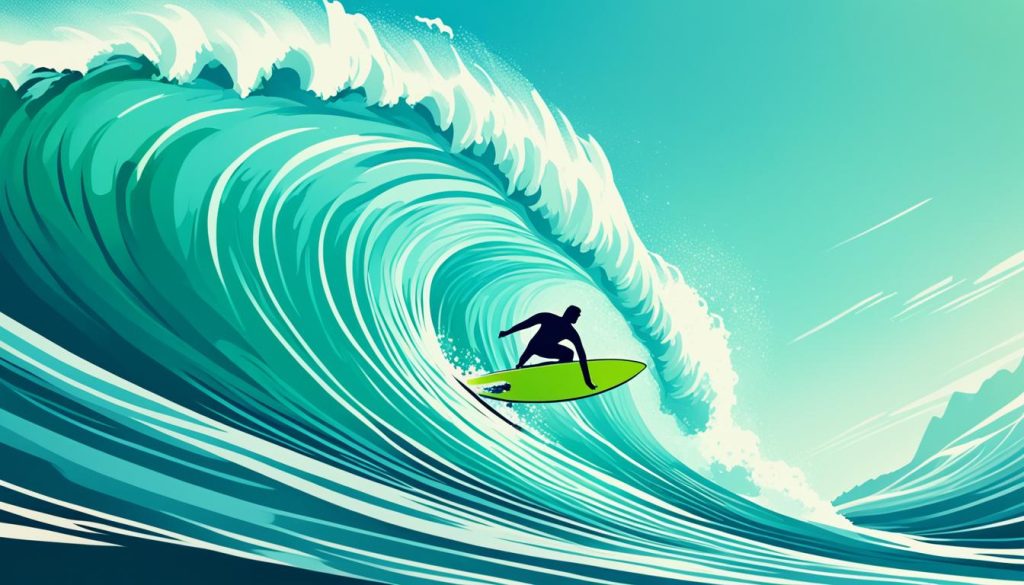
| Tips for Drawing Waves | Wave Drawing Techniques |
|---|---|
| Observe real waves | Layering |
| Start with basic shapes | Foam and spray effects |
| Focus on the motion | Highlighting |
| Experiment with different techniques | Contouring |
| Pay attention to light and shadow |
Pouring Liquid: Understanding Wave Movements
When it comes to drawing waves, having a solid understanding of water movement is key. Just like liquid pouring from a container, waves exhibit certain patterns and dynamics that can be replicated in your artwork. By studying the movements of water and applying this knowledge to your wave drawings, you can create illustrations that are both realistic and dynamic.
To visualize how liquid pouring works, imagine pouring a glass of water. As the water flows out of the container, it creates a stream that gradually widens and tapers off. This cascading effect is similar to the way waves propagate in the ocean, starting from a peak and gradually diminishing as they move away.
One technique to incorporate liquid pouring into your wave drawings is to observe the trajectory of the water and the splashes it creates. Waves often exhibit splashes and spray, especially when crashing against rocks or other obstacles. By capturing these water splashes in your illustrations, you can add a sense of movement and excitement to the scene.
Pro Tip: Study reference photos or videos of waves and observe how the water moves and splashes. This will help you gain a better understanding of the dynamics and characteristics of waves in different scenarios.
Understanding wave movements and the way water pours and splashes can also help you depict the foam and froth that forms along the wave crests. This frothy texture can be achieved by using different mark-making techniques, such as crosshatching or stippling, to create the appearance of bubbles and foam.
To further enhance the realism of your wave drawings, pay attention to the direction of the water movement. Depending on the composition of your artwork, you may want to convey the sense of water flowing from one side to another or crashing against a specific point. This directional movement will add depth and dimension to your illustrations, making them more visually engaging.
Now that you have a better understanding of liquid pouring and its application to drawing waves, let’s move on to the next section, where we will explore techniques for creating the rolling effect of sea waves.
The dynamics of water pouring:
- Water flows from a container, gradually widening and tapering off.
- Study reference photos or videos to observe the trajectory of water and the splashes it creates.
- Observe how foam and froth form along the wave crests and incorporate them into your illustrations.
- Pay attention to the direction of water movement to add depth and dimension to your artwork.
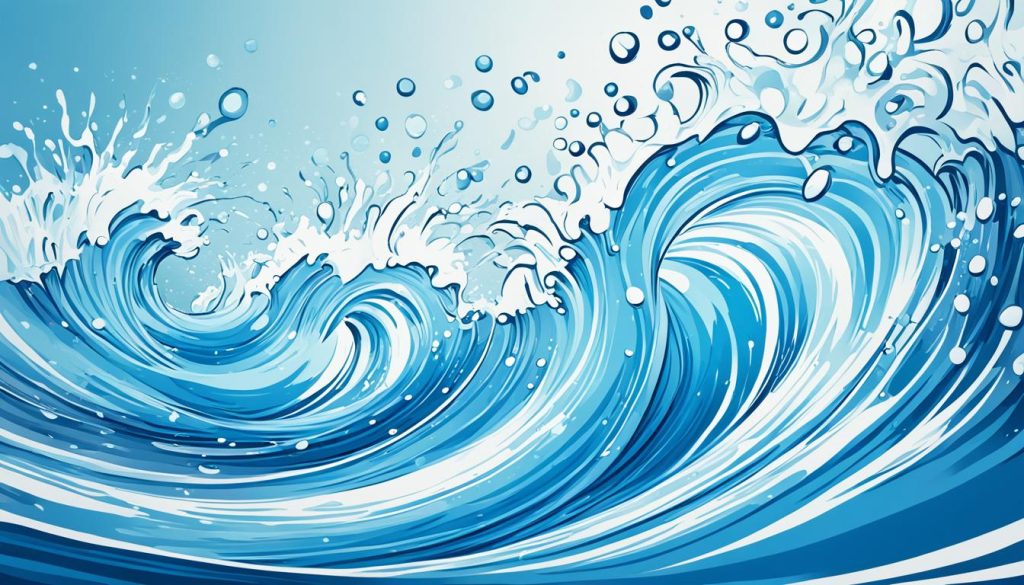
Explore the techniques discussed in this section and experiment with different wave drawing techniques to find the ones that work best for your artistic style. Understanding the movements of water and incorporating them into your wave illustrations will enable you to create captivating and lifelike depictions of the ocean.
Sea Waves: Creating the Rolling Effect
Waves in the sea have a distinct rolling effect, with peaks and dips. To capture the lifelike movement of waves in your drawings, you need to employ specific techniques that convey their direction and motion. In this section, we will explore wave drawing techniques that will help you create realistic and captivating wave illustrations.
Staggering Peaks
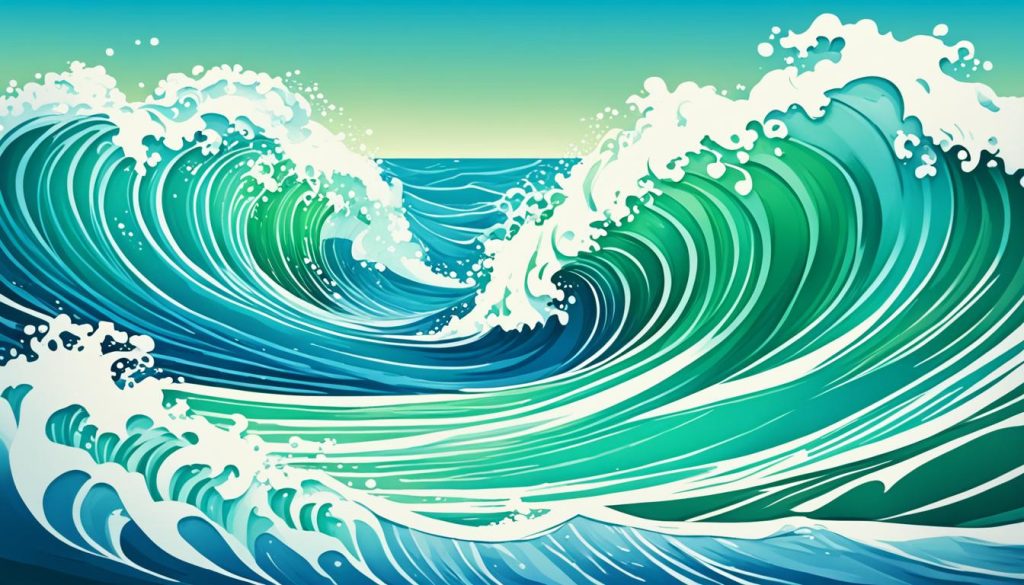
One of the key elements in depicting rolling waves is staggering the peaks. By varying the height and positioning of the peaks, you can convey the dynamic nature of ocean waves. Start by drawing a rough outline of the wave shape, ensuring that the peaks are not uniformly aligned. Use shorter and taller peaks alternately to mimic the natural pattern of rolling waves.
| Wave Peak | Height (in inches) |
|---|---|
| 1 | 1.5 |
| 2 | 2.2 |
| 3 | 1.8 |
| 4 | 2.5 |
By staggering the peaks, you create a visually interesting wave pattern that captures the rolling effect.
Adding Foam Lines
Another important aspect of drawing sea waves is adding foam lines. Foam lines occur where water crashes against the shore or obstacles, creating a visual separation between the wave and the surrounding areas. To depict foam lines, draw small, irregular shapes along the top edge of the wave, particularly in areas where the wave is breaking or crashing. Use quick, short strokes to create the illusion of foamy water.
Remember to leave spaces between the foam lines to prevent overcrowding and maintain a natural appearance. The foam lines will contribute to the overall realism of your wave illustration.
Conveying Direction and Motion
To make your wave drawing more dynamic, it’s essential to convey the direction and motion of the waves. Use curved lines to indicate the movement of the waves, keeping in mind that the curves should follow the flow of the water. The lines can be subtle or pronounced, depending on the intensity of the wave. By incorporating these directional lines, you create a sense of movement and energy in your artwork.
“The rolling effect of sea waves is best achieved through techniques such as staggering peaks, adding foam lines, and conveying direction and motion. These techniques allow you to create dynamic wave illustrations that capture the beauty and power of the ocean.”
By implementing these wave drawing techniques, you can create captivating wave illustrations that accurately depict the rolling effect of sea waves. Practice and experiment with different variations of these techniques to find the style that suits you best and brings your wave drawings to life.
The Shapes of Water: Understanding Reflections
Understanding how water reflects its surroundings is crucial for drawing realistic waves. The way light interacts with the water surface can create beautiful and complex reflections that add depth and realism to your wave illustrations.
The shape of the water surface plays a significant role in determining how reflections appear. When drawing reflections on water, consider the following:
- Flat Water: When the water surface is calm and flat, reflections appear more clear and mirror-like. Objects above the water are reflected directly beneath, with no distortion.
- Rippled Water: If the water surface has gentle ripples or small waves, reflections may appear slightly distorted or fragmented. The shapes of the objects will be broken, but still recognizable.
- Choppy Water: In rough and choppy water, reflections become more distorted. The constant movement and wave formations create a more abstract and fragmented reflection.
Tip: Pay attention to the shape and movement of water when studying reflection. By observing real-life examples and practicing observation, you can effectively capture the unique characteristics of reflections on water surfaces.
In addition to the shape of the water surface, the angle of light also affects reflections. The direction of the light source determines the position and length of the reflected object’s image. Keep in mind that the angle of incidence is equal to the angle of reflection.
To create realistic reflections, start by sketching the basic shapes of the objects above or in front of the water surface. Then, consider the shape and movement of the water to depict the reflection accurately. Use lighter and softer strokes to represent the reflection, ensuring it appears softer and slightly blurred compared to the object itself.

By understanding the principles of reflection and practicing wave drawing techniques, you can bring your illustrations to life and capture the mesmerizing beauty of water surfaces.
Drawing Light and Shadow: Enhancing Realism
Adding light and shadow to wave drawings can significantly enhance the realism and depth of your artwork. By understanding how light interacts with water and incorporating shading techniques, you can create more dynamic and visually appealing wave illustrations. In this section, we will explore a technique using separate layers for lighter and darker surfaces, allowing for more control over gradients and textures.
Step 1: Establishing Light Source
Start by determining the direction of the light source in your wave drawing. This will help you create accurate shadows and highlights. For example, if the light source is coming from the top right, the shadows will be cast on the left side of the waves, while the right side will be more illuminated.
Step 2: Creating Shadows
Using a darker pencil or brush, carefully shade the areas of the wave where the light doesn’t directly hit. These shadowed areas will add depth and dimension to the wave. Pay attention to the curves and contours of the wave, and gradually build up the darkness of the shadows to create a realistic effect. Remember that shadows vary in intensity depending on the distance from the light source and the transparency of the water.
Step 3: Adding Highlights
To create highlights on the wave, use an eraser to gently lift off the graphite or lighten the areas where the light strikes directly. These highlights will help to define the shape of the wave and give it a sense of volume. Experiment with different pressure and strokes to achieve the desired effect, keeping in mind that highlights are usually more pronounced and sharper closer to the light source.
Step 4: Blending and Texturing
To create smooth transitions between light and shadow, use a blending tool or your finger to blend the shaded areas with the lighter areas. This will help create a seamless transition and a more realistic representation of the wave. Additionally, adding texture to certain areas of the wave, such as foam or spray, can further enhance the overall effect and bring the drawing to life.
Remember to observe and study real-life waves and the play of light and shadow on water surfaces. This will provide you with valuable insight into how light interacts with waves and enable you to create more accurate and compelling wave illustrations.
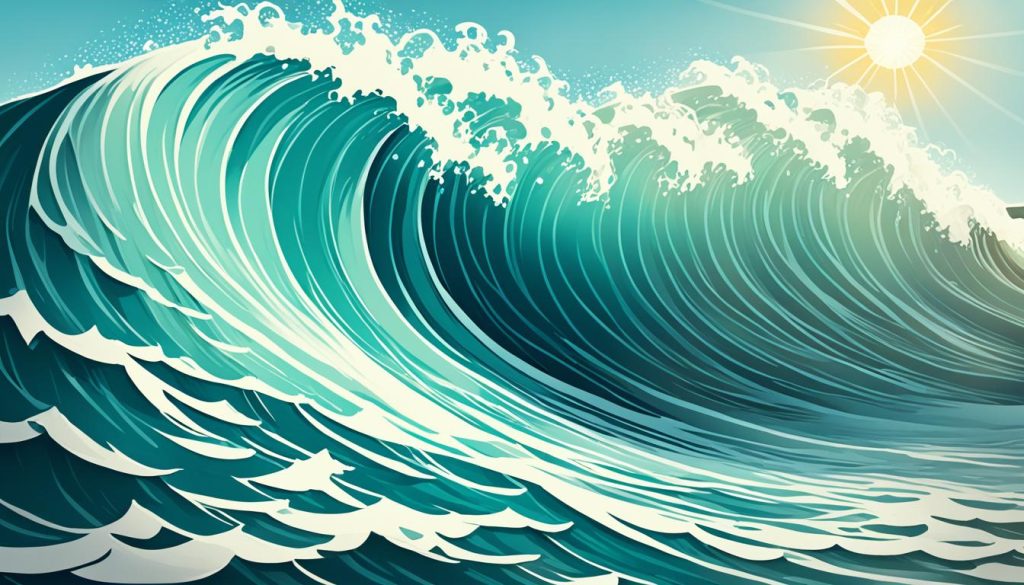
By incorporating this technique of drawing light and shadow on waves, you can add depth and realism to your wave illustrations, captivating viewers with visually striking and lifelike artwork.
Raindrop Guidelines: Creating Ripples
Ripples and water effects play a crucial role in bringing realism and dynamism to your wave illustrations. To enhance the authenticity of your artwork, this section introduces raindrop guidelines that will help you create well-defined and lifelike ripples in your drawings.

By following these guidelines and understanding the direction and shape of ripples, you can effectively convey a sense of movement and texture in your wave illustrations. Let’s dive in!
Step 1: Observe Real-Life Ripples
Before starting to draw ripples, observe water surfaces with raindrops or any other disturbances. Pay attention to the size, shape, and arrangement of ripples formed by falling raindrops. This observation will help you capture the intricacies of natural water ripples in your illustrations.
Step 2: Establish the Center Points
Begin by placing a few larger raindrop shapes at irregular intervals on the water surface. These raindrop shapes will serve as your center points for creating ripples. Vary the size and shape of the raindrops to add diversity to your wave illustration.
Step 3: Draw Circular Ripples
From each center point, draw a series of concentric circles that gradually increase in size. These circles represent the ripples expanding outward from the raindrop impact. Use light and loose pencil strokes to create a soft and natural look.
Step 4: Add Detail to the Ripples
To add more realism to the ripples, lightly sketch curved lines within the circles. These lines represent the subtle wave movement and texture within each ripple. Vary the width and spacing of the lines to create a more organic and dynamic effect.
Step 5: Refine and Shade the Ripples
Refine the shape of each ripple by erasing any unnecessary lines and adjusting the curves to appear more natural. To further enhance the three-dimensional effect, add shading to the bottom of each ripple. Use soft pencil strokes to create a gradual transition from light to dark, emphasizing the depth of the water surface.
Step 6: Animate the Ripples
To create a sense of movement in your wave illustration, exaggerate the spacing and shape of the ripples as they move away from the raindrop impact point. This will communicate the energy and diffusion of the water ripples, adding realism and visual interest to your drawing.
With the raindrop guidelines at your disposal, you can now master the art of creating realistic and captivating ripples in your wave illustrations. Practice these techniques, experiment with different shapes and sizes, and enjoy the process of bringing your wave drawings to life!
Conclusion
Drawing waves is a rewarding artistic skill that can bring life and movement to your artwork. Throughout this comprehensive guide, we have provided step-by-step instructions and valuable tips on how to draw waves, from the basic techniques to more advanced concepts.
By following the instructions and utilizing the techniques shared in this article, you can elevate your wave drawing abilities and create stunning ocean scenes. Remember to start with a solid foundation, understanding the structure and movements of waves. Explore different shading techniques to add depth and realism to your illustrations. Capture the rolling effect and reflections of water to create a lifelike representation.
Whether you’re a beginner or an experienced artist, drawing waves offers endless possibilities for creativity. So grab your drawing supplies, find a quiet space, and embark on the journey of capturing the beauty and power of waves in your artwork. With practice and patience, you’ll be able to create mesmerizing wave illustrations that are sure to make a splash.
