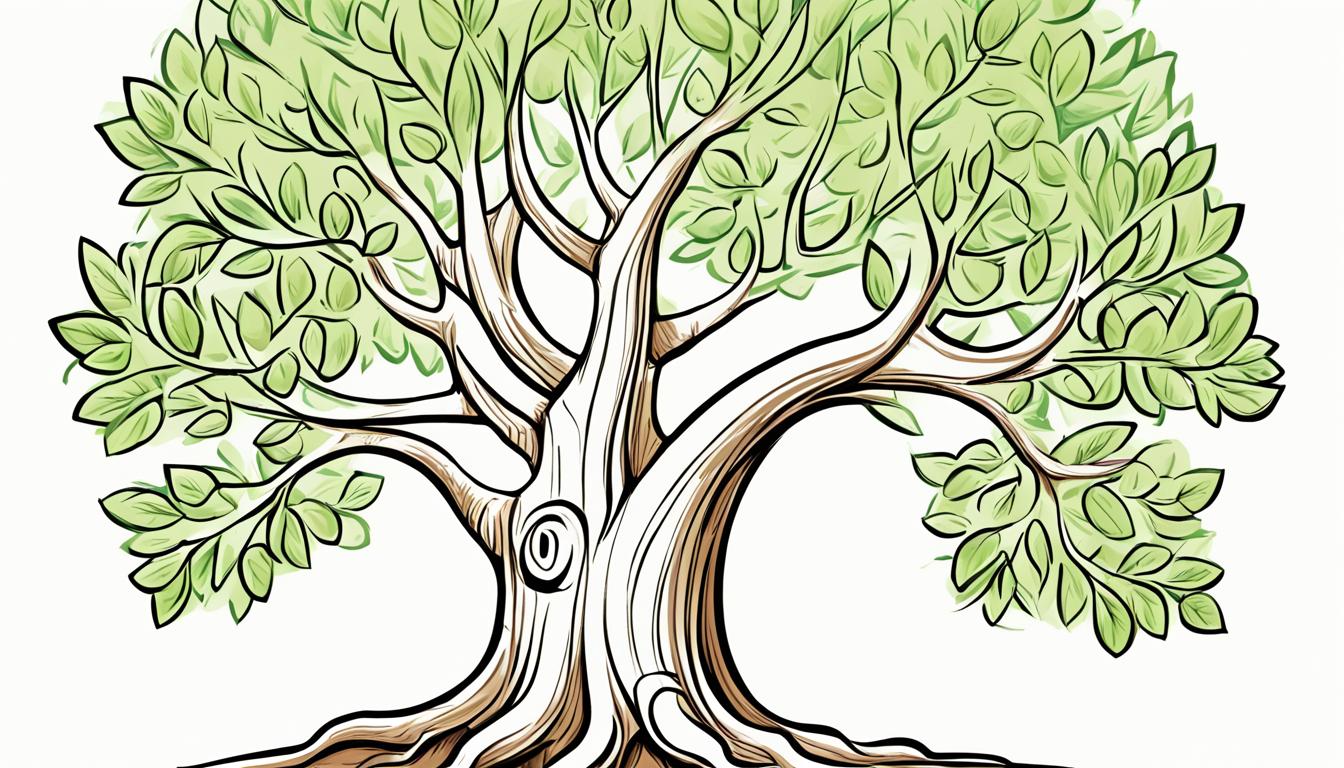
How to Draw Tree – Drawing Turorials and Coloring Tips
Have you ever wanted to capture the beauty of trees in your artwork? Whether you’re a beginner or an experienced artist, learning how to draw a tree can be a rewarding and enjoyable experience. But where do you start? How do you bring those intricate branches, lush leaves, and sturdy trunks to life on paper?
In this article, we will guide you through step-by-step tutorials and share valuable tips on coloring techniques to help you master the art of drawing trees. Get ready to unlock your artistic potential and create stunning tree illustrations that will impress everyone.
Key Takeaways:
- Learn how to draw trees with easy step-by-step instructions.
- Discover valuable tips for drawing different types of trees.
- Find out which materials are essential for tree drawing.
- Follow simple techniques to draw an easy tree.
- Get creative and transform your tree drawings into scary or pretty illustrations.
Drawing Trees with Step-by-Step Instructions
In this tutorial, we will guide you through the process of drawing trees with seven different examples, each accompanied by detailed step-by-step instructions. From simple trees to more complex designs, this tutorial will help you create your own unique tree illustrations. So grab a regular sketching pencil or any other medium of your choice and let’s get started!
-
Basic Tree
Begin with a vertical line for the trunk and add diagonal lines to create branches. Then, draw small circles at the ends of the branches for the leaves. Add texture and shading to bring your basic tree to life.
-
Fruit Tree
Start by drawing a curved trunk and branches. Add oval-shaped fruit hanging from the branches. Complete your fruit tree by adding leaves and shading to create a realistic appearance.
-
Evergreen Tree
With a triangle-shaped base, draw upward-slanting lines to form branches. Add small circles at the ends of the branches for the foliage. Use shading techniques to give your evergreen tree depth and dimension.
-
Bonsai Tree
Begin by drawing a short, curved trunk. Add branches that extend horizontally in various directions. Create tiny leaves by drawing small curved lines. Use shading to mimic the intricate details of a bonsai tree.
-
Willow Tree
Start with a curved trunk and draw elongated, drooping branches. Add small, thin leaves to the branches. Pay attention to the flow and movement of the tree. Use soft lines and shading to capture the graceful nature of a willow tree.
-
Palm Tree
Begin with a tall, vertical trunk. Draw curved lines for the branches and add small oval-shaped coconuts. Create feathery leaves at the top of the tree using thin, curved lines. Add shading to give your palm tree a tropical vibe.
-
Autumn Tree
Start with a curved trunk and draw branches that spread outward. Add irregular-shaped leaves in warm, vibrant colors such as red, yellow, and orange. Apply shading to create depth and capture the beauty of an autumn tree.
Remember, don’t be afraid to experiment and add your own personal touch to each tree drawing. The more you practice, the better you’ll become at capturing the unique characteristics of different tree types. So grab your art supplies and embark on a creative journey of tree drawing!
Tips for Drawing Different Types of Trees
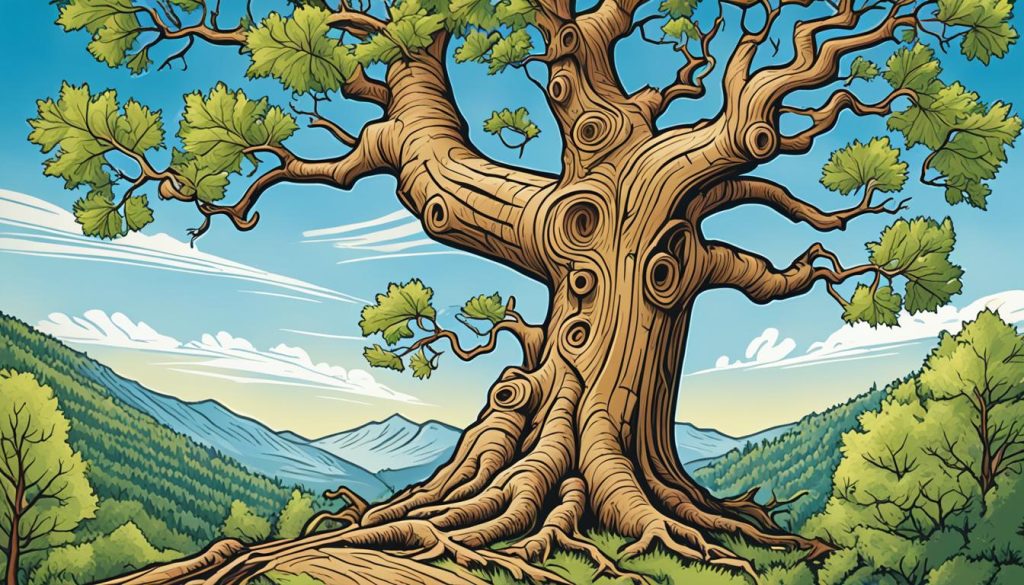
When it comes to drawing trees, each type has its own unique characteristics that define its appearance. Whether you’re capturing the towering presence of a pine tree, the graceful fronds of a palm tree, or the sturdy branches of an oak tree, understanding these distinct features is key to creating realistic and visually appealing tree illustrations.
To help you bring different types of trees to life on paper, here are some valuable tips and techniques:
1. Study Reference Images
Before you start drawing a specific type of tree, take the time to study reference images. Look closely at the shapes, sizes, and textures of the branches, leaves, and trunks. Pay attention to any unique characteristics that make that tree stand out. This careful observation will inform your drawing and help you capture those details accurately.
2. Begin with Basic Shapes
To build the structure of any tree, start with basic shapes. For example, a pine tree could be represented by a triangular shape, while a palm tree may have a softer, more elongated shape. By sketching these basic shapes lightly, you can establish the overall form and proportions of the tree.
3. Focus on Branching Patterns
Tree branches have different patterns depending on the species. Some trees have symmetrical branching, while others have more irregular and random patterns. Pay attention to the angle, thickness, and direction of the branches. This will give your drawing a realistic and natural appearance.
4. Add Detail to the Trunk
The trunk is the backbone of any tree. Be sure to add detail to the trunk, taking into account the texture, bark patterns, and any unique markings that are characteristic of the tree species you are drawing. Use simple lines or cross-hatching techniques to create depth and texture.
5. Capture Leaf Shapes and Textures
Leaves are a defining feature of many trees. Pay attention to the different shapes and sizes of leaves for each tree type. Whether they are needle-like, palmate, or lobed, accurately capturing the leaf shapes will enhance the realism of your drawing. Use shading or stippling techniques to depict the textures and shadows on the leaves.
By following these tips and techniques, you’ll be well-equipped to draw different types of trees with confidence and accuracy. Let your creativity flourish as you bring nature’s beauty to life on paper.
Next, we’ll explore the essential materials you’ll need to begin your tree drawing journey. From pencils to paper, we’ll cover everything you need to create stunning tree illustrations.
Materials for Tree Drawing
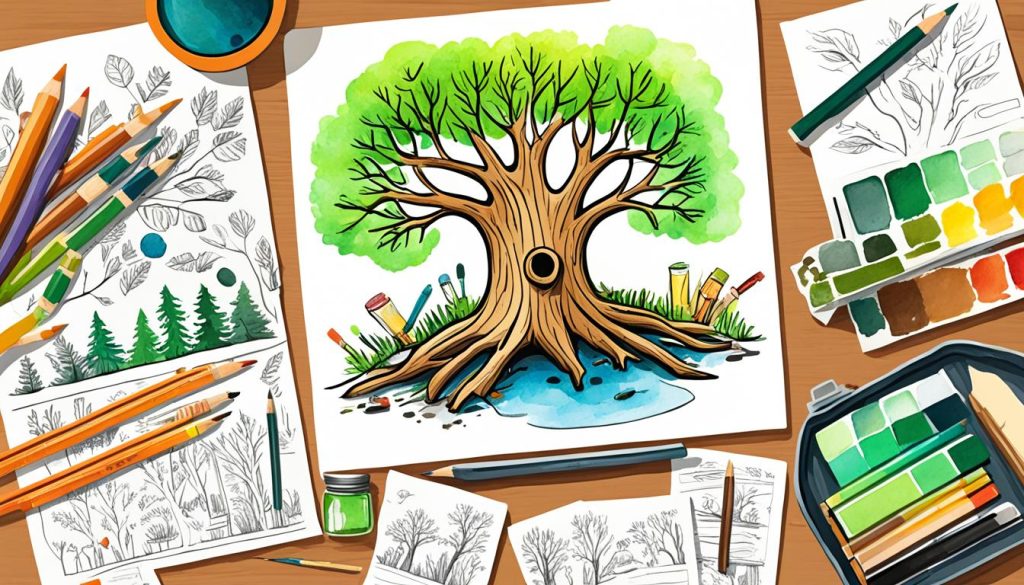
To start your tree drawing journey, you’ll need a few basic materials. These supplies will help you achieve the desired results and add color to your drawings. Get ready to unleash your creativity with these art materials.
Drawing Paper
Choose a quality drawing paper that is suitable for your preferred drawing medium. Opt for heavier-weight paper to prevent smudging and create a sturdy surface for your tree illustrations.
Pencils
A set of sketching pencils will be your go-to tool for creating the outline and details of your trees. Use different grades of pencils to achieve a range of light and dark tones in your drawings.
Black Marker
A black marker is handy for outlining and adding bold details to your tree illustrations. It can create crisp lines and provide emphasis to certain parts of the drawing.
Crayons
Coloring your trees with crayons can bring vibrant hues and texture to your artwork. Experiment with different shades and blending techniques to add depth and dimension to your tree illustrations.
Tip: Consider using colored pencils or watercolor paints for more advanced coloring techniques. These materials can give your trees a realistic or whimsical touch, depending on your desired style.
With these materials in hand, you’re ready to embark on your tree drawing journey. Let your imagination flourish as you create stunning tree illustrations that capture the beauty of nature.
| Materials | Advantages |
|---|---|
| Drawing Paper | – Provides a sturdy surface for drawing – Prevents smudging – Suitable for various drawing mediums |
| Pencils | – Offers a range of tones with different grades – Allows for precise outlining and detailing |
| Black Marker | – Creates bold and crisp lines – Adds emphasis to certain parts of the drawing |
| Crayons | – Brings vibrant colors and texture – Allows for blending techniques |
Experiment with these materials and find the combination that best suits your artistic style. Remember, the journey of tree drawing is as rewarding as the final artwork itself.
Drawing an Easy Tree
Ready to create a simple yet charming tree drawing? In this section, we’ll guide you through easy step-by-step directions to draw a tree effortlessly.
To begin, trace your hand on a piece of paper, making sure to add pointy ends to the fingers. This handprint will serve as the foundation for your tree’s shape, providing a fun and personalized touch to your drawing.
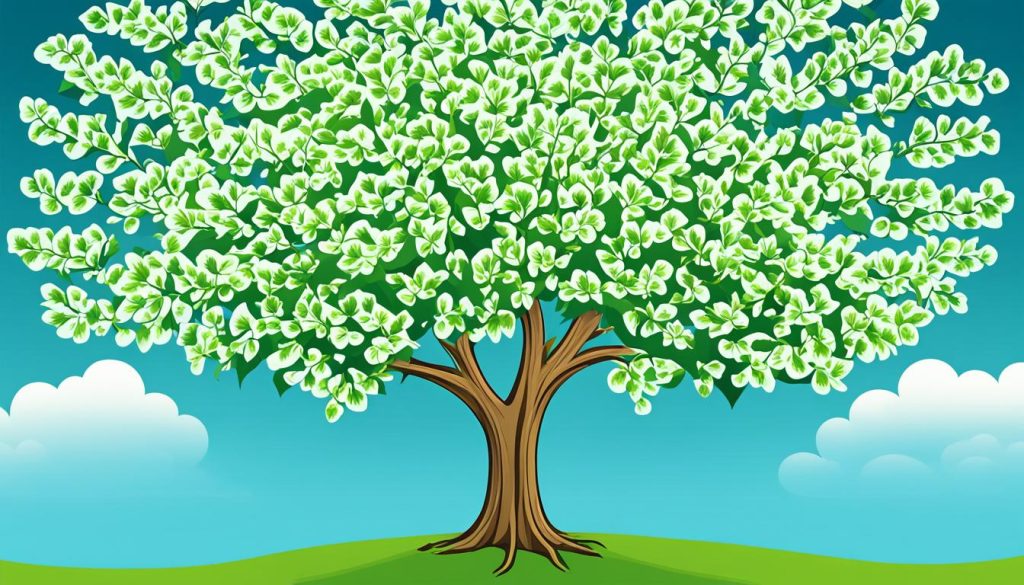
Once you have traced your hand, it’s time to add branches. Draw vertical lines extending from the fingers to form the main branches of your tree. To create a more dynamic and natural look, add horizontal “jump” lines that intersect the vertical lines at different heights. These jumps represent smaller branches sprouting from the main ones, adding depth and complexity to your tree’s structure.
With the basic tree shape and branches in place, it’s time to add the finishing touches. Draw stems extending from the branches, and add leaves using simple dashes or small circles. The choice is yours to bring your tree drawing to life.
Once you’ve completed the drawing, let your creativity shine through! Take out your colored markers or pencils and add vibrant hues to the leaves. Whether you go for a realistic representation or opt for a whimsical color palette, the choice is yours to create a masterpiece that reflects your unique artistic style.
Now it’s your turn to draw an easy tree and explore the world of botanical art.
Creating a Simple Tree Drawing
Learn how to create a simple tree drawing using basic shapes and techniques. With just a few easy steps, you can craft a charming tree illustration that will impress your friends and family.
To start, grab your pencil and paper and follow these instructions:
- Draw two curved lines at the bottom of the page to form the base of the tree. These lines will serve as the ground or grass.
- Connect the curved lines with two vertical lines to create the trunk of the tree. Feel free to make the trunk as thick or thin as you’d like.
- Add branches using straight lines that extend outward from the trunk. Vary the length and angle of the branches to give your tree a natural look.
- For the roots, draw a few lines extending down from the bottom of the trunk and spread them out beneath the ground. This will provide stability and give your tree a well-established appearance.
- Now it’s time to add leaves! Use “c” shapes to create clusters of leaves on the branches. Feel free to experiment with different leaf shapes and sizes.
- Once you’re satisfied with the general shape of your tree, take a black marker and outline the drawing. This will make the tree stand out and give it a more finished look.
- For a realistic touch, consider adding some color to the leaves. Use colored pencils or markers to bring your tree to life. You can choose traditional green hues or get creative with an array of vibrant colors.
Follow these steps and enjoy the process of creating a simple tree drawing. Remember, practice makes perfect, so don’t hesitate to experiment with different techniques and styles to make your tree drawing uniquely yours.
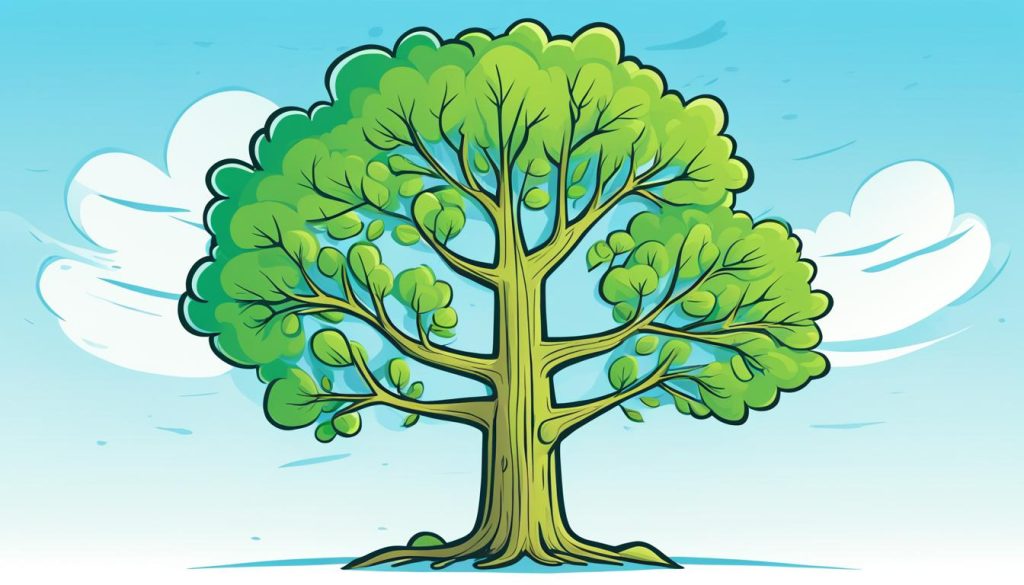
Tree Drawing Tips:
- Use a light touch with your pencil to create the initial guide lines. This will make it easier to erase any mistakes or adjust the shape of the tree as you go.
- Don’t be afraid to add details like knots or different textures to the trunk and branches. These small touches can make your tree drawing more interesting and realistic.
- Experiment with different types of trees and their characteristic shapes. Drawing various trees can help you develop your skills and add variety to your art.
- Observe real trees and study their unique features. Pay attention to the way branches fork, the pattern of leaves, and the overall structure of different tree species.
- Feel free to incorporate your own creative elements into your tree drawing. You can add animals, birds, or even a swing to the branches to personalize your artwork.
Drawing a Scary or Pretty Tree
Unleash your creativity and transform your tree drawing into a spooky masterpiece or a stunning display of beauty. With a few simple techniques, you can create a scary Halloween tree or a pretty tree with flowering leaves. Let your imagination run wild as you experiment with different styles and colors to achieve your desired tree illustration.
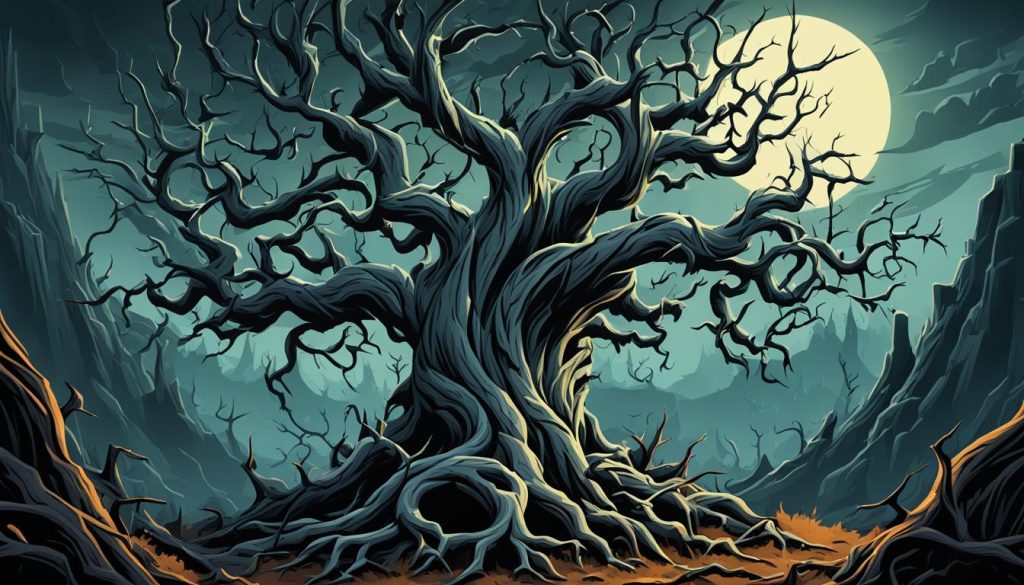
Creating a Scary Tree Drawing
For a spooky twist, consider the following elements:
- Choose dark and eerie colors like blacks, deep purples, and eerie greens.
- Make the branches crooked and gnarled, with sharp pointy ends that resemble creepy fingers.
- Create a sense of mystery by adding fog or moonlit shadows in the background.
- Include spooky elements like bats, cobwebs, or owls perched on the branches.
- Use shading techniques to give the tree a more sinister and ominous appearance.
By incorporating these elements, you can create a scary tree drawing that sets the perfect eerie atmosphere.
Designing a Pretty Tree Drawing
If you prefer a more enchanting look, consider these suggestions:
- Opt for vibrant and lively colors such as shades of greens, pinks, or soft pastels.
- Incorporate delicate blossoms or colorful flowers on the branches to create a picturesque scene.
- Add fluttering butterflies or singing birds to enhance the magical ambiance.
- Use light and airy strokes to illustrate the leaves and branches, giving the tree a graceful appearance.
With these techniques, you can bring your imagination to life and create a pretty tree drawing that captures the beauty of nature.
Examples of Scary and Pretty Trees:
| Scary Tree Drawing | Pretty Tree Drawing |
|---|---|
 |
 |
Remember, these examples are just starting points. Feel free to experiment with your own ideas and interpretations to create a unique and captivating tree drawing.
“When I draw a tree, I ascribe a soul to it. A tree without a soul is just a piece of wood.” – Lorne Cardinal
Tree Drawing Inspiration and Additional Tutorials
If you’re looking to enhance your tree drawing skills, this section provides a plethora of inspiration and additional tutorials to fuel your artistic creativity. Explore a wide range of resources to discover new techniques and ideas, not only for drawing trees but also for various other subjects such as animals and landscapes. Let’s dive in and take your tree drawings to the next level!
Online Drawing Communities and Websites
Engaging with online drawing communities and websites is an excellent way to find inspiration and connect with fellow artists who share a passion for creating tree illustrations. Below are a few platforms worth exploring:
- DrawingHub: A popular online drawing community where you can access a diverse collection of tutorials, step-by-step guides, and artwork from other artists. Browse through the tree drawing section to get inspired and learn new techniques.
- DeviantArt: One of the largest online art communities, where you can discover a vast range of artwork, including stunning tree illustrations. Join groups dedicated to drawing trees and interact with artists who can provide valuable feedback and inspiration.
- Pinterest: A treasure trove of visual inspiration, Pinterest offers an abundance of tree drawing ideas, references, and tutorials. Create your own digital mood board and save images that resonate with your artistic style.
YouTube Channels for Tree Drawing Tutorials
YouTube is an incredible resource for finding step-by-step tree drawing tutorials. From simple techniques to intricate designs, you can find a vast array of video tutorials that cater to all skill levels and artistic preferences. Here are some popular YouTube channels to check out:
- Art for Kids Hub: This channel specializes in drawing tutorials for kids but offers valuable lessons that can be enjoyed by artists of all ages. Explore their collection of tree drawing tutorials and let your creativity flourish.
- Drawing with Waffles: Join Waffles and learn how to draw stunning trees with a touch of whimsy. From realistic renditions to fantastical designs, this channel will inspire you to experiment and develop your unique artistic style.
- Draw with Jazza: Jazza’s channel caters to both beginners and advanced artists. Browse through his tree drawing tutorials and take advantage of his insightful tips and tricks to bring your tree illustrations to life.
Remember, the key to improving your tree drawing skills is practice. Dedicate regular time to incorporate new techniques you’ve learned from tutorials and draw from observation. Allow yourself to experiment, make mistakes, and continue refining your skills. With perseverance and inspiration, you’ll witness significant growth in your tree drawing abilities.
To further enhance your artistic journey, explore these additional tutorials:
- Drawing Animals: Learn how to draw various animals and incorporate them into your tree illustrations. Master the art of drawing birds perched on branches or squirrels amidst leaves.
- Landscape Drawing: Expand your artistic repertoire by exploring landscape drawing tutorials. Discover how to incorporate trees into stunning natural vistas and develop your understanding of perspective and composition.
- Highlight and Shadow Techniques: Elevate your tree drawings by mastering the art of highlighting and shading. Understand how light interacts with tree elements such as leaves, branches, and trunks to create depth and realism.
| Resources | Description |
|---|---|
| DrawingHub | An online drawing community with tutorials and step-by-step guides for tree drawings. |
| DeviantArt | A vast online art community where you can find tree illustrations and connect with artists. |
| An image-based platform offering a wealth of tree drawing ideas and references. | |
| Art for Kids Hub | A YouTube channel providing step-by-step tree drawing tutorials suitable for all ages. |
| Drawing with Waffles | YouTube channel offering whimsical tree drawing tutorials with a touch of fantasy. |
| Draw with Jazza | A YouTube channel providing tree drawing tutorials and insightful tips for artists. |
Explore these tutorials and resources, and don’t forget to share your artwork with the drawing community. They can provide valuable feedback and encouragement on your artistic journey. Remember, continuous learning and practice are essential for honing your skills and creating amazing tree illustrations.
Conclusion
Drawing trees is a wonderful way to unleash your creativity and improve your artistic skills. Whether you’re a beginner or an experienced artist, this article has provided you with step-by-step tutorials, helpful tips, and inspiration to create stunning tree illustrations.
By following the detailed instructions and experimenting with different techniques, you can bring your tree drawings to life. Remember to use basic shapes, lines, and colors to capture the unique characteristics of each tree. The more you practice, the more confident you’ll become in creating beautiful and authentic tree illustrations.
Don’t be afraid to let your imagination run wild and create unique tree drawings that reflect your personal style. Add your own artistic touches and explore various coloring techniques to make your illustrations stand out. Whether you prefer a scary or pretty tree, there are endless possibilities to express yourself through your artwork.
So, grab your sketching pencil, drawing paper, and coloring supplies, and let’s get started on your tree drawing journey. Get inspired, practice regularly, and enjoy the process of creating beautiful tree illustrations. Happy drawing!
