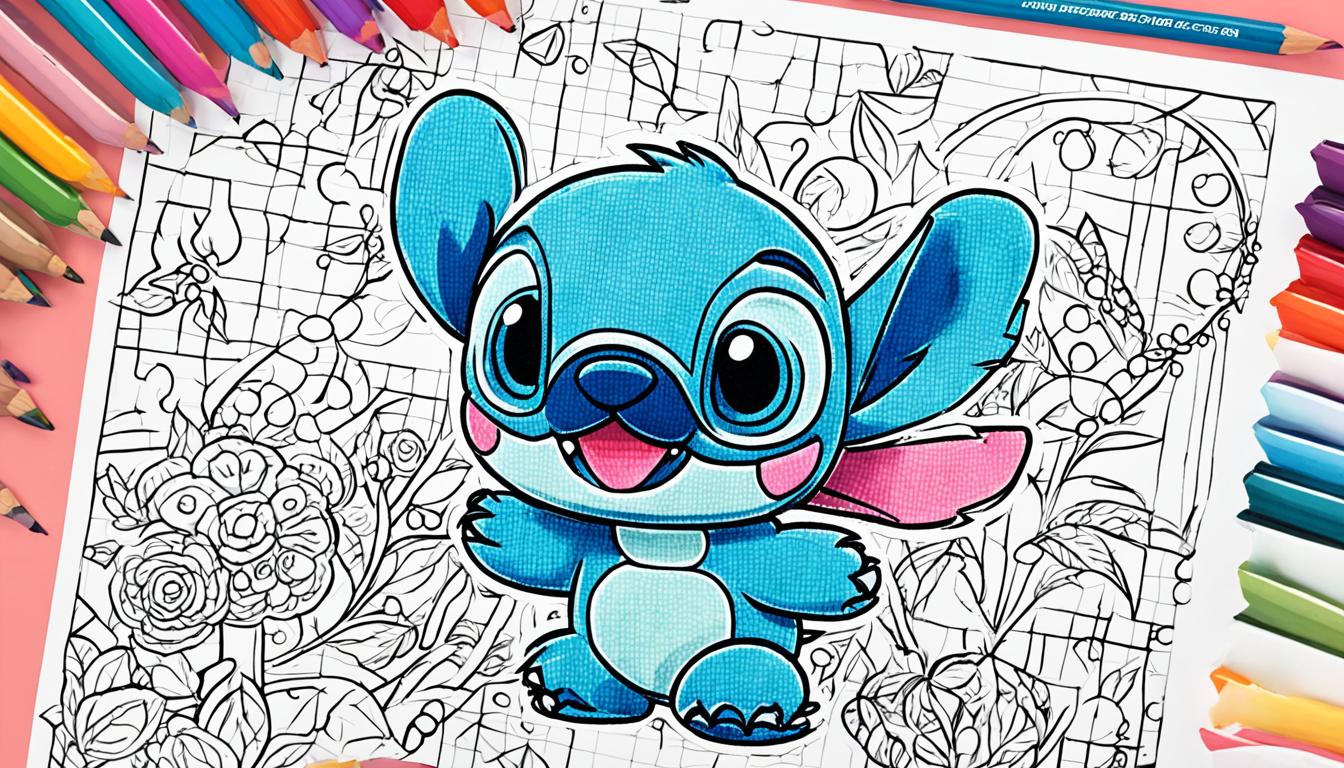
How to Draw Stitch – Drawing Turorials and Coloring Tips
Have you ever wanted to create your own adorable version of Stitch from Disney’s Lilo & Stitch? Well, now you can! In this article, we will guide you through step-by-step drawing tutorials and expert color guides to help you master the art of drawing Stitch. Whether you’re a beginner or an experienced artist, we have tips and techniques that will assist you in bringing this beloved character to life on paper.
So, are you ready to embark on a creative journey and learn how to draw Stitch like a pro? Let’s dive in!
Key Takeaways:
- Follow step-by-step drawing tutorials to learn how to draw Stitch from Disney’s Lilo & Stitch.
- Learn expert color guides to add depth and dimension to your drawing.
- Practice your sketching and coloring skills to unleash your creativity.
- Experiment with different techniques to bring Stitch to life on paper.
- Have fun and enjoy the process of creating your own adorable version of Stitch.
Step 1: Drawing Stitch’s Head
Beginner stitch drawing tips
To start drawing Stitch, sketch a big circle near the top of the paper. Use four small marks as guides for the height and width of the circle, then connect them with curved lines. Remember to sketch lightly and erase if needed. If you’re having trouble drawing a perfect circle, you can trace the edge of a circular object. This circle will serve as a guide for Stitch’s head.
| Tips for Drawing Stitch’s Head |
|---|
| Sketch a big circle |
| Use four small marks as guides for height and width |
| Connect the marks with curved lines |
| Sketch lightly and erase if needed |
| If needed, trace the edge of a circular object |
Step 2: Adding Facial Features
In this step, we will focus on adding the facial features to our drawing of Stitch. Pay close attention to the details and proportions to ensure an accurate representation.
Start by drawing a curved horizontal line inside the circle. This line will serve as a guide for placing Stitch’s eyes, nose, and mouth later on. Then, add a curved vertical line to intersect the horizontal line, creating a cross-like shape. This vertical line will help you position the facial features correctly.
Next, let’s move on to the ears. Draw two vertical lines on top of the head, slightly outside the circle. These lines will act as guides for the ears’ placement. Now, connect the vertical lines to the circle using curved lines to complete the ear guides. Make sure the length and proportions of the lines are appropriate in relation to the size of the head.
To recap:
- Draw a curved horizontal line inside the circle for the facial features.
- Add a curved vertical line to intersect the horizontal line, creating a cross shape.
- Draw two vertical lines on top of the head for the ears.
- Connect the vertical lines to the circle with curved lines to complete the ear guides.
By following these steps, you’ll have the foundation for Stitch’s facial features in your drawing.
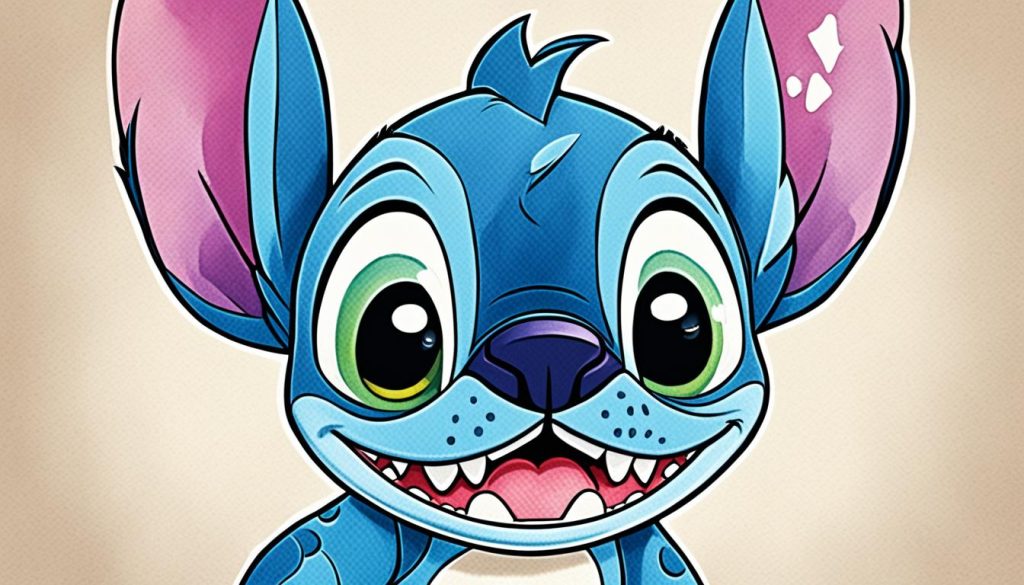
Step 3: Drawing the Body
Now that we have completed the head of Stitch, it’s time to move on to the body. This step is crucial in capturing the essence of our beloved character. Let’s dive in!
In order to draw the body of Stitch, we will start by adding another circle, slightly smaller than the head, directly below it. This circle will act as a guide for the body shape. Make sure to pay attention to the size and proportions, as they play a key role in achieving an accurate representation.
Once the body circle is in place, connect it to the head by drawing a couple of lines. These lines will serve as the framework for the body, ensuring that everything is properly aligned. Take your time to ensure these lines are straight and well-defined.
With the head and body circles connected, we have successfully completed the guide for Stitch’s body. This serves as a solid foundation for the next steps of our drawing process. Let’s move on to further detailing and bringing our creation to life!
Before moving on, let’s take a moment to appreciate how far we’ve come. Take a look at your work so far and give yourself a pat on the back. You’re doing great!
“The body is the canvas upon which our character comes to life. With this guide, we can shape and mold our interpretation of Stitch, creating a drawing that truly captures his essence.” – Amanda Thompson, Drawing Enthusiast
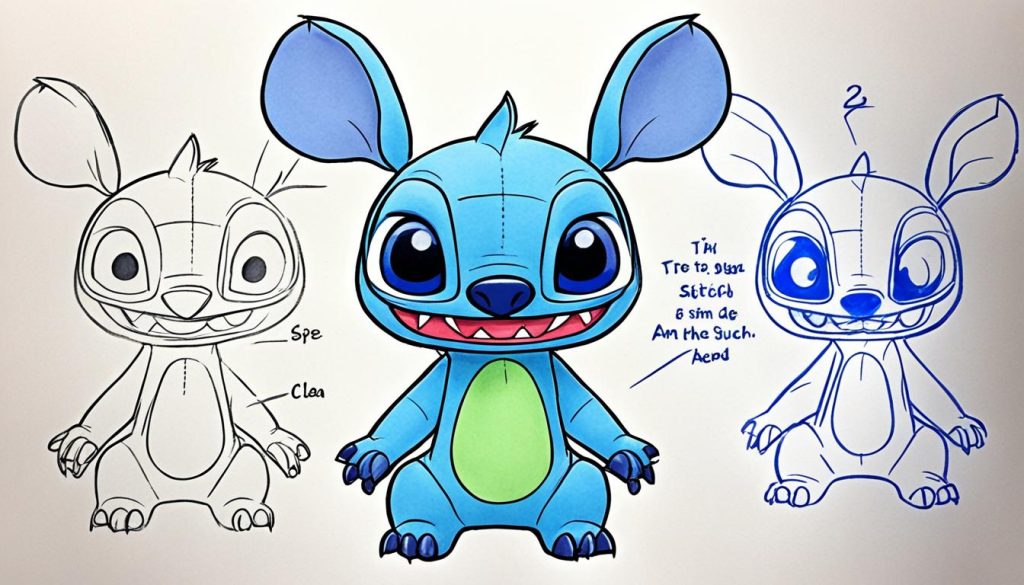
Next, we will proceed to the next step – adding arms and legs to our Stitch drawing. Get ready to bring even more personality and charm to your creation!
Step 4: Adding Arms and Legs
Now that we have the head and body shapes in place, it’s time to add Stitch’s arms and legs. Remember, this step is especially important for beginners, as it helps establish the overall proportion of the character.
To begin, draw a long, curved line on the left side of the body. This line will serve as a guide for Stitch’s first arm. Repeat the same curved line on the right side to create the guide for the second arm. These arms will give Stitch his characteristic pose and bring him to life on the page.
Next, let’s focus on the legs. Draw two circles on either side of the body, slightly below the head. These circles will form the guides for Stitch’s legs. Above each circle, add a small curved line to indicate the upper leg.
Now that the guides are in place, we can move on to refining the shape and details of Stitch’s limbs. Remember to sketch lightly, using gentle curves to define the shape of each arm and leg. Take your time, and don’t be afraid to make adjustments as you go.
Here’s an overview of the key steps:
- Draw a long, curved line on the left side of the body for the first arm.
- Repeat the same curved line on the right side for the second arm.
- Draw two circles on either side of the body for the legs.
- Above each circle, add a small curved line to indicate the upper leg.
- Refine the shape and details of the arms and legs, using gentle curves.
By following these steps, you’ll have Stitch’s adorable arms and legs accurately represented in your drawing. Keep practicing, and soon you’ll be ready for the next stage!
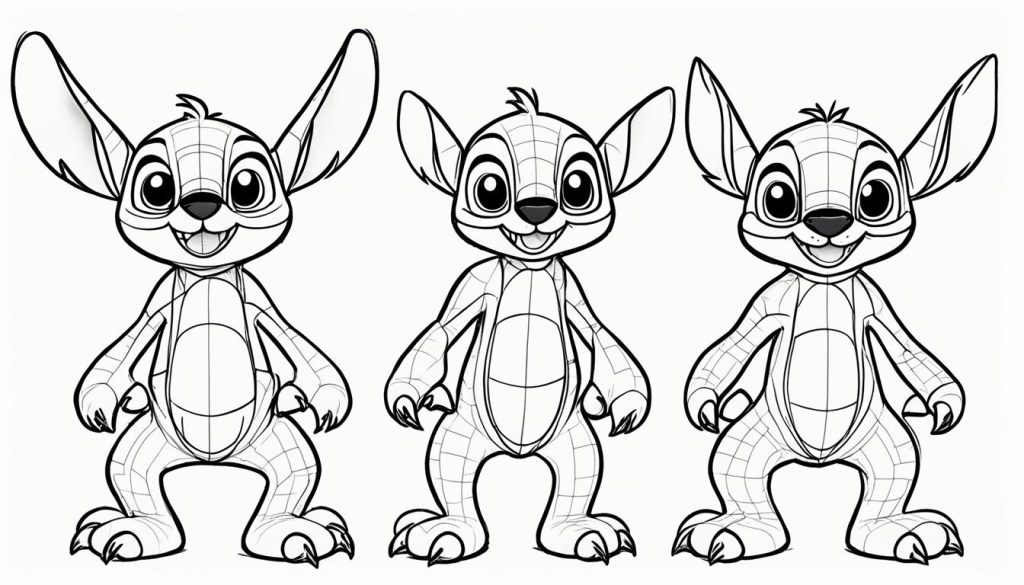
“Drawing Stitch’s arms and legs is a crucial step in capturing his lovable pose. Follow these simple guidelines to ensure your drawing is accurate and true to the character’s unique design.”
Step 5: Sketching the Details
Now that you have the basic structure of Stitch’s head, it’s time to add some important details that will give your drawing the distinctive look of this mischievous character.
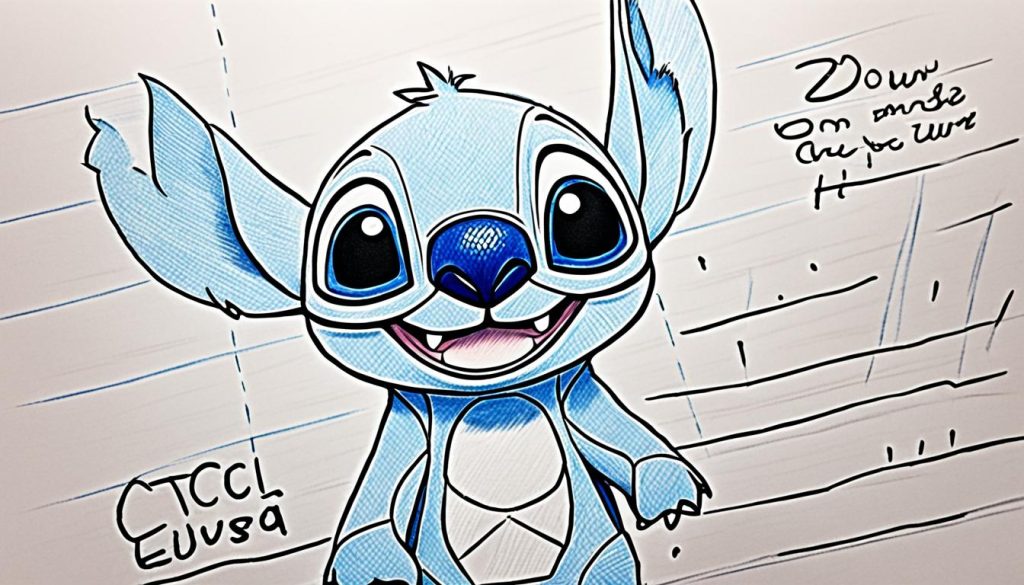
Begin by sketching the ears. Stitch has large, bumpy ears that add to his adorable appearance. Make sure to capture the unique shape of the ears, with their irregular edges.
Next, outline the eyes. They should be positioned close to the ears and have a slightly oval shape. Take your time to get the size and placement just right, as the eyes play a crucial role in capturing Stitch’s expression.
Don’t forget to add the outline of the forelegs. Use curved lines to create the shape of the forelegs, paying attention to the proportions and ensuring they complement the overall structure of Stitch’s head.
Now, it’s time to add some depth to your drawing. Sketch the inside of the eyes, ears, and paws using smooth lines. These details will make Stitch’s features come alive on the page.
Lastly, add small toes to the paws for more realism. These small details may seem minor, but they contribute to the overall charm and accuracy of your drawing.
Remember, take your time and have fun while sketching the details of Stitch’s head. Paying attention to these nuances will give your drawing a professional touch and make it truly stand out.
Step 6: Completing the Features
Now that you have sketched out the basic structure of Stitch, it’s time to add the finishing touches that will bring this adorable character to life. In this step, you will focus on completing the facial features and adding small details to capture the essence of Stitch’s unique appearance.
Start by drawing the mouth as a wide opening, giving Stitch his signature mischievous grin. Use a curved line to create the shape of the mouth, making sure it stretches across the lower part of his face.
Next, draw a small oval shape for the nose, positioning it right below the center of the eyes. This will give Stitch his cute little snout.
To enhance the realism of the drawing, add some elements to the nose. Use small circles or dots to represent Stitch’s nostrils and give his nose some dimension.
Now it’s time to focus on Stitch’s front paws. Draw small circles near the end of each paw to represent his fingers. These circles will add a touch of realism and detail to your drawing.
Pay close attention to the placement and positioning of these features to ensure they are proportional and accurate. This will help you capture the unique and lovable characteristics of Stitch.
Take a moment to step back and admire your progress. You have completed the features of Stitch and brought him one step closer to being a fully realized drawing.
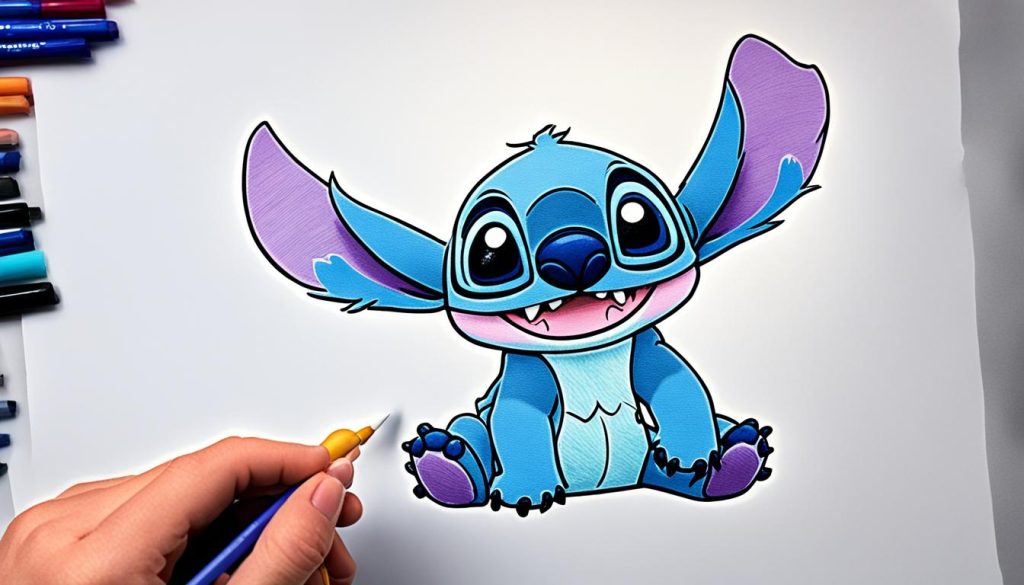
Remember:
The key to capturing the essence of Stitch is in the details. Pay attention to the shape of his mouth, the size and placement of his nose, and the positioning of his fingers. These small elements add up to create a drawing that truly captures the spirit of this beloved character.
Now that you have completed the features, it’s time to move on to the next step and put the finishing touches on your drawing. Get ready to bring Stitch to life with color!
Step 7: Coloring Stitch
Now that you have completed the sketch of Stitch, it’s time to bring him to life with color! Follow this stitch drawing color guide to achieve a vibrant and realistic drawing.
Start by using a wide range of blue shades, from light to dark, to color in Stitch’s fur. This will create depth and dimension in your drawing, capturing his signature blue appearance. Be sure to blend the shades seamlessly for a smooth and polished look.
To enhance the texture and bring out the details in Stitch’s fur, add white highlights using a fine-tipped white gel pen. Apply these highlights sparingly, focusing on areas where light would naturally hit, such as the top of his head, shoulders, and limbs.
To create depth and shadows, add shading using darker shades of blue. Apply these shades to the areas that would typically have less light, such as under the chin, behind the ears, and where one part of the body overlaps another. Blend the shading gently to achieve a gradual transition from light to dark.
For the nose, mouth, and claws, use black to create contrast against the blue fur. This will make these features stand out and add definition to Stitch’s face and paws.
If you want to add more dimension and visual interest to your drawing, consider incorporating purple accents. Use purple to shade areas where shadows cast a cooler tone, enhancing the overall color palette of the drawing.
Remember, coloring is a creative process, so feel free to experiment with different techniques and color combinations. Use your artistic instincts to bring out the best in your Stitch drawing and make it truly unique!
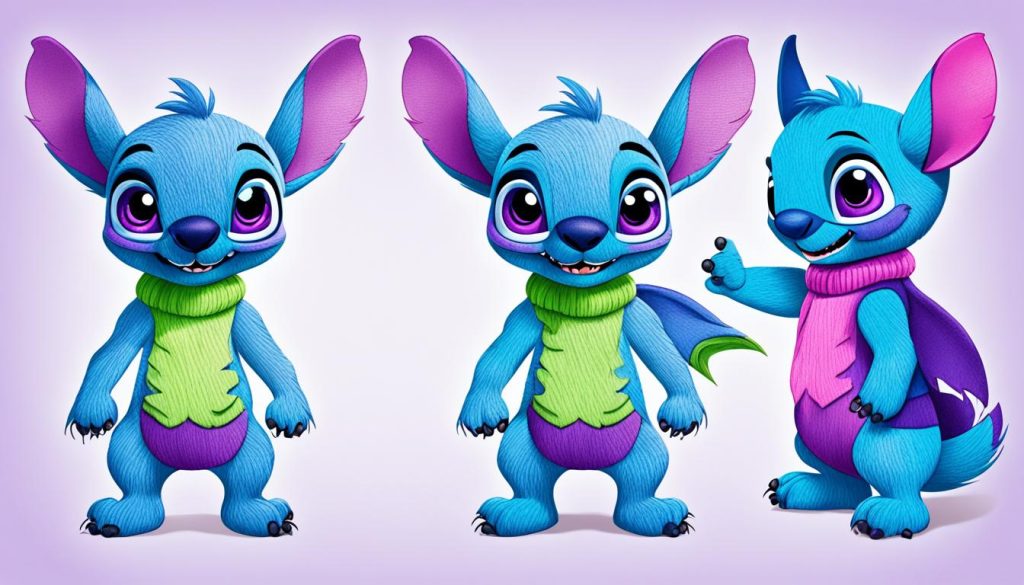
| Color | Area |
|---|---|
| Various shades of blue | Fur |
| White | Highlights |
| Dark blue | Shadows |
| Black | Nose, mouth, claws |
| Purple | Shadows, accents |
Alternative Method for Drawing Stitch
If you prefer a different approach to drawing Stitch, here’s an alternative method that you can try. This technique allows you to capture the essence of Stitch’s unique appearance while offering some variation in the drawing process.
- Start by drawing the head using an irregular circle shape. This will give your drawing a more organic and playful look. Don’t worry about making it perfectly round—Stitch is known for his mischievous nature!
- Next, sketch the torso, hind legs, and ears. Pay attention to the proportions and positioning of these elements to ensure that they align with your artistic vision.
- Now it’s time to bring Stitch’s face to life. Add the expressive eyes, nose, and mouth, and don’t forget about his sharp teeth! These details are what make Stitch instantly recognizable, so take your time and focus on capturing his unique features.
- Complete the drawing by adding the remaining body details. Depending on the pose you want Stitch to be in, you can include his arms, paws, and tail. Feel free to add some dynamic movement or playfulness to make your drawing even more engaging.
- Once your drawing is complete, it’s time to add some color! Use your preferred coloring materials and techniques to bring Stitch to life. Whether you opt for traditional techniques like colored pencils or experiment with digital tools, let your creativity shine through.
This alternative method allows you to explore different stitch drawing techniques, giving you the freedom to add your personal artistic touch to the character. Embrace the opportunity to experiment and have fun as you bring this beloved Disney character to life on your canvas.
Check out the visual representation of the alternative method for drawing Stitch:
| Step | Description | Image |
|---|---|---|
| 1 | Draw the head using an irregular circle shape | 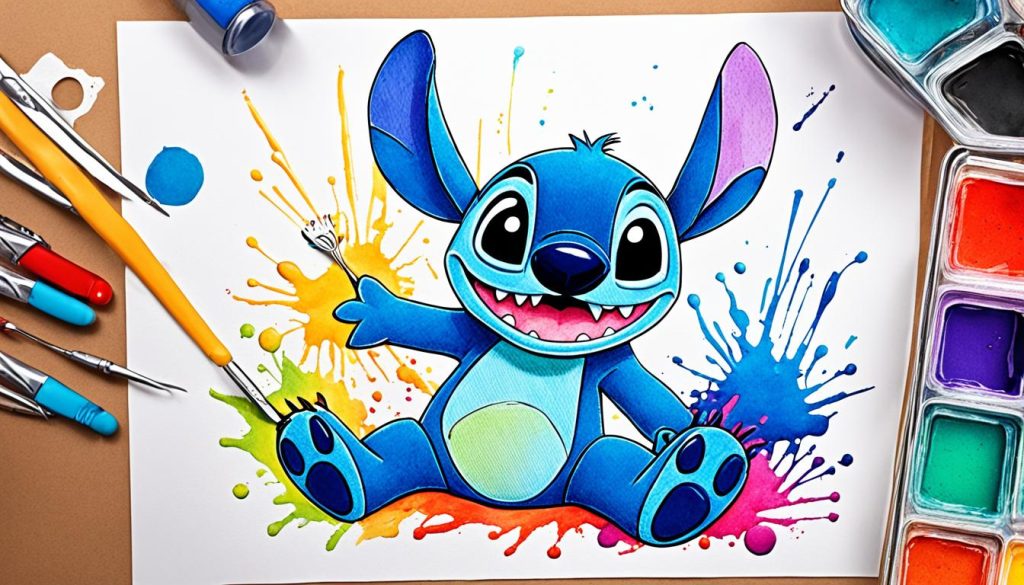 |
| 2 | Sketch the torso, hind legs, and ears |  |
| 3 | Add the eyes, nose, mouth, and teeth |  |
| 4 | Complete the body details |  |
| 5 | Colorize your drawing |  |
Conclusion
Drawing Stitch can be a delightful and fulfilling experience, allowing you to showcase your creativity and artistic skills. By following the step-by-step tutorials and utilizing color guides, you can create your very own lovable rendition of this cherished character.
As with any artistic endeavor, practice is key. Take the time to refine your sketching and coloring techniques, and don’t be afraid to experiment and explore different approaches. With each stroke of the pencil and every brush of color, you’ll bring Stitch to life on the paper.
Through the use of stitch drawing techniques, you can capture all the endearing qualities that make Stitch a beloved character. Whether it’s his mischievous smile or those expressive eyes, pay attention to the details and infuse your drawing with life and personality.
So, grab your sketchbook and embark on the journey of creating your very own Stitch masterpiece. Let your imagination soar as you bring this lovable character to life on the page. Get ready to experience the joy of creating art and sharing your love for Stitch with the world!
