How to Draw in Hair – Drawing Turorials and Coloring Tips
Have you ever struggled with drawing realistic hair? Do you find it challenging to capture the volume and texture of different hair styles? If so, you’re not alone. Drawing hair can be a daunting task, but with the right techniques and tips, you can master the art of creating stunning hair illustrations.
Whether you’re a beginner or an experienced artist looking to improve your hair-drawing skills, this article will provide you with essential tutorials, tips, and coloring techniques to bring your hair illustrations to life. From understanding the construction and volume of hair to adding values, textures, and finishing touches, we’ll guide you through the step-by-step process of drawing realistic and visually captivating hair.
So, are you ready to take your hair-drawing skills to the next level? Let’s dive in and discover the secrets behind creating stunning hair illustrations that will leave viewers in awe.
Key Takeaways:
- Understanding the construction and volume of hair is crucial for drawing it realistically.
- Mapping out the direction of the hair can help guide the drawing process.
- Experimenting with different techniques can help create interesting and realistic hair illustrations.
- Choosing the right shape and style of hair is important for conveying emotions and personalities.
- Shading, adding color, and incorporating finishing touches can enhance the realism and visual appeal of hair illustrations.
Hair Drawing Techniques
When it comes to drawing hair, there are various techniques that can help you create realistic and captivating illustrations. Whether you’re aiming for wavy locks or curly tresses, understanding the right approach is key to achieving the desired effect. In this section, we’ll explore step-by-step hair drawing techniques, hair shading techniques, and artistic tips to enhance your hair illustrations.
Step-by-Step Hair Drawing
Creating stunning hair begins with a step-by-step approach. For wavy hair, start by outlining the main lock using an “S” shape. Then, add smaller strands that follow a similar direction, mimicking the natural flow of wavy hair. Remember to maintain a balance between detail and simplicity to keep the illustration visually engaging.
For curly hair, envision the hair wrapping around in a cylindrical shape. Add texture and irregularities to match the surface, capturing the uniqueness of curls. Experimentation is key to finding the perfect balance between creating realistic curls and maintaining a cohesive illustration.
Hair Shading Techniques
Shading plays a vital role in giving hair dimension and depth. By understanding light sources and how they interact with hair, you can create realistic shading effects. Start by establishing the edges and mid-tones, gradually building up strokes to define the hair strands. Experiment with different shading techniques to add depth and bring your hair illustrations to life.
Artistic Tips for Drawing Hair
When drawing hair, remember to approach it artistically. Pay attention to the direction and flow of the strands, capturing the movement and volume of the hair. Add individuality and character to your illustrations by incorporating unique styles and textures. Use various brushes and techniques to experiment and find your artistic voice.
“Drawing hair is not just about technique; it’s about portraying the personality and essence of the character through their hairstyle.” – Jane Smith, Illustration Artist
By following these step-by-step hair drawing techniques, mastering hair shading, and infusing your own artistic flair, you’ll be able to create stunning and visually captivating hair illustrations.
Continue to the next section to discover how to choose the right shape and style for your hair illustrations.
Choosing the Right Shape and Style
When it comes to hair illustration, selecting the appropriate shape and style plays a crucial role in capturing the character’s essence and enhancing the overall composition of the artwork. Each type of hair, whether straight, curly, or wavy, possesses unique characteristics that convey distinct emotions and personalities. To achieve realistic and visually appealing hair illustrations, consider the flow and movement of the hair, whether it’s wind-blown or neatly styled.
One effective approach is to utilize references and observe real hairstyles to ensure accuracy and authenticity in your illustrations. By studying how different hairstyles are formed, you can better understand the intricacies of various hair textures and confidently recreate them on paper. Paying attention to details such as the direction of the strands, volume, and specific hair features will elevate the realism of your artwork.
Creating the Perfect Look
Depending on the character and the story you want to convey through your illustration, the chosen hairstyle can greatly contribute to their overall impression. For example, a sleek, straight hairstyle may evoke elegance and professionalism, while wild and tousled curls can communicate a sense of playfulness and spontaneity. Take into account the character’s personality traits and consider how their hair can complement and amplify their individuality.
Experimenting with different styles and shapes is a valuable way to explore the unlimited possibilities of hair illustration. Embrace creativity and let your artistic intuition guide you when choosing the hairstyle that best represents your character. Remember, the aim is to create a realistic and visually captivating hair drawing that adds depth and authenticity to your artwork.
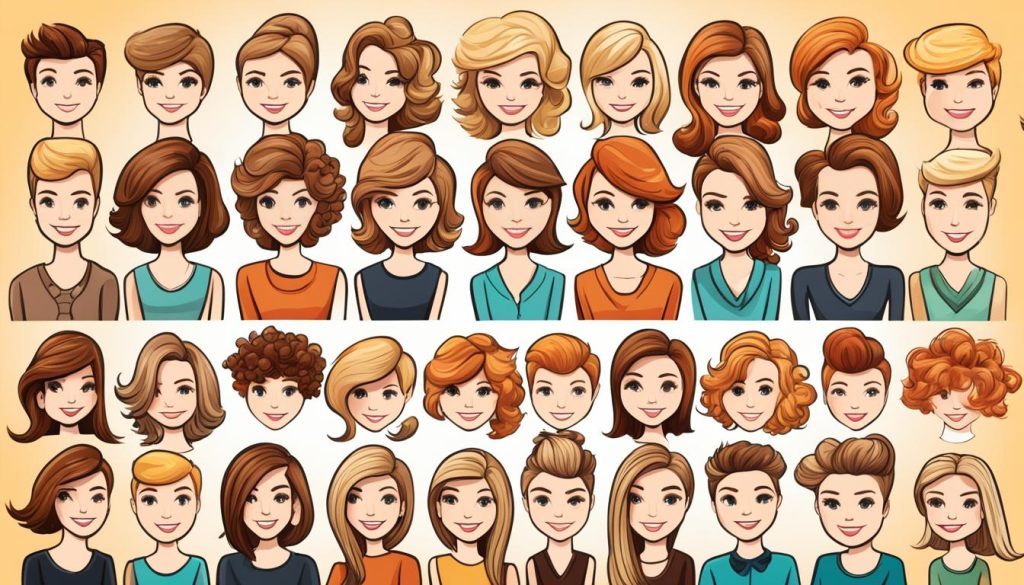
| Hairstyle | Characteristics |
|---|---|
| Straight | Elegant and sleek |
| Curly | Bouncy and playful |
| Wavy | Natural and relaxed |
Adding Values and Dimension
When it comes to drawing hair, adding values is crucial for creating depth and dimension. By using a value scale, artists can define the details and bring the hair to life in a three-dimensional way.

Lighting and shadows play a significant role in hair construction. Consider the direction and intensity of the light source in your artwork. Think about how the hair would interact with the environment, whether it’s indoors or outdoors, to create a realistic effect.
The volume and thickness of different sections of the hair can vary. It’s important to vary the shading accordingly. Use lighter shades for areas with less volume and darker shades for areas that have more volume and depth. Varying the pressure on your drawing tool and continuously building up the strokes can help achieve this.
Adding values and considering volume is vital for creating realistic and believable hair illustrations. Paying attention to lighting and shadows, and varying the shading according to the hair’s construction, can bring your drawings to life.
Textures and Styles
When it comes to creating hair illustrations, textures and styles play a crucial role in adding depth and complexity. By experimenting with different brushes and techniques, artists can achieve unique effects and showcase their artistic style. Whether you’re a beginner or an experienced artist, here are some tips to enhance your hair drawing skills.
Short and Shaved Hair
Short, almost shaved hair can be depicted with a prickly, rough appearance. To achieve this texture, use short, quick strokes with a brush or pencil to create a sense of stubble. Pay attention to the direction of the hair growth and add subtle variations to make it look more realistic.
Wavy Hair
Wavy hair offers the opportunity to convey curves and movement. To capture the essence of ocean waves, use flowing lines and gentle curves. Vary the thickness of the strands to add dimension and create a sense of rhythm. Experiment with different shading techniques to enhance the texture and highlight the waves.
Straight Hair
Straight hair is often characterized by elegance and simplicity. Focus on clean, smooth lines with consistent thickness to reflect the sleekness of straight hair. Use gentle curves to give the hair a natural flow. Pay attention to the shine and highlights to add realism and depth to the illustration.
Curly Hair
Curly hair can be fluffy and playful, with intricate patterns and textures. To capture the essence of curls, use loose, organic lines and irregular shapes. Emphasize the volume by adding shading and shadows in the appropriate areas. Experiment with different brush strokes to create a sense of softness and bounce.
Remember, textures and styles can add interest and save time in hair illustrations. Be bold and embrace different techniques to showcase your artistic vision. Whether you’re a beginner or an experienced artist, these tips will help you create stunning and realistic hair drawings that capture the unique qualities of different hair textures and styles.
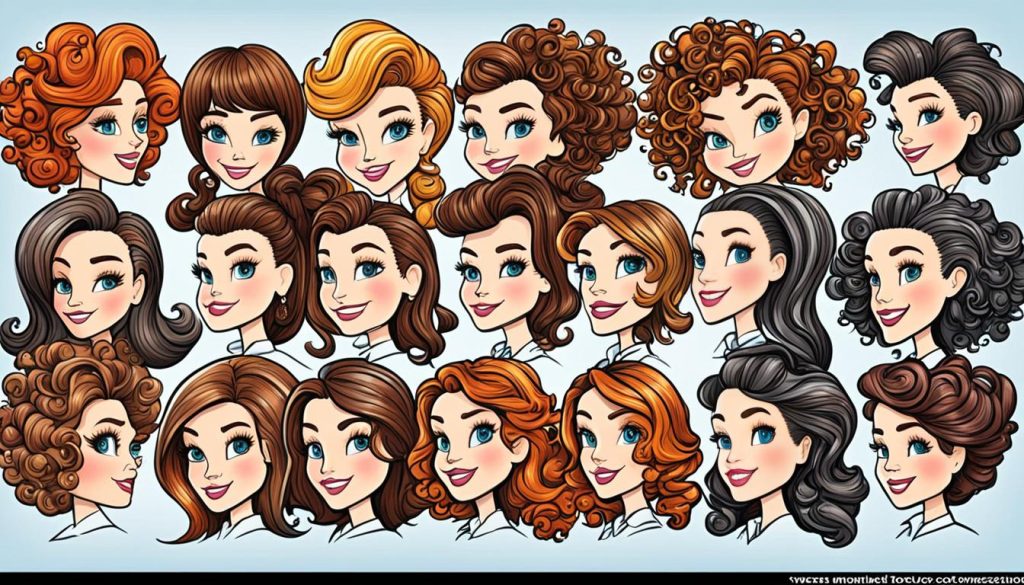
| Texture/Style | Description |
|---|---|
| Short and Shaved Hair | Prickly, rough appearance with short, quick strokes |
| Wavy Hair | Curves and movement resembling ocean waves |
| Straight Hair | Elegant and simple, with clean, smooth lines |
| Curly Hair | Fluffy and playful, with intricate patterns and textures |
Tips for Sketching and Lineart
Sketching is an essential step in the hair drawing process. It lays the foundation for the final result, helping to determine the shape, flow, and direction of the hair. When sketching, pay close attention to these key elements to create a strong base for your hair illustration.
- Start with the general shape: Begin by sketching the overall shape and outline of the hair. Consider the hairstyle and any unique characteristics that you want to capture.
- Flow and direction: Hair has natural movement and direction. Use your sketches to map out the flow of the hair strands, taking into account how they interact with the head and any external factors like wind or movement.
- Plan hair strand placement: Sketching allows you to plan where the hair strands will fall and how they will interact with each other. This step gives you a better sense of the final result and helps you avoid overcrowding or gaps in the hair.
When it comes to lineart, there are no strict rules. It’s an opportunity to showcase your personal style and preferences. Some artists prefer clean and precise lines, while others embrace a more loose and rough approach. Experiment with different brushes and techniques to find the lineart style that suits you best.
The key to creating compelling hair sketches and lineart is practice. Don’t be afraid to make mistakes and try new techniques. With time and persistence, you’ll develop your own unique style and achieve impressive hair illustrations.
Remember, sketching and lineart provide the foundation for your hair drawing, so take your time and enjoy the process of bringing your hair illustrations to life.
The Art of Shading
Shading plays a vital role in bringing depth and dimension to hair drawings. It is crucial to understand how light source affects the placement of highlights and shadows on the hair. By establishing clear edges and mid-tones, you can gradually build up strokes to darken and define the individual strands and layers of hair. Practice intuitive shading techniques and experiment with different approaches to create realistic and dynamic shading effects.
Remember that shading and lighting are extensive topics, and there is always more to learn. Continue researching and honing your skills to further improve your ability to create lifelike hair illustrations.
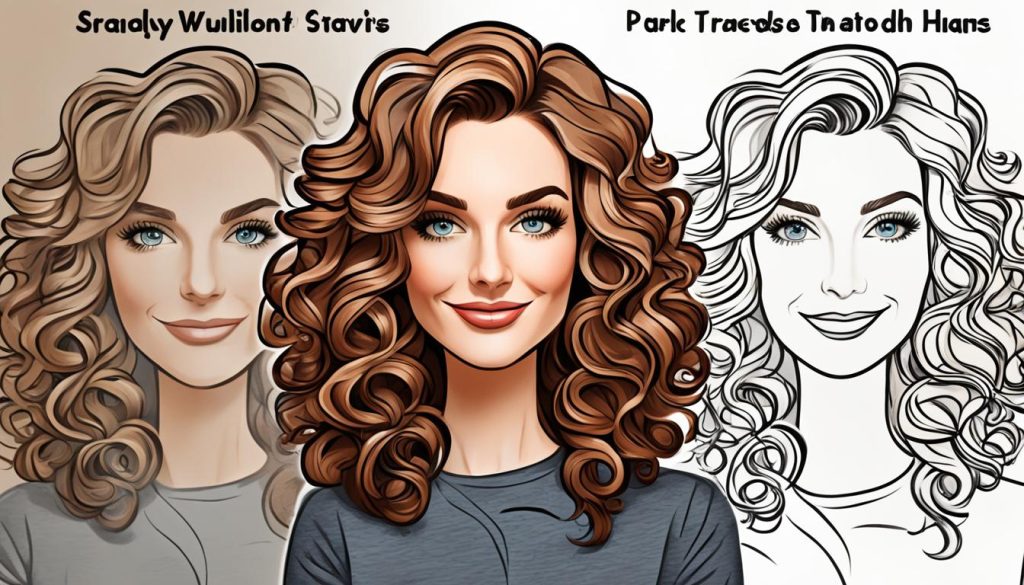
Mastering Hair Shading Techniques
Here are some essential tips to enhance your hair shading skills:
- Study real-life examples: Examine photographs or observe different hair textures and styles in person. Pay attention to how light interacts with the hair and the resulting shading patterns.
- Understand light source: Determine the direction and intensity of the light source in your illustration. This will guide the placement of highlights and shadows for a more realistic effect.
- Establish tonal values: Begin by establishing the tonal values that represent the overall lightness and darkness of the hair strands. Gradually build up the shading to add depth and volume.
- Use different stroke techniques: Experiment with various strokes, such as hatching, cross-hatching, or stippling, to achieve different textural effects and mimic the appearance of hair strands.
- Blend and layer: Utilize blending techniques to smoothly transition between different shades and create seamless gradients. Layering colors can add richness and complexity to your hair shading.
Remember, practice makes perfect. Keep refining your shading skills by regularly drawing hair using different techniques. Embrace experimentation and don’t be afraid to make mistakes along the way.
Adding Color and Highlights
Coloring is a vital step in bringing hair illustrations to life. By carefully selecting the base color that matches the desired hair style, you can create a realistic and visually appealing representation. Consider the light source and how it interacts with the hair, as this will guide you in determining where highlights should be added.
Highlights are key in adding shine and dimension to the hair. They can simulate the play of light on the strands and make the illustration more dynamic. Experiment with different colors and blending modes to achieve the desired effect, giving your artwork a unique touch.
It’s important to pay attention to the overall color scheme of the artwork to ensure that the hair color complements the rest of the illustration. Harmonizing the colors will create a cohesive and visually pleasing composition.
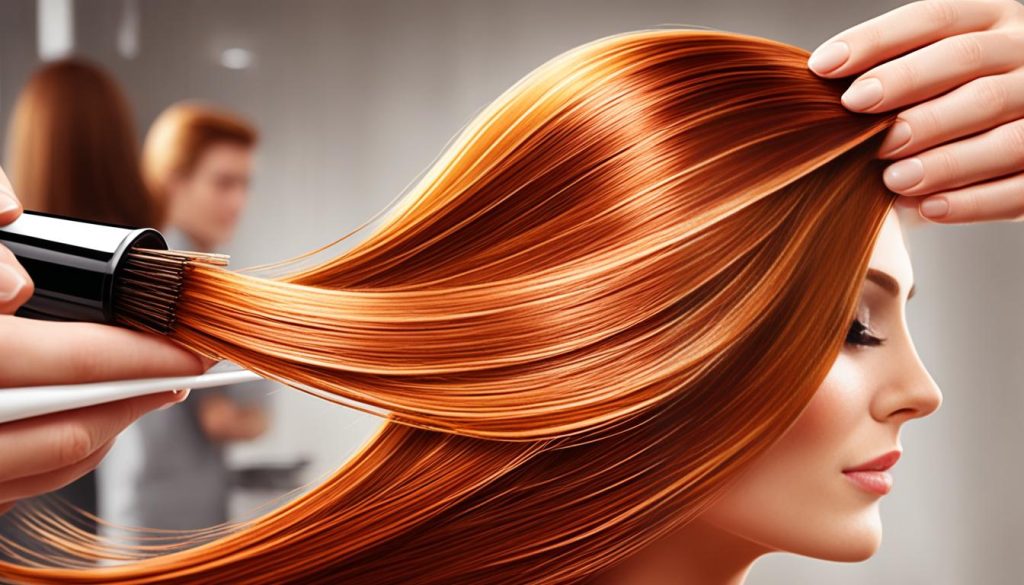
| Base Color | Highlights |
|---|---|
| Dark Brown | Light Brown and Golden Blonde |
| Blonde | White and Ash Blonde |
| Red | Orange and Copper |
Remember, coloring and highlighting hair is an art in itself. Take your time to experiment and discover the combinations that work best for your style and desired effect.
Finishing Touches and Details
The final steps of the hair drawing process involve adding the finishing touches and details that bring the illustration to life. These subtle elements can make a significant difference in the overall appearance of the hair. By using blending modes, layering techniques, and paying attention to small details, you can create realistic and dynamic hair illustrations.
To add depth and dimension to the hair, experiment with blending modes. Play around with different brushes and styles to find what works best for your artwork. Blending modes allow you to create smooth transitions and interesting textures that mimic the natural look of hair. Layering techniques can also enhance the depth of the hair, giving it a more realistic appearance.
Don’t be afraid to add extra strands or details to the hair. These additional elements can contribute to the overall realism and dynamic nature of the illustration. Consider the movement and natural flow of the hair, and incorporate those details into your drawing. By paying attention to the small nuances, you can elevate the quality of your hair illustrations.
Remember, practice makes perfect. Take your time to refine the finishing touches and details of your hair drawings. To truly bring the illustration to life, focus on the small details that make each strand and lock of hair unique. With patience and attention to detail, your hair illustrations will stand out and impress viewers.
Now, let’s take a look at an example of how these finishing touches and details can enhance a hair illustration:
In this example, the additional strands and details add texture and movement to the hair illustration. The blended colors and realistic shading create depth and dimension, making the hair look more lifelike.
By following these hair detailing tips and focusing on the finishing touches, you can elevate your hair illustrations and create captivating artwork.
Techniques for Adding Detail to Hair Illustrations
| Technique | Description |
|---|---|
| Blending Modes | Experiment with different blending modes to create smooth transitions and realistic textures in the hair. |
| Layering | Use layering techniques to build up depth and add complexity to the hair illustration. |
| Extra Strands | Add extra strands and details to make the hair look more realistic and dynamic. |
| Attention to Small Details | Focus on the small nuances of each strand and lock of hair to add authenticity to the illustration. |
Conclusion
Drawing hair is a challenging but rewarding process. By considering the construction, volume, shape, and style of the hair, artists can create realistic and visually appealing hair illustrations. Understanding the importance of marking the hairline, mapping out the direction of the hair, and adding volume and texture can take your hair drawings to the next level.
Using real-world hair references can be helpful for learning how different styles and textures of hair are formed. Additionally, experimenting with various techniques, such as outlining for wavy hair or thinking of curls as wrapped cylindrical shapes, can add depth and character to your hair illustrations.
Remember, practice makes perfect. From sketching the general shape and outline to adding values, textures, and finally, color and highlights, each step contributes to bringing your hair illustrations to life. With patience, practice, and an open mind, you can master the art of drawing hair and create captivating characters and artworks.

