How to Draw a Koala – Drawing Turorials and Coloring Tips
Are you ready to unleash your artistic talent and master the art of drawing a koala? Whether you’re a beginner or an experienced artist, this step-by-step tutorial will guide you through the process of creating a detailed and lifelike koala drawing. From sketching the head shape to adding the final touches of color, you’ll learn all the tips and techniques needed to bring this iconic Australian animal to life on paper.
But wait, what if I told you that drawing a koala is more than just following a set of instructions? What if there’s a secret technique that will take your koala drawing to the next level? Get ready to challenge your beliefs and delve into the world of koala artistry as we unlock the secrets of creating a truly breathtaking koala drawing.
Key Takeaways:
- Follow the step-by-step guide to draw a realistic koala.
- Learn shading and coloring techniques to enhance your drawing.
- Discover the secret technique to elevate your koala drawing skills.
- Unleash your creativity and experiment with colors in your artwork.
- Share your koala drawing on social media and showcase your artistic achievement.
Step 1: Start with the Head Shape
To begin drawing a koala, start by sketching an uneven circle shape with a narrow top and a wider bottom. This will serve as the basic outline of the koala’s head.
Remember to use light strokes and avoid pressing down too hard with your pencil to maintain a neat and polished appearance. This step is beginner-friendly and sets the foundation for the rest of the drawing.
Step 2: Outline the Head and Body
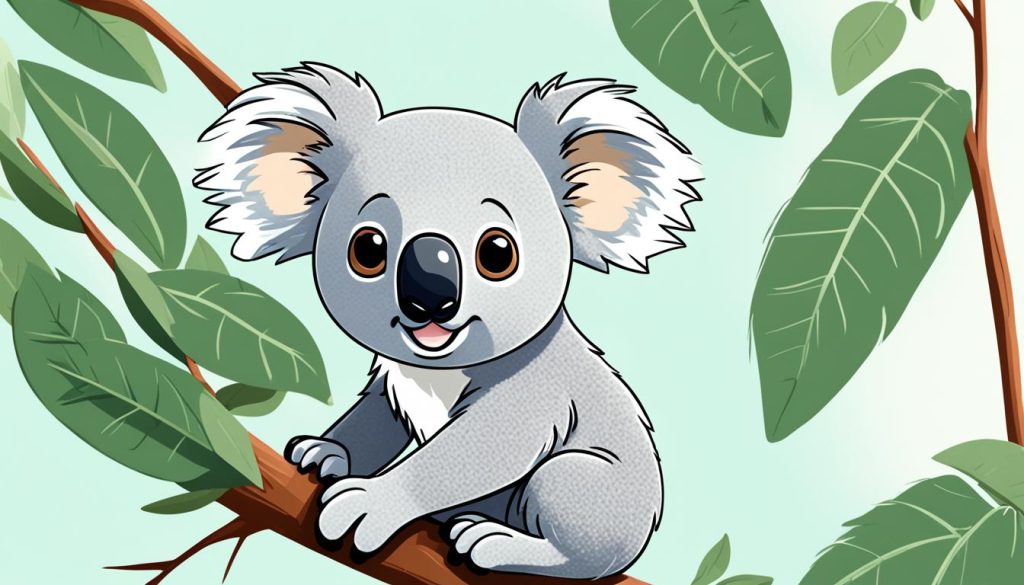
In the next step, let’s outline the head and body of our koala. This is an important part of the drawing process as it helps establish the overall shape and proportions. Follow these simple steps to create an accurate outline:
- Start by drawing an uneven U-shaped curve underneath the koala’s head. This curve will form the outline of the body.
- Ensure that the head is slightly larger than the body to maintain proper proportions.
- Refer to the illustration below as a guide for shape and size.
By outlining the head and body, you’ll give your koala drawing a solid foundation. It’s crucial to pay attention to the proportions and make any adjustments as needed to achieve an accurate representation of a koala.
| Step | Instructions |
|---|---|
| 1 | Draw an uneven U-shaped curve for the body. |
| 2 | Ensure the head is slightly larger than the body. |
| 3 | Make adjustments to achieve proper proportions. |
Step 3: Draw the Arms
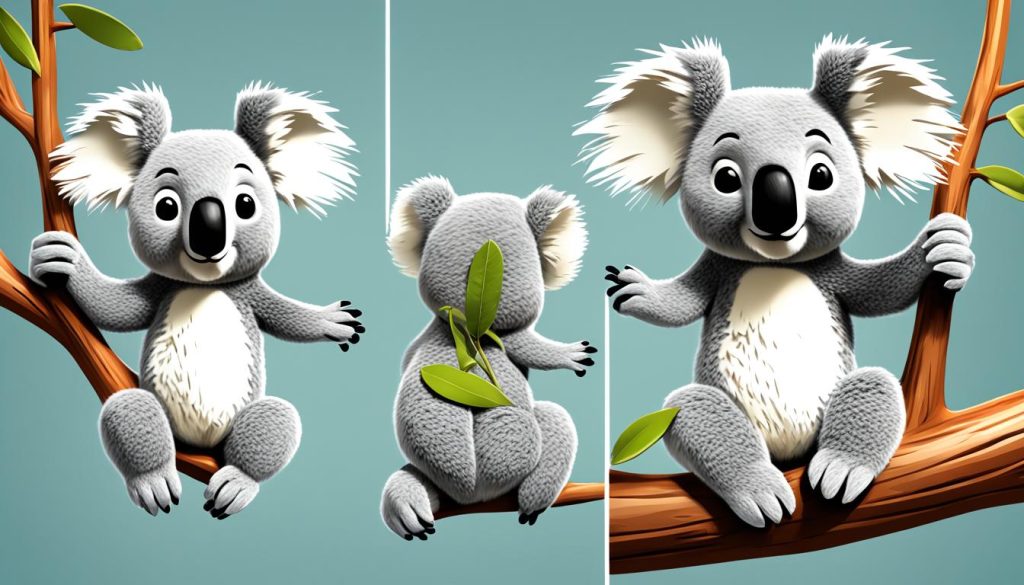
In this step of the koala drawing tutorial, we will focus on adding the arms to our koala. Drawing the arms is an essential detail that will bring depth and realism to your artwork.
To begin, use your pencil to draw two elongated U-shaped curved lines on either side of the koala’s body. These lines will serve as the arms of the koala. Take note of the placement and size of the arms, ensuring they are proportionate to the body.
Next, add small curved lines at the bottom of each arm to create the distinction between the paws. These curved lines will represent the koala’s fingers. Pay attention to the shape and positioning of these lines, as they contribute to the overall accuracy of your drawing.
Take a moment to assess your drawing and make any necessary adjustments. If you notice any overlapping lines from the body outline, gently erase them to maintain a clear and polished appearance.
By incorporating the arms in your koala drawing, you are adding important details that contribute to the overall realism of the artwork. Keep up the great work!
Step 4: Sketch the Ears
Koalas are known for their shaggy ears, which are an important feature to capture in your drawing. To begin, draw downward-sloping curved lines on each side of the koala’s head to represent the ears. Ensure that the length and shape of the ears are proportionate to the size of the head, maintaining a realistic look. Once the basic ear shape is in place, add scalloped lines at the bottom to complete the texture of the ears.
Remember to use light and confident pencil strokes while sketching the ears. This step adds character and enhances the overall appearance of your koala drawing.
| Key Points | Details |
|---|---|
| Drawings | 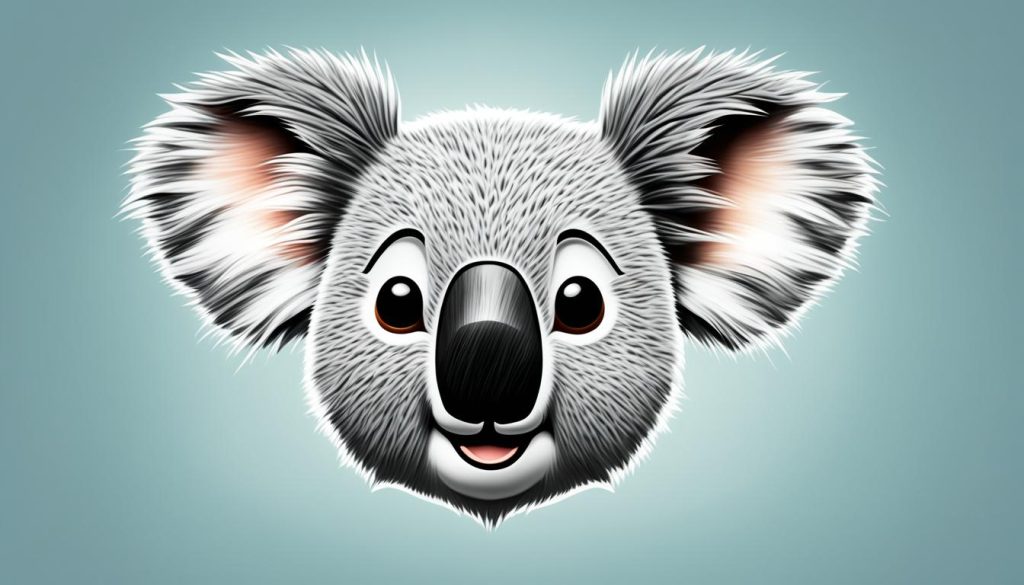 |
| Use curved lines to represent downward-sloping ears. | |
| Add scalloped lines at the bottom of the ears for texture. | |
| Ensure the ear size is proportionate to the head. | |
Step 5: Add the Legs and Feet
Positioning the legs and feet of the koala is an essential step in bringing your drawing to life. By following this drawing guide, you’ll be able to accurately depict the koala’s lower body.
Begin by drawing a curve on the left side of the koala’s body, which will serve as the outline for the left leg. This curve should follow the natural contours of the body, creating a sense of dimension and movement.
Next, draw a diagonal oval shape on the left side, slightly overlapping with the leg curve. This oval represents the left foot of the koala. To add detail, include three curves at the top of the oval to depict the toes and claws of the foot.
Repeat the same process on the right side of the koala’s body to create the right leg and foot. Remember to make the right leg and foot slightly larger than the left, as the koala is slightly facing the left in the drawing. This positioning adds a sense of depth and realism.
With the addition of the legs and feet, the lower body of the koala is now complete. Take a moment to review your positioning and make any necessary adjustments for a well-balanced drawing.
Koala Legs and Feet
| Leg | Foot |
|---|---|
| Left | Diagonal oval shape with three curves at the top |
| Right | Larger than the left foot, with three curves at the top |
Step 6: Add Patterns and Details
In this step, you’ll enhance your koala drawing by adding intricate patterns and small details. Paying attention to these finer elements is crucial as they bring depth and realism to your artwork. Follow the instructions below:
1. Outline Inside the Ears
Start by drawing a detailed outline inside the koala’s ears. Use gentle curves and lines to capture the texture and shading unique to koala ears. Take your time and ensure that the outlines are precise and accurate.
2. Chest and Soles of the Feet
Move on to the chest area and focus on adding patterns that mimic the coarse fur found on a koala’s chest. Use short, light strokes or small dots to create the effect. Additionally, pay attention to the soles of the koala’s feet and add small lines or patterns to depict the texture of the paws.
3. Work from Top to Bottom
When adding patterns and details, it is essential to work from the top of the drawing to the bottom. This ensures that you maintain a consistent flow and prevent smudging or accidental smearing of the existing lines. Take your time and exercise patience throughout this process.
By carefully incorporating these patterns and small details, your koala drawing will come to life with authenticity and charm. The intricate textures will captivate the viewer and showcase your attention to detail. Remember, practice makes perfect, so don’t hesitate to explore various approaches and experiment with different patterns. Let your artistic intuition guide you.
| Patterns and Details | Benefits |
|---|---|
| Enhances realism | Brings depth to the drawing |
| Highlight the koala’s unique features | Showcases attention to detail |
| Adds visual interest and texture | Captivates the viewer’s attention |

“The beauty of a koala drawing lies in the small details that make it come alive on the page.” – Artist Name
Step 7: Draw the Nose and Eyes
To bring life to your koala drawing, it’s time to focus on the facial features – the nose and eyes. These features play a crucial role in expressing the personality and emotions of the koala. Follow these simple steps to create realistic and captivating eyes and a cute, distinctive nose.
The Koala’s Nose
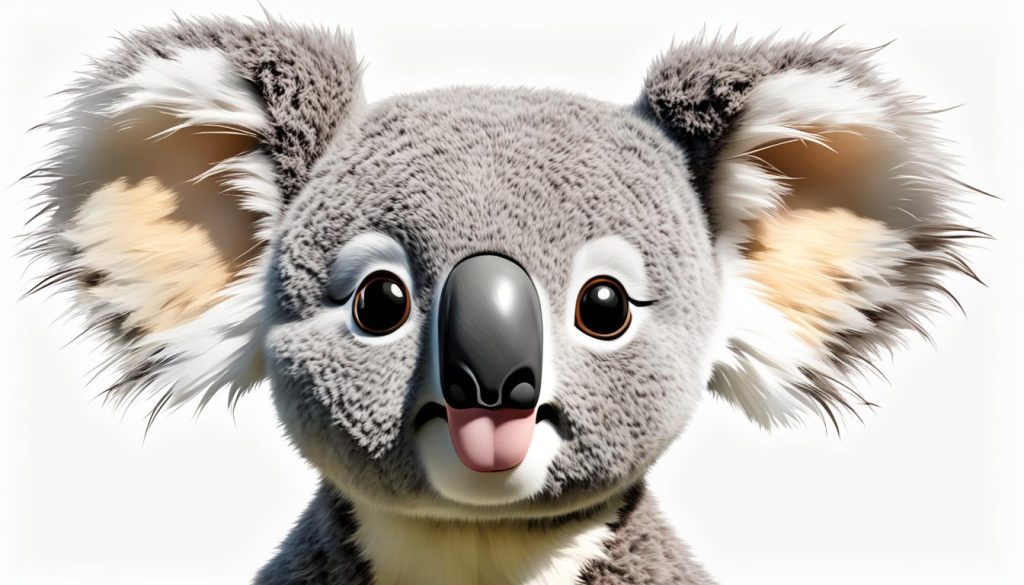
Begin by sketching an irregular standing oval shape for the koala’s nose. The bottom part of the oval should be wider than the top, resembling a slightly rounded triangle. Position the nose just below the center of the koala’s face.
The Koala’s Eyes
Now, let’s move on to the eyes, which will add expression to your drawing. Start by drawing two upright oval shapes for the koala’s eyes. Place them symmetrical on either side of the nose, slightly slanted towards the center. These eyes will give your koala a cute and friendly look.
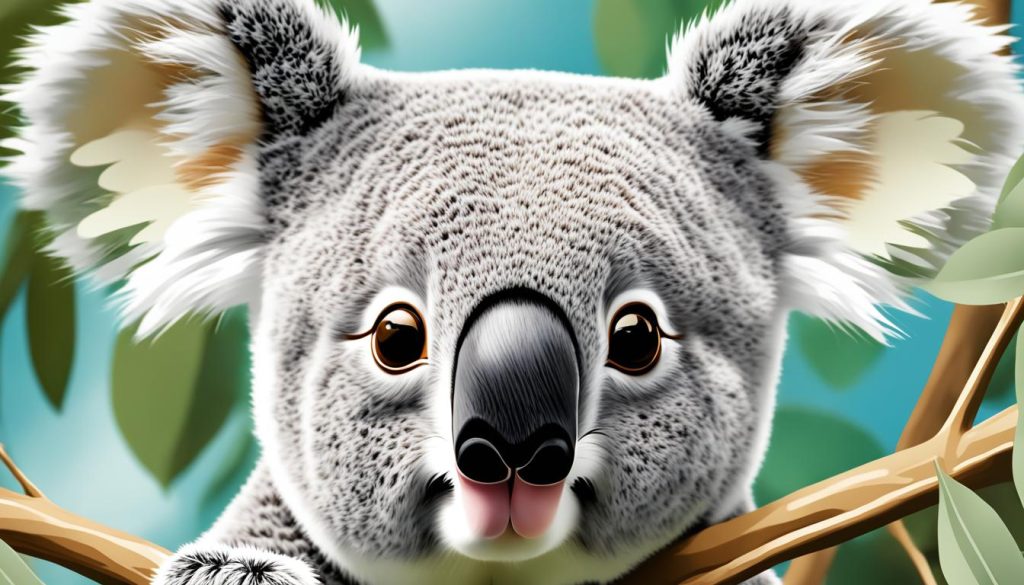
Next, add smaller circles inside each oval shape to represent the pupils. These circles should be positioned towards the top-left side of each eye. Leave a small section unshaded within each pupil to create a sparkling effect, bringing the eyes to life.
Tips: To enhance the expressiveness of the eyes, you can experiment with shading and highlighting techniques. Darken the outer edges of the eyes and gently shade the area beneath the pupils to create depth. Use a light touch to add highlights on the irises and around the unshaded section for a sparkling effect. This attention to detail will make your koala’s eyes truly stand out!
By adding the nose and eyes, you’re getting closer to completing your koala drawing! These facial features give your koala character and charm. Now, let’s move on to the final step – coloring your drawing to make it even more vibrant and lifelike.
Step 8: Color your Drawing
Once the drawing is complete, it’s time to bring it to life with colors. Adding color to your koala drawing allows for artistic expression and creativity, enhancing the overall visual impact.
While koalas typically have grey-brown fur and white undersides, don’t be afraid to unleash your imagination and experiment with different color schemes. Embrace your artistic skills and let your creativity shine through as you explore various color combinations.
Consider using shades of brown, gray, and white as a starting point for the koala’s fur. Then, mix in other colors to add depth and interest to your drawing. You can incorporate subtle hints of green for the eucalyptus leaves that koalas love to munch on or even sprinkle in vibrant pops of color to make your koala truly unique.
Remember, this step is an opportunity for artistic expression, so feel free to deviate from realistic colors and let your creativity guide your choices. Showcasing your personal style and vision through color will bring vibrancy and life to your finished koala drawing.
| Coloring Tips | Examples |
|---|---|
| Blend and layer: Use colored pencils or paints to blend and layer colors, creating subtle shading and dimension. | Example: Blend shades of brown and gray to add depth to the koala’s fur. |
| Add texture: Use different techniques, such as stippling or cross-hatching, to create texture and mimic the appearance of fur. | Example: Use small, quick strokes to depict the soft, fluffy texture of the koala’s fur. |
| Highlight and shadow: Add highlights with lighter shades and create shadows with darker shades to give your drawing a three-dimensional look. | Example: Use a touch of white to add highlights on the koala’s fur and create a sense of volume. |
Remember to have fun and let your creativity flow as you color your koala drawing. This is your chance to infuse your artwork with your own personal touch, making it a true expression of your artistic talent!
Conclusion
Congratulations on completing your koala drawing tutorial! Through this step-by-step guide, you have successfully created a detailed and realistic representation of a koala. Your artistic achievement is worth celebrating, and you should feel proud of your creative expression.
Don’t hesitate to share your artwork on social media platforms and connect with fellow artists who can appreciate your talent. Sharing your koala drawing will not only showcase your artistic skills but also inspire others to explore their own creativity.
Remember that drawing is an ongoing journey of artistic development. Keep exploring different subjects and styles to further enhance your skills. Embrace experimentation and embrace the joy of creative expression. With practice and dedication, your artistry will continue to evolve.
Continue your artistic endeavors and enjoy every moment of your creative journey. The process of drawing not only allows you to create visually appealing artwork but also provides an outlet for self-expression and personal growth. Keep pursuing your passion and see where your artistic abilities take you!


