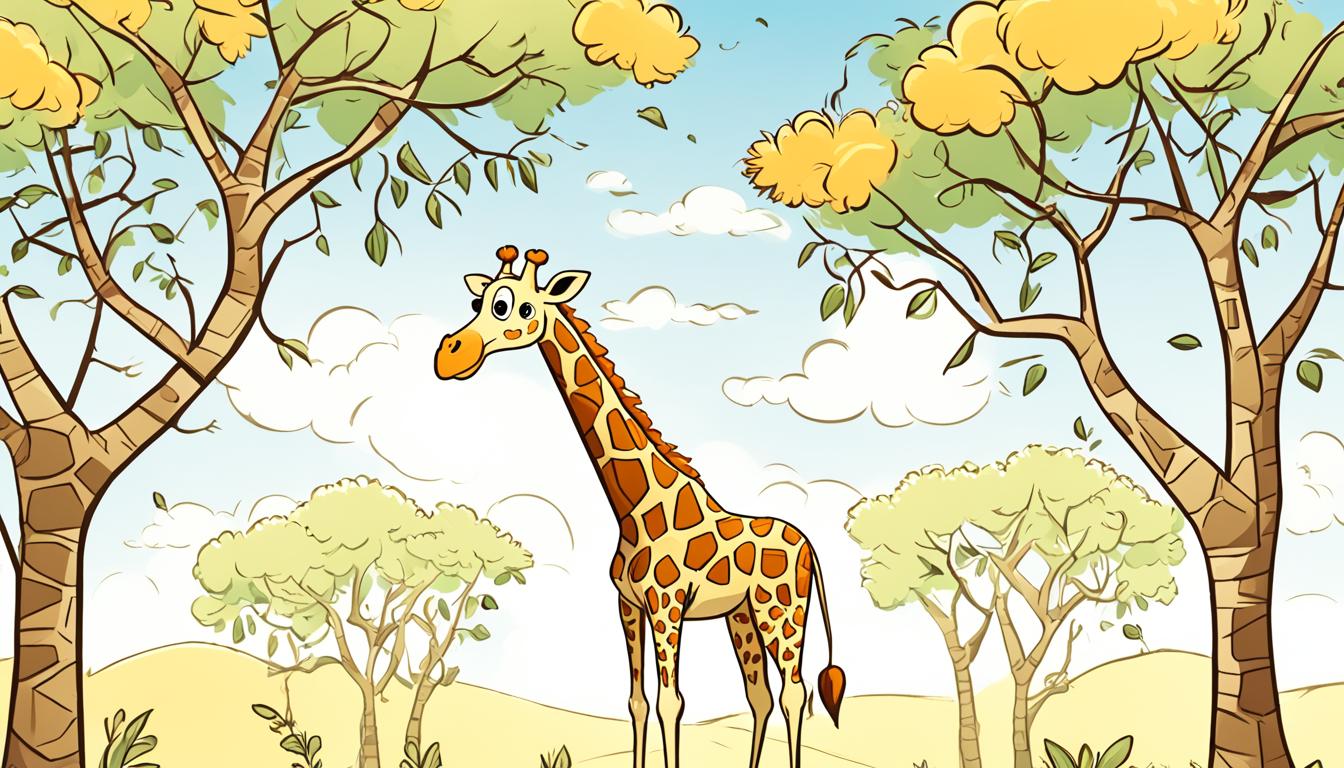
How to Draw a Giraffe – Drawing Turorials and Coloring Tips
Have you ever wondered how to capture the grace and elegance of a giraffe in your drawings? Whether you’re an aspiring artist or simply looking to improve your skills, this article is here to guide you through the process. From drawing a giraffe’s head to adding the signature pattern and coloring your artwork, we have you covered.
But first, let’s start with the basics. What makes a giraffe unique? How can you accurately depict its long neck, intricate patterns, and soulful eyes? Join us as we delve into the world of giraffe art and uncover the secrets to creating stunning giraffe drawings. Get ready to unlock your creativity and bring these majestic creatures to life on paper!
Key Takeaways:
- Learn step-by-step tutorials for drawing a giraffe’s head and body.
- Discover sketching techniques for realistic giraffe drawings.
- Master the art of adding the giraffe’s signature pattern to your artwork.
- Explore different coloring techniques to make your giraffe drawing come alive.
- Get inspired by giraffe art from various artists and styles.
Step-by-Step Tutorial for Drawing a Giraffe Head
Are you ready to dive into the exciting world of giraffe drawing? In this section, we will guide you through a step-by-step tutorial for drawing a giraffe head. By breaking down the process into manageable steps, we’ll help you create a stunning representation of this majestic creature.
First, let’s start with the basics.
1. Begin by drawing a large oval shape for the giraffe’s head. Position it towards the top of your drawing surface.
2. Add two small circles on the upper part of the oval to represent the giraffe’s ears.
3. Now, draw a long rectangular shape below the oval to outline the giraffe’s neck.
It’s time to bring your giraffe head to life.
4. Add the mouth by drawing a curved line that connects the neck to the bottom of the oval.
5. Within the oval, draw two smaller ovals for the eyes. Leave a small space between them.
6. Next, add the nostrils by drawing two small horizontal ovals just below the eyes.
The finishing touches will complete your giraffe head.
7. Extend two short lines upwards from the top of the head to create the giraffe’s horns.
8. Add the details by drawing lines along the neck to represent fur.
9. Finally, erase any unnecessary lines and refine the shape of the head and ears.
With these simple yet effective steps, you’ve successfully drawn a giraffe head! Practice this tutorial several times to improve your skills and gain confidence in capturing the unique features of a giraffe’s head.
Now that you’ve mastered drawing the giraffe head, you’re ready to take on more complex drawings of this magnificent animal. Continue reading to explore sketching techniques, coloring tips, and inspiration from the giraffe art gallery. Let your creativity soar as you delve deeper into the world of giraffe art.
Sketching Techniques for Realistic Giraffe Drawings
When it comes to creating realistic giraffe drawings, mastering the art of sketching is essential. In this section, we will explore various sketching techniques that will help you capture the proportions and anatomy of a giraffe accurately. Whether you’re a beginner or an experienced artist, these tips and tricks will take your giraffe drawings to the next level.
Understanding Giraffe Proportions and Anatomy
Before you start sketching, it’s crucial to have a good understanding of giraffe anatomy. Pay close attention to their long neck, tall slender legs, and unique body shape. Observing reference images or studying giraffes in real life can provide valuable insights into their structure and movement.
Here are some key points to remember:
- Giraffe Head: Begin by sketching the basic head shape, focusing on the elongated snout, ears, and ossicones (horns).
- Neck and Body: Sketch the long, curved neck and the body, paying attention to the gentle curves and proportions.
- Legs and Hooves: Giraffes have long, slender legs with distinct joints. Observe the angles and proportions carefully as you sketch them.
- Tail: Don’t forget to add the long, tufted tail, which is an important feature of a giraffe’s anatomy.
By understanding these aspects of giraffe anatomy, you’ll be better equipped to create accurate and realistic sketches.
Step-by-Step Tutorial: Sketching a Giraffe
Now that you have an understanding of giraffe anatomy, let’s dive into a step-by-step tutorial that will guide you through the sketching process. Follow these steps to bring your giraffe drawing to life:
- Start by lightly sketching the basic shapes to establish the overall proportions of the giraffe’s body and head.
- Add more details to the head, including the eyes, ears, and ossicones. Pay attention to their placement and size.
- Sketch the long neck, gradually adding the characteristic curves and gentle tapering.
- Move on to the body, carefully capturing the unique contours and proportions.
- Sketch the legs, taking note of the joints and the proportions between the upper and lower portions.
- Don’t forget to add the tail, paying attention to its length and tufted appearance.
- Refine your sketch by adding more details and defining the lines. Erase any unnecessary guidelines.
Remember to start with light and loose sketches, gradually adding more details as you progress. Take your time and observe the reference images closely to ensure accuracy.

Practicing these sketching techniques will help you develop a keen eye for capturing the unique features of a giraffe. Keep experimenting and refining your skills, as every stroke brings you one step closer to creating stunningly realistic giraffe drawings.
Adding the Giraffe’s Signature Pattern
Discover how to add the distinctive pattern to your giraffe drawing in this section. The giraffe’s markings are an essential element that brings the artwork to life. By following these simple steps, you can create a realistic giraffe pattern that captures the essence of this magnificent animal.
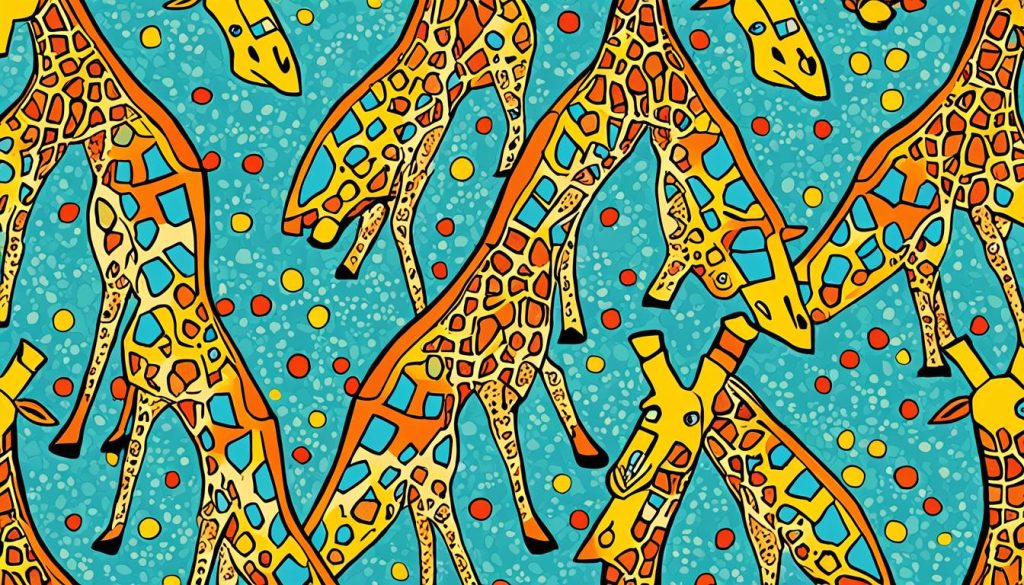
To start, imagine wobbly rectangular shapes spread across the entire body of the giraffe. Begin with larger rectangles near the top and gradually decrease their size as you move down towards the legs and face. This technique creates a realistic pattern that wraps around the contours of the body, mimicking the unique markings of a giraffe.
Here is a step-by-step guide for creating the giraffe pattern:
- Start with the larger rectangles at the top of the body, just below the head.
- Gradually decrease the size of the rectangles as you move down towards the legs.
- Pay attention to the direction of the rectangles, aiming to follow the shape and curvature of the giraffe’s body.
- Use shorter, narrower rectangles near the face to capture the smaller pattern on the head.
With these steps, you can create a captivating giraffe pattern that adds depth and authenticity to your drawing. Remember to take your time and observe the proportions and placement of the rectangles carefully. It’s these details that truly bring your giraffe drawing to life.
Practice Exercise:
To reinforce your understanding of the giraffe pattern, try creating a small practice sketch. Use a reference image or the step-by-step guide above, and focus on the placement and shapes of the rectangular markings. Pay attention to the difference in size and direction as you move across the giraffe’s body. This exercise will help you develop a better understanding of how to replicate the pattern in your future giraffe drawings.
Now that you have completed the giraffe pattern, you can move on to the next section to explore various coloring techniques to bring your giraffe drawing to life.
Coloring Your Giraffe Drawing
Now that you have mastered the art of drawing a giraffe with our step-by-step tutorials, it’s time to bring your creation to life with vibrant colors. In this section, we will provide you with giraffe coloring tips and techniques to add depth, texture, and realism to your artwork.
When it comes to coloring your giraffe drawing, you have a variety of options to choose from. Whether you prefer using pencils, markers, or crayons, the key is to start with a base tone and build up layers to create depth and definition. Here are some tips to guide you:
- Establish the Base Tone: Begin by applying a light, neutral color to cover the entire giraffe’s body. This will serve as the foundation for your coloring.
- Add Shadows and Highlights: Use darker shades of brown or gray to create shadows on the giraffe’s body, emphasizing areas where light doesn’t reach. Apply lighter colors to add highlights and bring attention to the protruding parts of the body, such as the ears and horns.
- Create Texture and Fur: To give your giraffe a realistic appearance, use short, swift strokes in the direction of the fur to mimic its texture. Vary the pressure and the angle of your strokes to add depth and dimension.
- Blend Colors Smoothly: If you’re using colored pencils, markers, or pastels, consider using a blending tool or a tissue to blend colors softly, creating a smoother transition between different shades.
- Experiment with Patterns and Backgrounds: Feel free to add patterns or backgrounds to your giraffe drawing to enhance its visual appeal. Whether it’s a savannah scene or geometric patterns, let your creativity guide you.
Remember, there’s no right or wrong way to color your giraffe drawing. It’s all about experimentation and finding your unique artistic style. Now, let’s take a look at some giraffe art tutorials that showcase different coloring techniques and styles.
Giraffe Art Tutorials
“Colors, like features, follow the changes of the emotions.” – Pablo Picasso
To expand your coloring skills and explore various techniques, we have curated a collection of giraffe art tutorials from talented artists. These tutorials will provide you with inspiration and insights into different coloring approaches. Let’s dive in and see how other artists bring giraffes to life with colors!

| Artist | Technique |
|---|---|
| Emma Thompson | Realistic Coloring with Colored Pencils |
| Natalie Martinez | Watercolor Blending for Vibrant Giraffes |
| Liam Johnson | Impressionist Approach with Pastels |
| Emily Davis | Abstract Coloring for Unique Giraffe Art |
Feel free to study these tutorials and adapt the techniques to match your personal style. Remember, coloring is a process of self-expression, so don’t be afraid to explore and experiment!
Inspiration from Giraffe Art Gallery
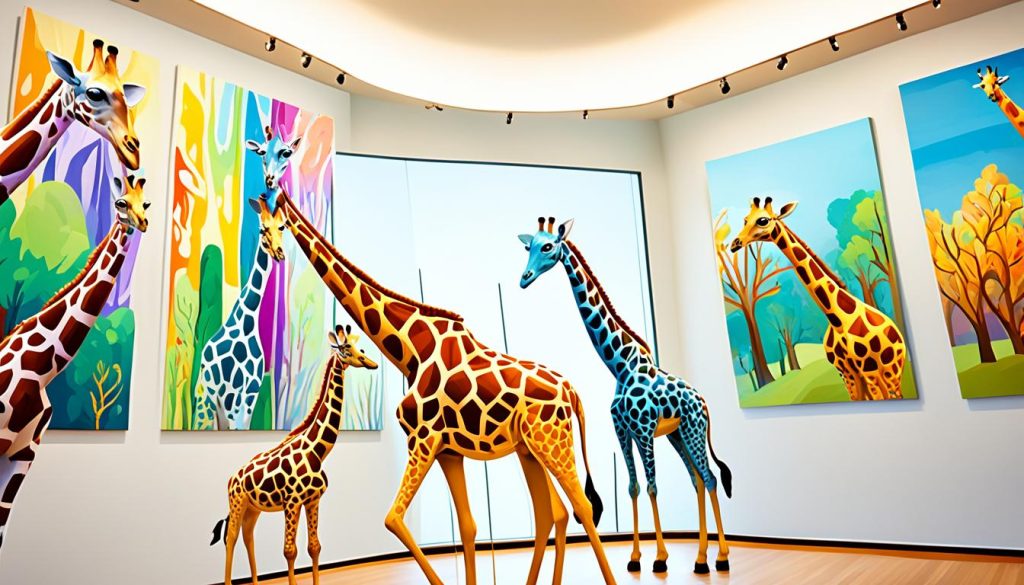
Immerse yourself in the captivating world of giraffe art at the Giraffe Art Gallery. This curated collection features a diverse range of original paintings and drawings created by talented artists of different ages and skill levels. From vibrant watercolor paintings to detailed pencil sketches, each piece showcases the unique beauty and grace of giraffes.
As you explore the gallery, you’ll discover a multitude of artistic interpretations depicting giraffes in various styles and techniques. Marvel at the intricate brushstrokes that bring the gentle sway of a giraffe’s neck to life, or admire the meticulous attention to detail that captures the distinctive patterns and textures of their fur.
“Art enables us to find and lose ourselves at the same time.” – Thomas Merton
Drawing Inspiration
Viewing these awe-inspiring artworks can serve as a wellspring of inspiration for your own giraffe drawings. Study the different artistic approaches and use them as a reference to enhance your skills and broaden your creative horizons. Whether you’re a budding artist or an experienced illustrator, the Giraffe Art Gallery offers a wealth of inspiration to ignite your imagination.
If you’re new to drawing giraffes, observing the artwork in the gallery can help you understand the unique anatomy and characteristics of these magnificent creatures. Take note of how different artists depict the intricate features of a giraffe’s face, the contours of their body, and the elongated elegance of their legs. By studying a variety of artistic styles, you can refine your observation skills and develop your own artistic voice.
Discover Your Style
One of the captivating aspects of giraffe art is the endless possibilities for artistic expression. From abstract interpretations to hyper-realistic portrayals, artists bring their unique perspectives to capture the essence of these extraordinary creatures. As you explore the Giraffe Art Gallery, take note of the styles that resonate with you the most. Experiment with different techniques, mediums, and styles to find your own artistic voice and represent giraffes in a way that truly speaks to you.
The Giraffe Art Gallery is more than just a collection of amazing artwork. It’s a source of inspiration, a catalyst for creative growth, and a celebration of the beauty of giraffes. Take the time to indulge your artistic senses and let the gallery’s offerings inspire you to create your own stunning giraffe drawings.
Tips for Drawing Giraffes for Beginners
If you’re a beginner looking to learn how to draw a giraffe, you’ve come to the right place! In this section, we’ll provide you with valuable tips and guidance to help you create your own adorable giraffe drawing.
Understanding Basic Shapes and Proportions
Before starting your giraffe drawing, it’s important to familiarize yourself with the basic shapes and proportions that make up a giraffe’s body. By breaking down the giraffe into simple shapes, it becomes less intimidating to draw.
Here are the key shapes to focus on:
- The head: Draw an elongated oval shape.
- The body: Sketch a rectangular shape with rounded edges.
- The legs: Use straight, vertical lines for the legs.
- The neck: Draw a long, curved line for the neck.
By simplifying the giraffe’s body into these basic shapes, you’ll find it much easier to start your drawing.
A Beginner-Friendly Step-by-Step Tutorial
Follow this simple step-by-step tutorial to create a recognizable giraffe drawing:
- Start by drawing the head using an elongated oval shape.
- Next, add the body below the head using a rectangular shape.
- Sketch the legs using straight, vertical lines. Remember that giraffes have long legs!
- Connect the head to the body using a curved line for the neck.
- Add the ears and the ossicones (horns) on top of the head.
- Outline the eyes, nose, and mouth using small curves and lines.
- Finish your drawing by adding details such as spots or patterns and shading to give your giraffe depth.
Remember, practice makes perfect! Don’t be discouraged if your first attempt doesn’t turn out exactly as you imagined. Keep practicing, and in no time, you’ll be drawing adorable giraffes with ease.
| Giraffe Drawing Tips for Beginners | Examples |
|---|---|
| Start with basic shapes to simplify the drawing process | 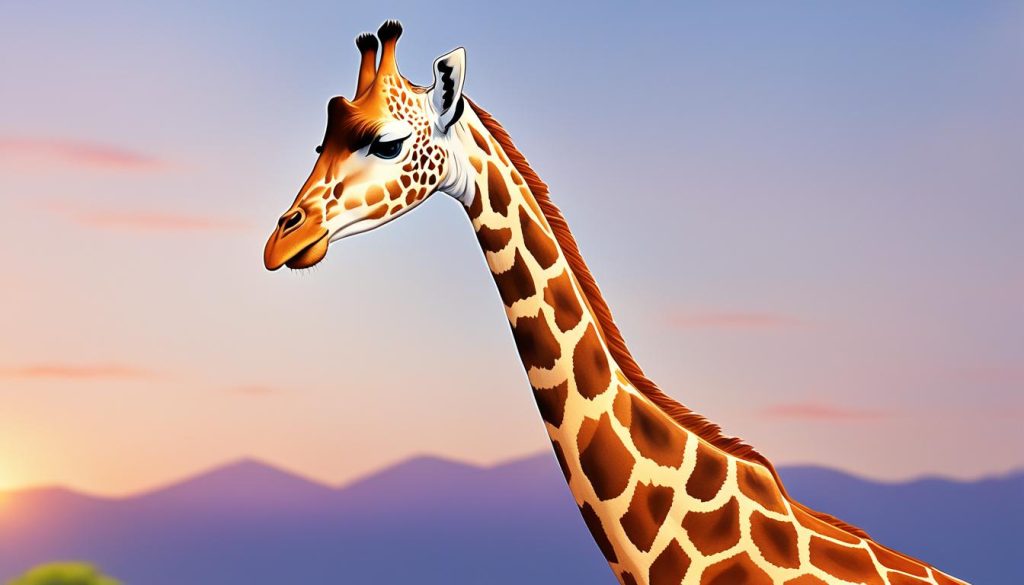 |
| Follow step-by-step tutorials for guidance |  |
| Practice regularly to improve your skills |  |
Remember, drawing giraffes should be fun and enjoyable. Embrace your creativity and add your own unique touch to each drawing.
Overcoming Challenges: Drawing Giraffe Eyes
Drawing realistic giraffe eyes can be a challenge, but with the right guidance and tips, you can overcome it and create captivating giraffe drawings. The eyes are a crucial part of capturing the essence and expression of these majestic creatures.
When drawing giraffe eyes, it’s essential to observe and replicate their unique structure. Pay attention to the shape, placement, and details that make up their eyes. Take note of the long, elongated shape and the way they sit on the giraffe’s face.
To help you master the art of drawing giraffe eyes, here’s a step-by-step guide:
- Start by sketching the basic outline of the eye shape, following the curvature of the giraffe’s face.
- Add the iris and pupil within the eye shape. Giraffes have relatively large and oval-shaped eyes, so make sure to capture their proportions accurately.
- Pay attention to the reflection and highlight in the eye. This adds depth and brings a lifelike quality to your drawing. Observe how light interacts with the eye and replicate it accordingly.
- Don’t forget to sketch the eyelashes and upper eyelid. Giraffes have long, elegant eyelashes, which contribute to their unique appearance.
- Finally, add shading and texture to the eye to enhance its three-dimensional quality. Pay attention to the transition of light and shadow, emphasizing the contours and curves of the eye.
With practice and patience, you’ll be able to accurately draw the eyes that truly bring your giraffe drawings to life. Remember, each eye may have its own unique characteristics, so don’t be afraid to observe and adjust as needed. Let your creativity shine through as you capture the soulful gaze of a giraffe.
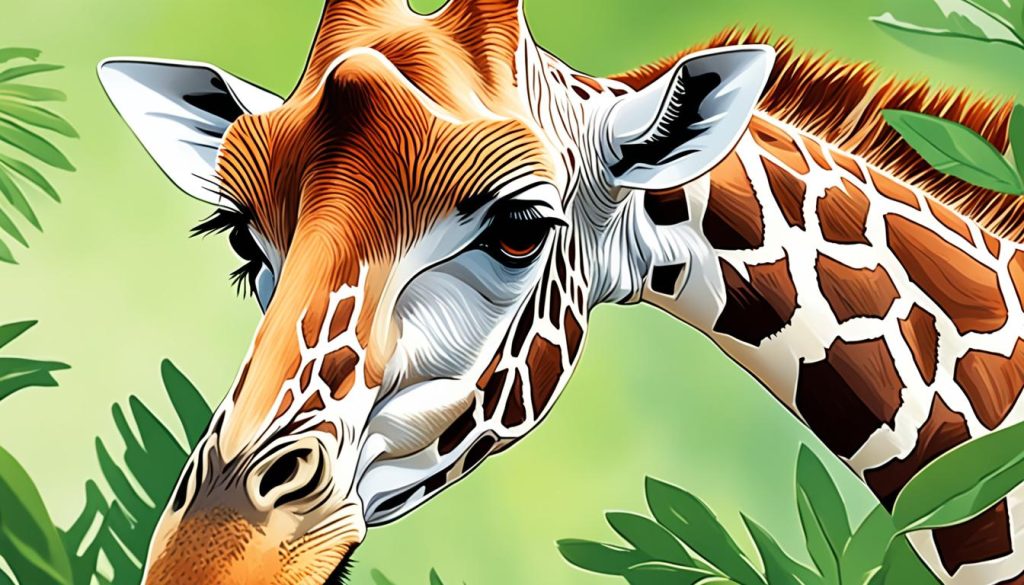
“The eyes are the windows to the soul. Capturing the essence and expression of giraffe eyes is key to a successful drawing. Take your time, observe, and bring your giraffe to life.” – Michelle Davis, Wildlife Artist
Different Approaches to Giraffe Art
Explore the diverse world of giraffe art and discover various styles and techniques used by artists to depict these magnificent creatures. Whether you prefer a realistic, abstract, or cartoonish approach, there’s a style that will suit your artistic taste. Experiment with different techniques and find your own unique way of expressing giraffes through art.
Realistic Depictions
Artists who prefer a realistic style strive to capture every detail of a giraffe’s anatomy and features. They focus on portraying the distinctive spots, long neck, gentle eyes, and graceful movements of these majestic animals. Realistic depictions require careful observation and meticulous attention to capturing the texture of the giraffe’s fur and the play of light and shadow.
Abstract Interpretations
In an abstract approach, artists emphasize the essence and spirit of giraffes rather than capturing their exact physical attributes. Through the use of bold strokes, vibrant colors, and unconventional shapes, abstract artists create unique and imaginative representations of giraffes. These artistic interpretations evoke emotions and invite viewers to contemplate the beauty and uniqueness of these creatures.
Cartoonish Charm
Cartoonish giraffe art brings a playful and whimsical charm to the table. Artists use simplified shapes, exaggerated features, and vibrant colors to create adorable and endearing giraffe characters. This style is popular among children’s book illustrators, animators, and artists who want to infuse their artwork with lightheartedness and a sense of joy.
“Art enables us to find ourselves and lose ourselves at the same time.” – Thomas Merton
Whatever style you choose, remember that art is a personal expression of creativity and individuality. Use these different approaches as inspiration, but feel free to experiment and develop your own unique style. Let your imagination run wild and create giraffe art that speaks to your artistic vision.
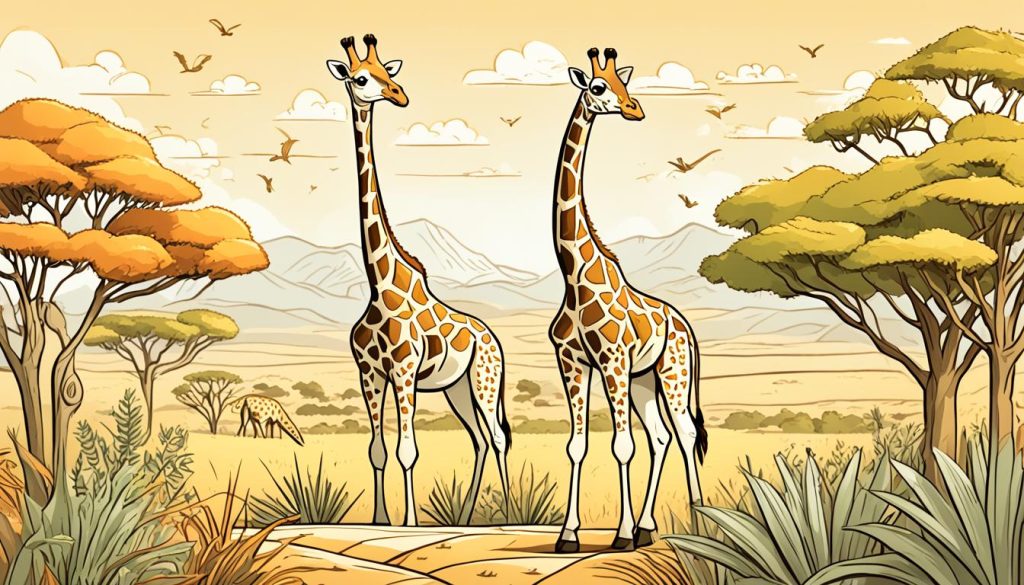
| Style | Description | Example |
|---|---|---|
| Realistic | Focuses on capturing detailed anatomy and features, with a strong emphasis on realism. |  |
| Abstract | Emphasizes the essence and spirit of giraffes through bold strokes, vibrant colors, and unconventional shapes. |  |
| Cartoonish | Creates adorable and endearing giraffe characters with simplified shapes, exaggerated features, and vibrant colors. | 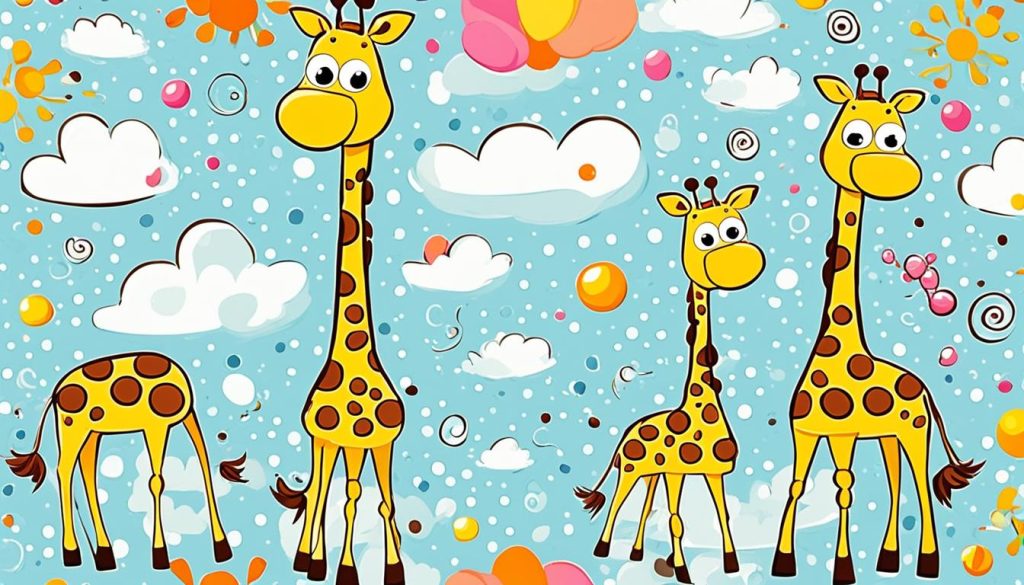 |
Adding the Finishing Touches to Your Giraffe Drawing
Now that you have completed the main elements of your giraffe drawing, it’s time to add the finishing touches that will truly bring your artwork to life. These final details will refine your lines, enhance shading and highlights, and add realistic textures and fur patterns. Whether you want to achieve a sense of realism or express your artistic interpretation, these techniques and tips will help your giraffe drawing stand out.
Refining Lines
Take a close look at your giraffe drawing and carefully evaluate the lines you have created so far. Use a fine-tipped pen or pencil to go over any areas where the lines may appear shaky or uneven. Pay attention to the contours of the giraffe’s body, the edges of the patterns, and the details in the face. This step will give your drawing a cleaner and more polished look.
Enhancing Shading and Highlights
Shading and highlights play a crucial role in adding depth and dimension to your giraffe drawing. Use different grades of pencils or shading tools to create smooth transitions between light and dark areas. Study your reference image or observe real-life giraffes to identify the areas where shadows fall and highlights are reflected. Add shading to the body, neck, legs, and other parts of the giraffe, paying attention to the direction of light source.
Pro Tip: Layering multiple shades of the same color can create a more realistic effect. Experiment with blending techniques and different pressure levels to achieve the desired results.
Adding Realistic Textures and Fur Patterns
To make your giraffe drawing truly authentic, consider adding realistic textures and fur patterns. Observe the patterns on giraffes and replicate them using short, curved lines or small circles. Apply varying pressure to create lighter and darker areas, giving the fur a three-dimensional appearance. Be patient and take your time with this step, as it can greatly enhance the overall look of your drawing.
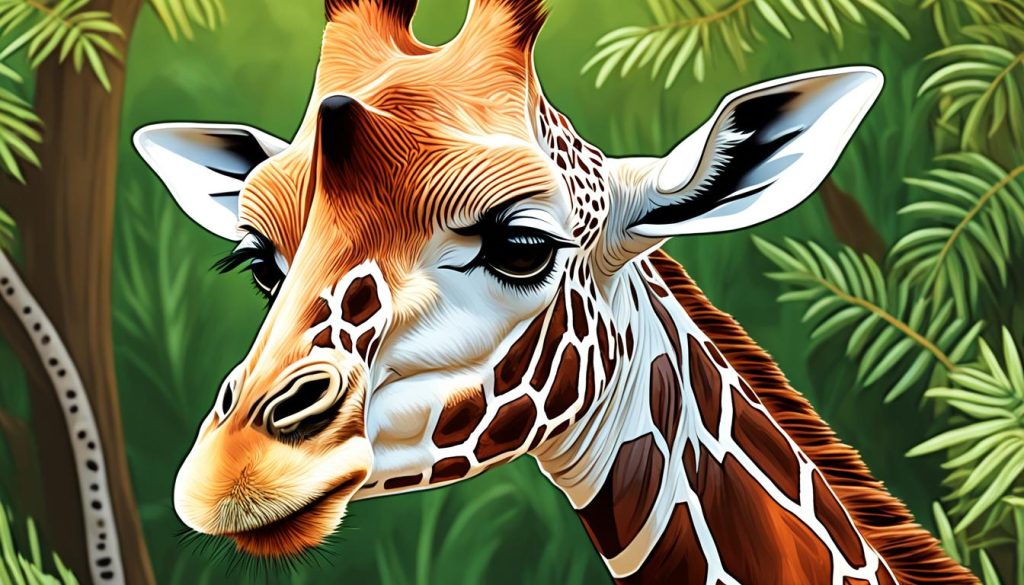
Remember, practice makes perfect. Don’t be afraid to experiment with different techniques and styles to find your unique artistic voice. With each new drawing, you’ll gain confidence and improve your skills. Enjoy the process and have fun adding those final touches to your giraffe drawing!
Conclusion
Congratulations, you’ve learned valuable techniques on how to draw a giraffe! Through step-by-step tutorials, sketching techniques, and coloring tips, you now possess the skills to create your own unique giraffe drawings. Feel free to explore different styles and approaches to giraffe art, allowing your creativity to flow.
Remember, practice is key to improving your artistic abilities, so make sure to set aside time regularly to hone your skills. Embrace the journey and have fun as you embark on your artistic adventure. Let your imagination run wild and see where it takes you as you bring giraffes to life on paper.
By mastering the art of drawing giraffes, you’ve joined a community of artists who appreciate and celebrate these incredible creatures. Share your artwork with others, seek feedback, and continue learning from fellow artists. Together, we can inspire and uplift one another, creating a vibrant and supportive artistic community.
