How to Draw a Christmas Tree – Drawing Turorials and Coloring Tips
Have you ever struggled to capture the festive spirit of a Christmas tree on paper? Do your drawings fall short of capturing its majestic beauty? Look no further, as we unveil the secrets to creating stunning Christmas tree drawings that will impress everyone around you. From step-by-step tutorials to coloring tips and techniques, this article will guide you on an artistic journey like no other.
Whether you’re a beginner or an experienced artist, these tutorials are designed to cater to all skill levels. We will take you through the process of drawing a Christmas tree, from laying the foundation and adding intricate details to exploring alternative styles that will make your tree stand out.
But it doesn’t stop there! We’ll also dive into the world of coloring, giving you insider tips on selecting the perfect shades and adding dimension to your artwork. Plus, we have curated a comprehensive color guide to assist you in creating the most captivating and vibrant Christmas tree drawings.
So, are you ready to bring the magic of the holiday season to life on your sketchbook? Let’s get started on this exciting journey of creativity and learn how to draw a Christmas tree like a true artist.
Key Takeaways:
- Discover step-by-step tutorials for drawing a Christmas tree
- Learn alternative techniques for creating unique and natural-looking trees
- Master the art of coloring your Christmas tree drawings
- Explore creative ideas to enhance your tree compositions
- Find the right materials and tools to achieve the best results
Easy Step-by-Step Christmas Tree Drawing Tutorial
Are you ready to bring the festive spirit to life on paper? In this easy step-by-step Christmas tree drawing tutorial, we’ll walk you through the process of creating a beautiful Christmas tree using simple techniques. Whether you’re a beginner or a seasoned artist, you’ll be able to follow along and create a stunning holiday masterpiece.
To get started, gather your drawing materials, including paper, pencils, erasers, and markers. Once you have everything you need, follow the steps below to draw your Christmas tree:
-
Step 1: Draw the Tree Trunk
Begin by drawing a vertical line slightly off-center on your paper. This line will serve as the trunk of your Christmas tree.
-
Step 2: Create the Tree Layers
Starting from the top of the trunk, draw a series of triangular shapes that gradually increase in size as you move down. These triangles will represent the layers of the tree. Make sure to leave some space between each layer.
-
Step 3: Add Branches and Shadows
Within each layer, draw small curved lines to represent the branches of the tree. These lines should extend from the sides of the triangles. To add depth and dimension to your tree, use a darker pencil or marker to create shadows along the edges of the branches.
-
Step 4: Decorate Your Tree
Now it’s time to let your creativity shine! Use markers, colored pencils, or crayons to add ornaments, garlands, and a star or angel at the top of the tree. Feel free to experiment with different colors and patterns to make your tree unique.
-
Step 5: Final Touches
Take a step back and assess your drawing. Add any additional details or shading to enhance the overall look of your Christmas tree. Don’t forget to erase any unnecessary lines or smudges.
Voila! You’ve successfully created a beautiful Christmas tree drawing. Feel free to experiment with different techniques and styles to personalize your artwork further.
“Drawing a Christmas tree is a wonderful way to get into the holiday spirit. The step-by-step tutorial above provides a simple yet effective method for bringing this iconic symbol to life. Grab your art supplies, follow the instructions, and let your creativity shine!”
Tips:
- Start with light pencil strokes and gradually darken your lines as you go.
- Use different shades of green to add depth and realism to your tree.
- Experiment with different textures, such as adding small dots or lines to represent ornaments or lights.
- Don’t be afraid to make mistakes—drawing is all about experimenting and having fun!
| Materials | Description |
|---|---|
| Paper | High-quality drawing paper is recommended for better results and durability. |
| Pencils | Use a range of pencils to achieve varying line weights and shading effects. |
| Erasers | Both kneaded and traditional erasers will come in handy for correcting mistakes. |
| Markers | Color markers can be used to add vibrant hues to your Christmas tree. |
Christmas Tree Drawing with Curved Branches
In this tutorial, we will explore a unique approach to drawing a Christmas tree with curved branches. By incorporating this technique into your artwork, you can achieve a more natural and detailed look. This step-by-step tutorial is perfect for beginners who want to add a touch of realism to their tree drawings.
To begin, follow these simple instructions:
- Start by sketching the outline of the tree trunk using light pencil strokes. Position it slightly off-center to create a more dynamic composition.
- Next, draw the main branches of the tree. Instead of straight lines, use gentle curves to mimic the organic shape of real branches. Vary the thickness and direction of the branches to add visual interest.
- Continue drawing smaller branches that radiate outwards from the main ones. Remember to keep the curves flowing naturally and avoid making them too symmetrical.
- To create depth and dimension, add additional layers of branches. Overlap them slightly, with some branches appearing closer to the viewer while others recede into the background.
- Once you are satisfied with the overall shape and arrangement of the branches, darken the lines to make them more defined. Erase any unnecessary guidelines that are no longer needed.
- For a finishing touch, add details such as pine needles or decorations. Use short, curved lines to indicate the texture of the needles and draw small circles or dots to represent ornaments.
Remember, practice makes perfect. Don’t be discouraged if your first attempt is not exactly as you envisioned. With each drawing, you will refine your skills and develop your own unique style. Experiment with different branch shapes and sizes to create a variety of tree designs.
So go ahead and give this Christmas tree drawing tutorial a try. Unleash your creativity and bring a touch of nature to your festive artwork!
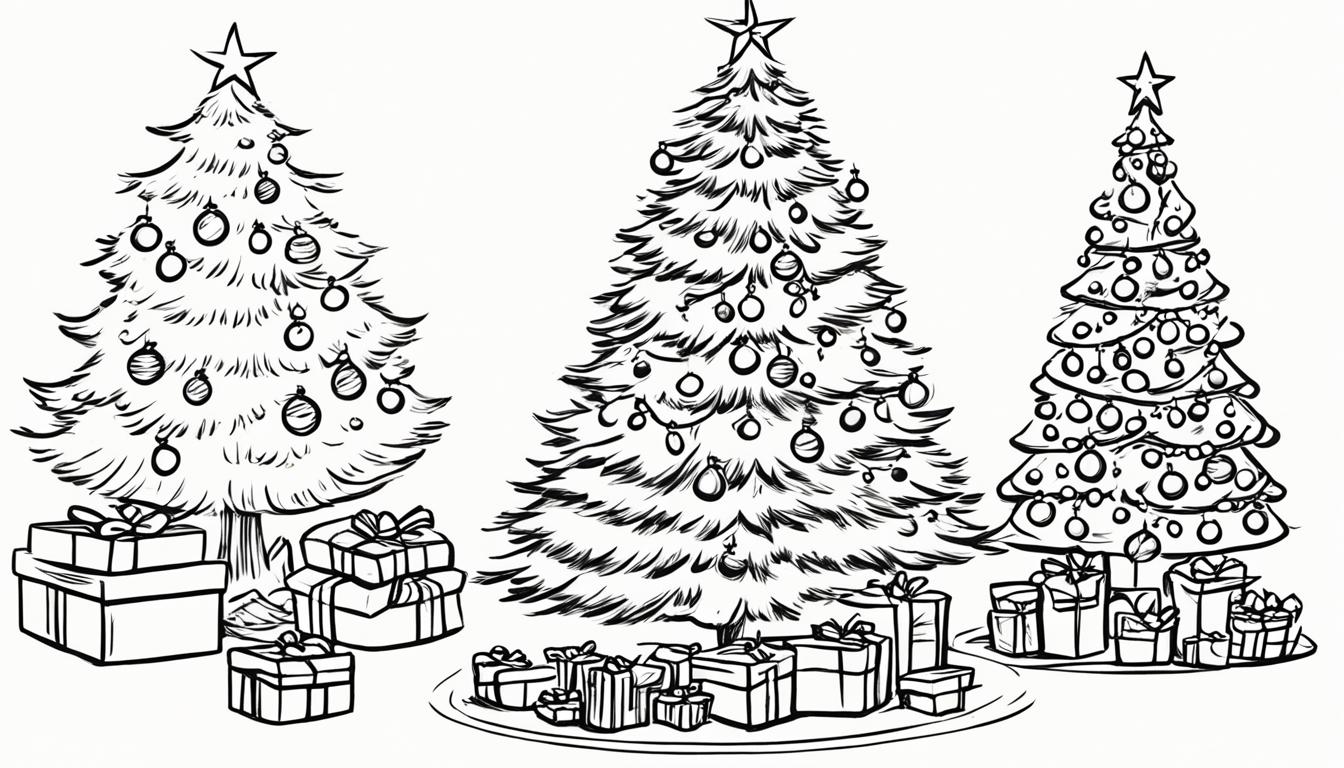
Check out the image below for an example of a Christmas tree drawing with curved branches:

Tips for Drawing a Christmas Tree
Enhance your Christmas tree drawings with these helpful tips and techniques. Whether you’re a beginner or an experienced artist, these suggestions will take your artwork to the next level.
1. Experiment with Different Art Supplies
Try using markers, crayons, or colored pencils to add vibrant colors and textures to your Christmas tree drawing. Each medium offers unique possibilities and allows you to create different effects.
2. Add Dimension with Shadows
To make your Christmas tree drawing appear more three-dimensional, add shadows. Use a pencil or marker to create darker areas on the tree where the branches overlap or cast shadows on one another.
3. Sketch Lightly before Finalizing
Before committing to your final lines, start by sketching lightly. This allows you to make adjustments and corrections along the way. Once you’re satisfied with the overall composition, go over your lines with more confidence.
4. Use Reference Images
Looking at reference images of different types of Christmas trees can provide inspiration and guidance. Pay attention to the shape, texture, and arrangement of branches, as well as the overall proportions.
5. Experiment with Different Styles
Explore different drawing styles, such as realistic, cartoonish, or abstract, to create unique and eye-catching Christmas tree drawings. Don’t be afraid to get creative and develop your own artistic style.
6. Use Hatching and Cross-Hatching Techniques
To add texture and depth, practice hatching and cross-hatching techniques. These methods involve drawing parallel lines or intersecting lines to create shading and define different areas of the tree.
7. Vary Line Thickness
Play around with different line thicknesses to add visual interest and variety to your Christmas tree drawing. Use thicker lines for the main branches and thinner lines for smaller branches or delicate details.
8. Don’t Forget about Ornaments and Decorations
Consider adding ornaments, tinsel, lights, or a star on top of your Christmas tree drawing. These small details can make your artwork more festive and engaging.
| Tips for Drawing a Christmas Tree |
|---|
| Experiment with Different Art Supplies |
| Add Dimension with Shadows |
| Sketch Lightly before Finalizing |
| Use Reference Images |
| Experiment with Different Styles |
| Use Hatching and Cross-Hatching Techniques |
| Vary Line Thickness |
| Don’t Forget about Ornaments and Decorations |
Coloring Your Christmas Tree Drawing
Once you have completed the outline of your Christmas tree drawing, it’s time to add some color! Coloring your drawing brings it to life and adds a festive touch. In this section, we will provide you with guidance on selecting the right colors and using shading techniques to enhance your artwork.
To start, consider the overall color scheme you want for your Christmas tree. Traditional colors like green and red are always popular choices, but don’t be afraid to get creative and experiment with different color combinations. Think about the mood and theme you want to convey through your artwork.
When choosing colors for the tree itself, various shades of green can be used to create depth and dimension. Use lighter shades towards the top of the tree and gradually darken as you move down. This technique helps create a realistic three-dimensional effect. Additionally, you can add highlights and shadows to the branches using different shades of green or even brown.
For the ornaments and decorations on the tree, select colors that complement the overall color scheme. Metallic colors like gold and silver can add an elegant touch, while bright and vibrant colors can create a playful and festive atmosphere. Consider using shades of red, blue, yellow, and purple for the ornaments.
To add depth to your drawing, shading is essential. Use lighter and darker shades of your chosen colors to create highlights and shadows. Pay attention to the direction of the light source and use shading techniques such as cross-hatching or blending to achieve realistic textures.
Remember, the key to successful coloring is practice and experimentation. Don’t be afraid to try different techniques and color combinations until you find the perfect look for your Christmas tree drawing.
Color Guide
| Color | Description |
|---|---|
| Green | The primary color for the tree. Use different shades to create depth and dimension. |
| Red | A traditional color for Christmas tree decorations. Use for ornaments and other festive elements. |
| Gold | Adds an elegant touch to your drawing. Use for metallic decorations. |
| Silver | Another metallic color that can be used for a modern and sophisticated look. |
| Blue | A cool color that can be used for a wintery atmosphere or as an accent color. |
| Yellow | Use for star or angel tree toppers or as an accent color for ornaments. |
| Purple | An unconventional color choice that can add a pop of vibrancy to your tree drawing. |
Use this color guide as a reference when selecting the perfect shades for your Christmas tree drawing. Remember, these are just suggestions, and you can always get creative and explore different color combinations to make your artwork unique.

Now that you have learned how to color your Christmas tree drawing, it’s time to move on to the next section, where we will explore creative ideas for your tree drawings. Get ready to unleash your imagination and create stunning festive artwork!
Creative Ideas for Christmas Tree Drawings
Looking for some inspiration to take your Christmas tree drawings to the next level? We’ve got you covered! In this section, we’ll explore creative ideas and unique concepts that will make your tree drawings stand out. Let your imagination run wild as you experiment with different backgrounds, settings, and additional elements to enhance the overall composition.
1. Magical Winter Wonderland: Transport your viewers to a snowy wonderland by drawing your Christmas tree in a frosty landscape. Add falling snowflakes and a moonlit sky to create a magical atmosphere. This ethereal setting will make your tree shine even brighter.
2. Coastal Christmas: Set your Christmas tree against a tropical beach backdrop for a unique twist. Add shells, starfish, and seagulls to infuse the drawing with a beachy vibe. This unexpected combination will bring a refreshing and playful energy to your artwork.
3. Pop-up Presents: Make your tree drawing interactive by adding pop-up presents around it. Use different colors and patterns to create a sense of excitement and anticipation. This clever addition will add depth and dimension to your artwork.
Inspiration: “Every artist dips their brush in their own soul and paints their own nature into their pictures.” – Henry Ward Beecher
4. Candy Wonderland: Indulge your sweet tooth by incorporating candy and treats in your Christmas tree drawing. Draw lollipops, candy canes, and gingerbread houses to create a whimsical and delicious scene. Let your creativity run wild with the vibrant colors and playful shapes of these sugary delights.
5. Nature-Inspired Tree: Bring the beauty of nature into your drawings by incorporating elements like birds, flowers, and butterflies. Use different shades of green to create a lush canopy of leaves on the tree. This nature-inspired theme will add a touch of tranquility and harmony to your artwork.

Additional Elements to Enhance Christmas Tree Drawings
| Element | Description |
|---|---|
| Ornaments | Add sparkling baubles and ornaments to decorate your tree. |
| Presents | Draw beautifully wrapped presents near the tree to add a festive touch. |
| Stars | Place a shining star at the top of your tree to symbolize the holiday spirit. |
| Snowflakes | Add delicate snowflakes around your tree to create a winter wonderland effect. |
| Fairy Lights | Illuminate your tree with twinkling fairy lights for a magical touch. |
Get creative and experiment with different combinations of these elements to make your Christmas tree drawing unique and captivating.
Materials for Drawing a Christmas Tree
In order to create a beautiful Christmas tree drawing, it’s important to have the right materials at your disposal. Here are some recommended drawing supplies that will help you bring your festive artwork to life:
Drawing Paper:
Start with a high-quality drawing paper that is suitable for the medium you plan to use. Look for paper that is smooth and sturdy, allowing for smooth lines and easy blending.
Markers:
Markers are great for adding vibrant color and bold details to your Christmas tree drawing. Opt for water-based markers with a wide range of colors to choose from.
Pencils:
A set of drawing pencils is essential for sketching and shading your Christmas tree. Choose pencils of different hardness levels to achieve various tones and textures.
Erasers:
Having a good eraser is crucial for correcting mistakes and refining your drawing. Use a soft eraser to gently remove any unwanted lines or smudges.
Black Sharpie Marker:
A black Sharpie marker is perfect for outlining and adding bold accents to your Christmas tree drawing. It provides a clean, professional-looking finish.

Using high-quality drawing materials will ensure that your Christmas tree drawing turns out beautifully. The right paper, markers, pencils, erasers, and black Sharpie marker are essential for achieving the best results.
Christmas Tree Drawing in Different Styles
When it comes to drawing Christmas trees, there is no shortage of styles to explore. Whether you prefer traditional or abstract designs, experimenting with different techniques can help you express your creativity. In this section, we will showcase examples of both traditional and abstract tree drawings and provide tutorials for each style.
Let’s start with traditional Christmas tree drawings. These designs capture the classic beauty of a fully adorned tree, complete with ornaments and lights. The tutorials will guide you through the process of creating realistic branches, adding depth and dimension, and incorporating festive decorations. Whether you’re a beginner or an experienced artist, these tutorials are sure to inspire you.

If you’re looking to explore a more abstract approach, we have tutorials for that too. Abstract Christmas tree drawings allow you to let your imagination run wild. You can play with shapes, colors, and textures to create unique and eye-catching designs. The tutorials will guide you through the process of creating abstract tree silhouettes, experimenting with different brush strokes, and using unconventional materials to add interest to your artwork.
Traditional Christmas Tree Drawing Tutorial
Follow this step-by-step tutorial to create a traditional Christmas tree drawing:
- Start by sketching the outline of the tree using light pencil strokes.
- Add branches and layers to the tree, keeping in mind the natural shape and symmetry.
- Once the basic structure is complete, add details such as ornaments, lights, and a star on top.
- Erase any unnecessary lines and add shading to create depth and dimension.
- Finally, use colored pencils or markers to add vibrant colors to your drawing.
Abstract Christmas Tree Drawing Tutorial
If you’re feeling adventurous, try this abstract Christmas tree drawing tutorial:
- Start by creating a unique tree silhouette using bold lines and shapes.
- Experiment with different brush strokes or unconventional materials to add texture to your tree.
- Use a limited color palette or mix contrasting colors to create visual interest.
- Add abstract decorations or patterns to make your tree truly one-of-a-kind.
- Step back and admire your abstract Christmas tree masterpiece!
Remember, the beauty of drawing Christmas trees lies in the ability to express your own style and creativity. Whether you choose a traditional or abstract approach, have fun and let your imagination guide you. Happy drawing!
Conclusion
In conclusion, this article provides a comprehensive guide on how to draw a Christmas tree. The step-by-step tutorials, tips, and color guide offered in this article are invaluable resources for artists of all skill levels. Whether you’re a beginner or an experienced artist, you’ll find inspiration and guidance to create beautiful and festive tree drawings.
By following the easy-to-understand instructions and incorporating the techniques shared in this article, you can bring your Christmas tree drawings to life. Whether you prefer a simple and traditional design or want to experiment with more intricate styles, the tutorials provided will help you achieve your desired result.
With the suggestions for coloring techniques and the color guide, you can add depth and vibrancy to your tree drawings. Additionally, the section on creative ideas encourages you to think outside the box and explore unique compositions for your Christmas tree artwork.
So why wait? Grab your art supplies and embark on a creative journey to draw the perfect Christmas tree. Embrace the joy and festive spirit as you apply the techniques and tips shared in this article. May your Christmas tree drawings bring warmth and cheer to everyone who sees them!


