How to Draw a Boy – Drawing Turorials and Coloring Tips
Have you ever wanted to capture the essence of a boy’s character on paper? Whether you’re a beginner or an experienced artist, learning how to draw a boy can be a rewarding and enjoyable artistic journey. But where do you start? How do you master the art of creating realistic and proportionate boy drawings?
In this section, we will provide step-by-step tutorials and tips on how to draw a boy. From understanding proportions and body structure to using guides for reference, we will guide you through the process of creating lifelike boy characters. Plus, we’ll share insights on coloring techniques to bring your drawings to life. So, are you ready to unleash your creativity and express your vision of a boy through art?
Key Takeaways
- Step-by-step tutorials and tips for drawing a boy
- Understanding proportions and body structure
- Using guides as a reference for accurate drawings
- Coloring techniques to enhance your boy characters
- Additional tips and advice to refine your drawing skills
Understanding Proportions and Body Structure
When it comes to drawing a boy, understanding proportions and body structure is essential. By mastering these foundational elements, you can create realistic and visually appealing drawings. In this section, we will provide you with essential guidelines and step-by-step tips to help you achieve accurate proportions in your boy drawings.
Boys generally have larger heads in proportion to their bodies and narrower shoulders. Let’s break down the key aspects of proportions so that you can create well-balanced and lifelike drawings:
1. Head-to-Body Ratio:
An important aspect of drawing a boy is getting the head-to-body ratio right. Boys typically have larger heads compared to their bodies. Imagine dividing the body into eight equal parts. The head will be approximately one and a half parts in height. Keep this in mind as you sketch your boy figure to maintain accurate proportions.
2. Shoulder Width:
Another key consideration is the shoulder width. Boys generally have narrower shoulders compared to adults. To achieve the correct proportions, ensure that the distance between the shoulders is equal to the width of one head.
By understanding and applying these proportions, you can create more realistic and visually appealing boy drawings. Now, let’s put this knowledge into practice with a step-by-step tutorial on how to draw a boy in the next section.
| Key Proportions and Structure Guidelines | Visual Reference |
|---|---|
|
Using Guides for Reference
When it comes to learning how to draw, using guides as a reference can be immensely helpful, especially for beginners. Guides provide a framework and help you determine the placement and size of various body parts in your drawings, ensuring accuracy and proportionality.
One popular guide technique is using center guides. These guides divide the body into equal sections, allowing you to establish the correct dimensions for different elements. By aligning features like the head, torso, limbs, and facial features with the center guides, you can create balanced and realistic drawings.
Here’s a step-by-step process for using center guides:
- Start by drawing a vertical line that represents the central axis of the body. This line will serve as your main guide.
- Decide on the overall height of your character and divide it into equal parts by drawing horizontal lines perpendicular to the central axis. These lines will act as additional guides for the different body regions.
- Use these guides to establish the placement and proportions of the head, neck, shoulders, waist, hips, and limbs. Pay attention to the distance between each body part and their relative sizes.
- Refine your drawing by adding details and adjusting the shapes based on the guides. Erase any unnecessary lines once you’re satisfied with the proportions.
- Continue adding more details, such as facial features, hair, and clothing, until your drawing is complete.
Using guides not only helps you create accurate drawings, but it also trains your eye to observe proportions more effectively. With practice, you’ll become more confident in placing body parts correctly, resulting in more realistic and well-proportioned artwork.
Remember, using guides is just one of many techniques you can use in your drawing process. Feel free to experiment and find what works best for you. Now let’s take a look at an example of using center guides for drawing a boy:

| Body Part | Guide Placement |
|---|---|
| Head | Topmost point of the central axis |
| Neck | Just below the head, aligned with the center |
| Shoulders | Divide the space between the neck and waist into equal parts |
| Waist/Hips | Divide the space between the shoulders and legs into equal parts |
| Legs | Align the bottom of the legs with the bottom of the central axis |
With these guides, you’ll have a solid foundation to create a boy drawing that’s anatomically correct and visually appealing. Remember to adapt the guide placements depending on the pose and perspective of your character.
Step-by-Step Tutorial: Drawing a Boy
Are you ready to bring your boy drawings to life? In this step-by-step tutorial, we will guide you through the process of creating a realistic and proportionate boy figure. Whether you’re a beginner or looking to improve your drawing skills, this tutorial is perfect for you.
Let’s get started!
Gather Your Supplies
- Paper
- Pencil
- Eraser
Step 1: Basic Shapes
- Begin by sketching a circle for the head.
- Add an oval shape below the head for the body.
- Draw two lines extending from the bottom of the oval for the legs.
- Sketch two small circles at the bottom of the lines for the feet.
Remember, these are just basic shapes to help you establish the proportions of the boy figure.
Step 2: Facial Features
Next, let’s focus on the face. Draw two eyes near the center of the head, a small oval for the nose below the eyes, and a curved line for the mouth. Add some simple eyebrows and ears to complete the facial features.
Step 3: Details and Clothing
Now it’s time to add some details and clothing to your boy drawing. Sketch the hair, considering the length and style you want. Don’t forget to add some shade and texture for a more realistic look.
For the clothing, you can draw a t-shirt, pants, and shoes. Feel free to add any additional details you like, such as pockets or buttons.
Step 4: Refine and Shade
Take a moment to refine your lines and erase any unnecessary ones. Once you’re happy with the overall shape and details, it’s time to add shading. Think about where the light is coming from and darken certain areas to create depth and dimension.
Step 5: Add Color
Now that your boy drawing is complete, you can choose to add color. Consider the skin tone, hair color, and clothing colors you want to use. Don’t be afraid to experiment and bring your creation to life with vibrant colors.

And there you have it – your very own boy drawing! Remember, practice is key, so don’t be discouraged if it doesn’t turn out perfect the first time. Keep honing your skills, trying different techniques, and soon you’ll be creating amazing boy drawings with ease.
Coloring Tips for Boy Drawings
Coloring plays a significant role in bringing your boy drawings to life. The right choice of colors can enhance the mood and add depth to your artwork. Here are some easy coloring tips and techniques to help you create vibrant and engaging boy drawings.
Choosing Skin Tones
When coloring the skin of your boy character, consider factors such as ethnicity, lighting conditions, and time of day. Use a variety of colors to add depth and realism to the skin tones. Remember to blend the colors smoothly for a natural effect.
Exploring Hair Colors
Hair can be a defining feature of your boy character. Experiment with different hair colors to match the personality and style you want to convey. From blondes and brunettes to vibrant reds or unconventional colors, let your imagination run wild.
Selecting Clothing Colors
Clothing colors can help express the personality and mood of your boy character. Bright and bold colors can symbolize energy and confidence, while muted tones convey a more subtle and reserved demeanor. Consider the overall color scheme of your drawing and choose clothing colors that complement it.
Remember, practice makes perfect, so keep experimenting with different color combinations to find your unique style. Now, let’s take a look at a table summarizing these coloring tips and techniques:
| Coloring Tips | Techniques |
|---|---|
| Choosing Skin Tones | Consider ethnicity, lighting, and blend colors |
| Exploring Hair Colors | Try different colors to match the character’s style |
| Selecting Clothing Colors | Use colors that express personality and complement the overall color scheme |

With these tips and techniques, you have the foundation to create visually appealing and expressive boy drawings. Don’t be afraid to unleash your creativity and have fun with colors!
Additional Tips and Advice
Enhance your boy drawing skills with these additional tips and advice. By implementing these techniques, you can refine your style and create unique and captivating boy drawings.
Avoiding Incorrect Proportions
One common challenge when drawing boys is achieving accurate proportions. To avoid this, it’s essential to study the human body and understand the unique characteristics of boys. Focus on their larger heads, narrower shoulders, and different body proportions compared to girls.
Adding Appropriate Details
Details play a crucial role in bringing your boy drawings to life. Pay attention to facial features like eyebrows, eyes, and lips, as they can convey expressions and personalities. Don’t forget to add details to hair, clothing, and accessories to enhance the uniqueness of your characters.
Using Varied Line Weights
Varying line weights can add depth and dimension to your boy drawings. Experiment with using thicker lines for outlines and bolder features, while using thinner lines for delicate details and shading. This technique can create a visually dynamic and engaging drawing.
Developing Your Own Style
While learning from tutorials and techniques is essential, it’s also important to develop your own style as an artist. Find inspiration from different sources, experiment with different mediums and techniques, and allow your creativity to flourish. Embrace the uniqueness of your art and let it shine through your boy drawings.
“Drawing is a skill that can be developed and improved. Allow yourself to make mistakes and learn from them. With dedication and practice, you’ll see significant progress in your art.” – John Harrison, Artist
| Tips | Benefits |
|---|---|
| Practice regularly | Improves drawing skills and muscle memory |
| Observe real-life references | Enhances accuracy and realism in drawings |
| Experiment with different art supplies | Encourages exploration and creativity |
| Seek feedback and critiques | Provides valuable insights and areas for improvement |
| Draw from imagination | Fosters creativity and the development of a personal style |

By implementing these additional tips and advice, you will elevate your boy drawing skills to new heights. Remember to practice regularly, embrace your unique style, and enjoy the journey of creating captivating boy drawings.
Step-by-Step Tutorial: Cartoon Boy Drawing
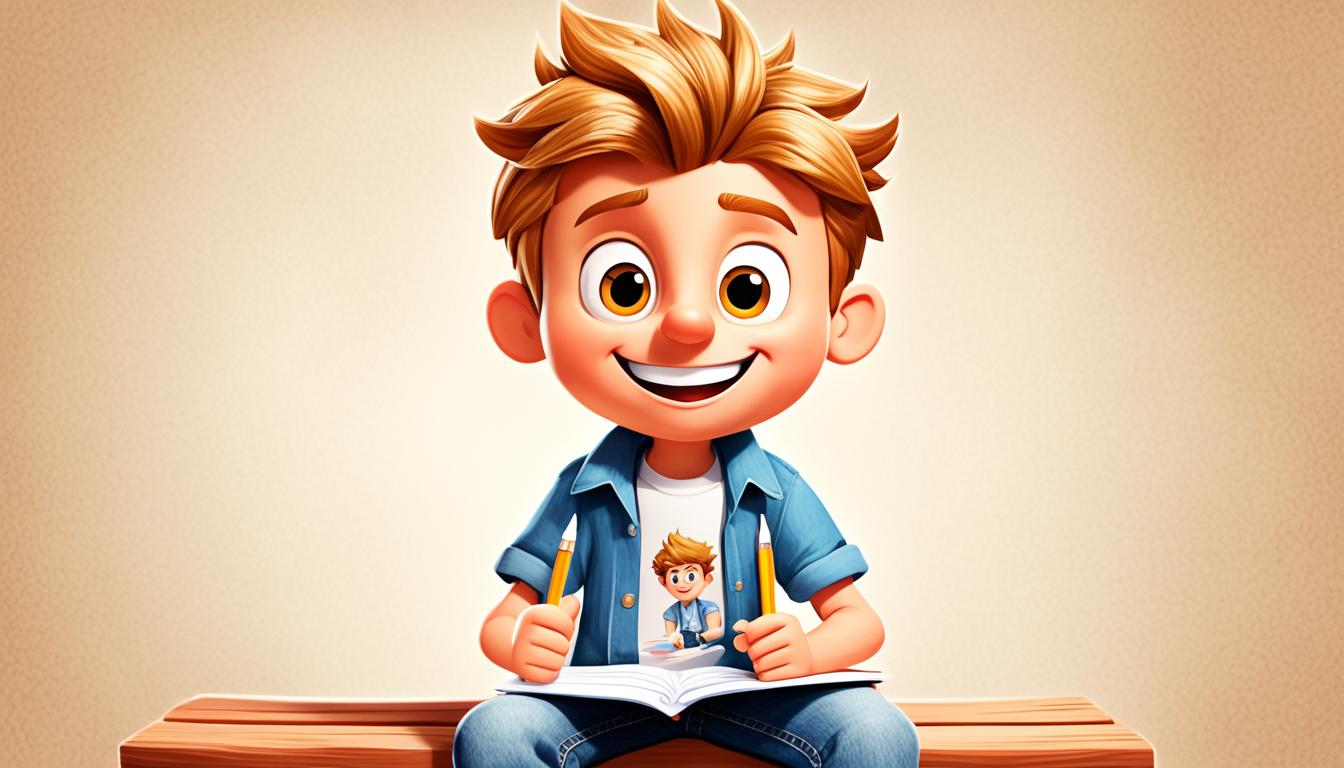
Apart from realistic drawings, cartoon-style boy characters are also popular. In this section, we will provide a step-by-step tutorial for drawing a cartoon boy. This tutorial is suitable for kids and beginners, and it will teach you how to create a simple and cute cartoon-style boy character.

If you want to create fun and whimsical drawings, cartoon-style characters are a great choice. These playful and exaggerated characters allow for creativity and imagination. By following our simple steps, you’ll be able to draw your very own cartoon boy character in no time.
- Start by drawing a circle for the head. Make sure to leave enough space below the head for the body.
- Add two large oval shapes for the eyes. Place them in the upper part of the circle, leaving some space in between.
- Below the eyes, draw a smaller oval for the nose. Position it slightly towards the bottom of the circle.
- Next, draw a curved line for the mouth, slightly below the nose.
- To create the boy’s hair, draw a series of short, jagged lines on top of the head. Make them slightly messy and uneven to add character.
- Now it’s time to draw the boy’s body. Start by sketching a rounded shape for the torso, extending downwards from the head.
- Add two short lines on either side of the torso to represent the boy’s arms.
- For the legs, draw two long, curved lines extending down from the bottom of the torso. Add small ovals at the end of each line for the boy’s feet.
- Once you have the basic outline, go ahead and add more details. You can draw the boy’s clothing, such as a shirt with sleeves or pants.
- Lastly, erase any unnecessary lines and refine your drawing. Add color to your cartoon boy to bring him to life!
Remember, this is just one way to draw a cartoon boy. Feel free to experiment with different shapes, facial expressions, and clothing styles to create your own unique characters. Have fun and let your creativity soar!
Practice Sheets and Additional Resources
To further enhance your drawing skills and master the art of drawing boys, practice sheets can be a valuable tool. In this section, we have provided downloadable practice sheets that will help you refine your techniques and improve your artistic abilities.
By dedicating time to practice, you will gain confidence in your drawing skills and develop a better understanding of the fundamental principles involved. These practice sheets are specifically designed for beginners, offering step-by-step guidance and exercises that focus on drawing boys.
Downloadable Practice Sheets
Take advantage of our downloadable practice sheets, which cover various aspects of drawing boys. These sheets include exercises for sketching proportions, facial features, body structure, and clothing details. By following the instructions on each practice sheet, you can gradually build your proficiency and create realistic and expressive boy drawings.

Additional Resources
In addition to the practice sheets, we have compiled a list of additional resources to further support your artistic journey. These resources include online tutorials, books, and websites that offer a wealth of knowledge on drawing techniques for beginners. Exploring these resources will provide you with inspiration, guidance, and valuable insights from experienced artists.
Whether you are looking for step-by-step tutorials, tips on shading and coloring, or guidance on developing your own style, these resources will expand your artistic horizons and help you continually improve as an artist.
Remember, practice is key to mastering any skill, and drawing is no exception. Dedicate time to practice regularly, make use of the practice sheets, and explore the additional resources. With perseverance and a passion for art, you will develop your own unique style and create captivating boy drawings.
Conclusion
In conclusion, mastering the art of drawing a boy requires practice, patience, and a solid understanding of proportions and body structure. By following step-by-step tutorials and using guides as references, beginners can gradually improve their drawing skills and create realistic and captivating boy illustrations. Additionally, experimenting with coloring techniques will bring your drawings to life and add depth and vibrancy to your artwork.
Remember, drawing takes time to develop, so don’t be discouraged if your initial attempts don’t meet your expectations. Keep practicing, and with each stroke of the pencil, you’ll gain confidence and refine your technique. Try incorporating diverse line weights, focusing on details, and developing your own unique style to make your boy drawings stand out.
Whether you choose to create realistic portraits or fun cartoon-style characters, the tutorials, tips, and coloring guides provided in this article are designed to help beginners enhance their drawing skills and foster creativity. With dedication and persistence, you can become proficient in drawing boys and unleash your artistic expression.


