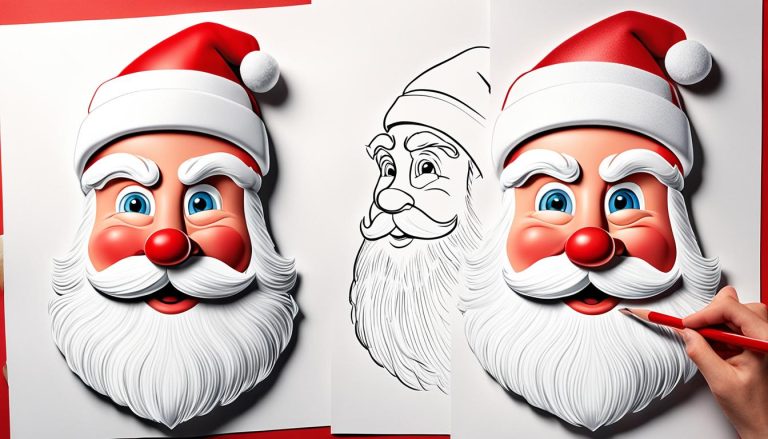
How to Draw A – Drawing Turorials and Coloring Tips
Have you always admired the skill of artists who can bring their imaginations to life through drawings? Are you eager to learn how to draw but unsure where to start? In this comprehensive guide, we will take you on a journey of discovery, unlocking the secrets of drawing and providing you with step-by-step tutorials and expert tips.
Contrary to popular belief, drawing is not limited to those with innate talent. It is a skill that can be learned and honed through practice and guidance. Whether you’re a complete beginner or have some experience, this article will equip you with the tools and knowledge to develop your artistic abilities.
Key Takeaways:
- Learning to draw is a matter of practice and desire to learn.
- Start with warm-up exercises and basic shapes to improve your skills.
- Master drawing techniques such as gesture drawing and solid outlines.
- Practice regularly to build muscle memory and develop your own style.
- Add detail and texture to bring your drawings to life.
Getting Started: Warm-Up Exercises and Basic Shapes
Before diving into the world of drawing, it’s essential to warm up and acquaint yourself with your tools. This section will walk you through a series of drawing warm-up exercises and mark-making techniques to improve your lines and enhance your pencil control. In addition, you’ll be introduced to the concept of using basic shapes as the building blocks of all drawings.
Why Warm-Up Exercises Matter
Just like athletes warm up before a game or musicians practice scales before performing, artists need to warm up their hand and hone their skills before beginning a drawing session. Doing warm-up exercises helps loosen up your hand muscles, improve hand-eye coordination, and enhance your drawing accuracy.
Mark-Making Techniques
Mark-making techniques involve exploring different ways of creating lines, textures, and patterns with your drawing tools, such as pencils or pens. These techniques allow you to add variety and expressiveness to your drawings. Some common mark-making techniques include hatching, cross-hatching, stippling, and scribbling.
Hand-eye Coordination Exercises for Better Control
To achieve precision and control in your drawings, it’s important to improve your hand-eye coordination. Here are a few simple exercises:
- Follow-the-Line: Draw a simple curvy line on a piece of paper and use your pencil or pen to trace it as accurately as possible without letting your hand waver.
- Connect-the-Dots: Create a random dot pattern on a page, then connect the dots with straight or curved lines, practicing smooth and controlled strokes.
- Copy Shapes: Choose simple objects or shapes and set them in front of you. Focus on replicating their outlines and proportions onto your drawing surface, training your hand to mimic what you see.
Basic Shapes as a Foundation
Basic shapes, such as circles, rectangles, and triangles, form the fundamental structure of virtually everything we see. By breaking down objects into these simple shapes, you can more easily capture their proportions, angles, and overall composition. Using basic shapes as an underdrawing helps establish a strong foundation for more complex drawings.
By mastering warm-up exercises, mark-making techniques, and basic shape usage, you’ll be well-prepared to embark on your drawing journey. Practice these techniques regularly to improve your artistic skills and set yourself up for success.
Drawing Techniques: Gesture Drawing and Solid Outlines
When it comes to capturing the essence and movement of a subject, gesture drawing is a powerful technique. It allows you to create loose and spontaneous drawings that convey the energy and liveliness of what you see. By focusing on the angles, shapes, and curves of your subject, you can quickly capture its essence on paper.
Gesture drawing begins with observing and learning to see. By training your eyes to pick up on key details and movements, you’ll be able to translate them into dynamic lines and shapes. It’s not about creating a detailed representation at this stage but rather capturing the overall feel of the subject.
To refine your gesture drawings and give them more structure, solid outlines come into play. Solid outlines help define the forms and proportions of your subject, ensuring that they are accurately represented. It’s a process of checking and double-checking your lines, making sure they align with what you see.
When creating solid outlines, pay attention to the relationship between different parts of your subject. Making accurate measurements and comparisons will help you achieve a more realistic representation. Take your time to observe and analyze before committing your lines to paper.
Here’s an example of how gesture drawing and solid outlines can bring a drawing to life:

Gesture Drawing vs. Solid Outlines: A Comparison
| Gesture Drawing | Solid Outlines |
|---|---|
| Loose and spontaneous | More structured and defined |
| Captures the essence and movement | Defines forms and proportions |
| Focuses on angles, shapes, and curves | Checks for accuracy and alignment |
| Expressive and energetic | Detailed and realistic |
By incorporating gesture drawing and solid outlines into your artistic practice, you’ll be able to infuse your drawings with energy and accuracy. This combination allows you to capture the essence of your subject while ensuring that the proportions and forms are represented realistically. Remember to observe and learn to see, as these skills play a crucial role in creating compelling drawings.
Practicing and Developing Skills
Building your drawing skills requires practice and repetition. The more you draw, the better you’ll become! In this section, we’ll explore a variety of techniques to help you improve your skills and develop your artistic abilities.
Practice Drawings
When it comes to improving your drawing skills, nothing beats practice drawings. By creating quick sketches from different angles, you can train your hand-eye coordination and develop a better understanding of proportions and shapes.
Instead of focusing on creating one perfect drawing, aim to produce many quick sketches. This approach allows you to experiment with different techniques, styles, and subjects, helping you find your artistic voice. Remember, each sketch is an opportunity to learn and grow as an artist.
Here are some tips to make the most out of your practice drawing sessions:
- Set aside dedicated time for drawing every day or every week. Consistency is key to building muscle memory and improving your skills.
- Choose a variety of subjects to draw, including still life, landscapes, and people. This will challenge you to adapt your techniques and broaden your artistic range.
- Experiment with different materials, such as pencils, charcoal, or ink. Each medium offers unique artistic possibilities.
- Don’t be afraid to make mistakes. Mistakes are valuable learning opportunities that can help you discover new techniques and approaches.
Remember to have fun and enjoy the process of practicing. Drawing is a journey, and each stroke of the pencil brings you closer to becoming the artist you aspire to be.
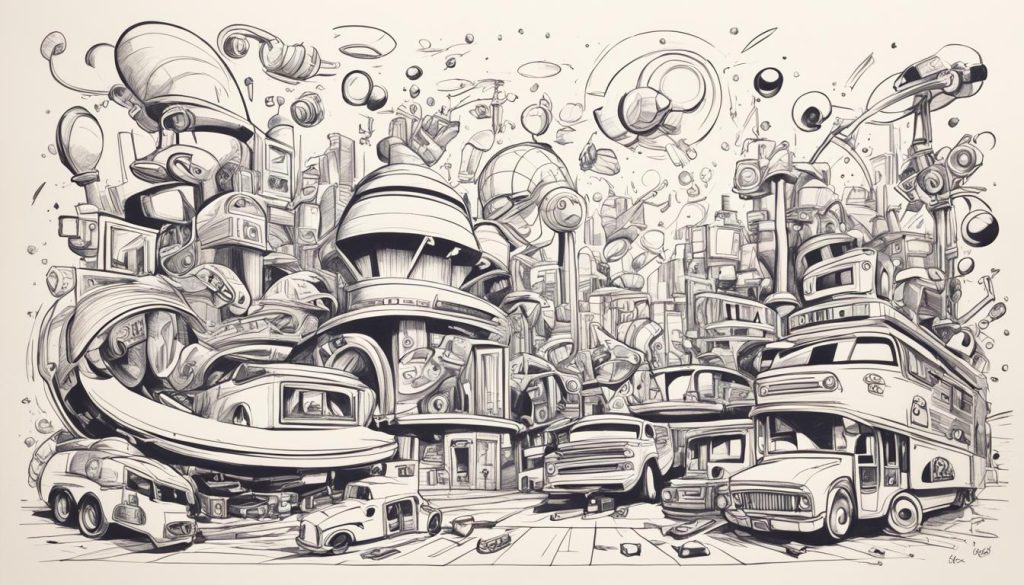
Building Muscle Memory
Building muscle memory is crucial for developing your drawing skills. Muscle memory refers to the ability of your muscles to remember and repeat certain movements with ease and precision.
One effective way to build muscle memory is through repetitive exercises. By repeatedly drawing specific shapes, lines, and strokes, your hand becomes familiar with these motions. Over time, your drawings will become more fluid and natural.
“Building muscle memory is like training your muscles to dance across the paper. The more you practice, the more your lines will flow effortlessly.” – Artist Name
Here are a few exercises to help you build muscle memory:
- Draw circles, squares, and straight lines in different directions. Focus on keeping your lines smooth and confident.
- Practice hatching and cross-hatching techniques to create different shades and textures.
- Experiment with different pencil pressures to vary the thickness and intensity of your lines.
Consistency is key when building muscle memory. Set aside regular time for these exercises, and you’ll notice significant improvements in your drawing skills over time.
Finishing Your Drawing: Adding Detail and Texture
Once you have mastered the foundation and proportions of your drawing, it’s time to take it to the next level by adding detail and texture. This crucial step brings your artwork to life, adding depth, dimension, and visual interest. In this section, we will explore different techniques to enhance your drawings, including creating texture, shadows, and highlights.
Creating Texture
Texture is a powerful element that adds realism and tactile qualities to your artwork. It visually communicates the surface characteristics of an object, whether it’s rough, smooth, or somewhere in between. Experimenting with different mark-making techniques can help you create captivating textures in your drawings.
“Texture adds depth and visual interest to your drawings.”
Here are some mark-making techniques you can explore:
- Hatching: Use parallel lines to create shading and texture. The closer the lines, the darker the shading.
- Cross-Hatching: Layer hatching lines in different directions to create depth and texture.
- Dots/Stippling: Apply dots of varying sizes and densities to create texture and shading.
- Scumbling: Create texture by layering scribbled or irregular marks in a random fashion.
To better illustrate these techniques, take a look at the example below:
| Technique | Description | Example |
|---|---|---|
| Hatching | Parallel lines used for shading and texture | 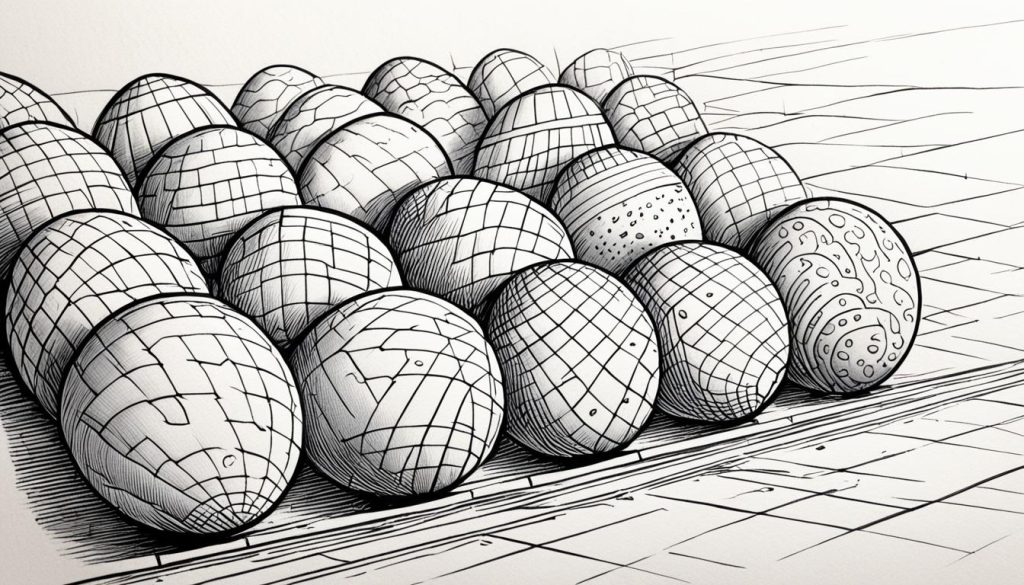 |
| Cross-Hatching | Layering hatching lines in different directions for depth |  |
| Dots/Stippling | Using dots of varying sizes and densities for texture | 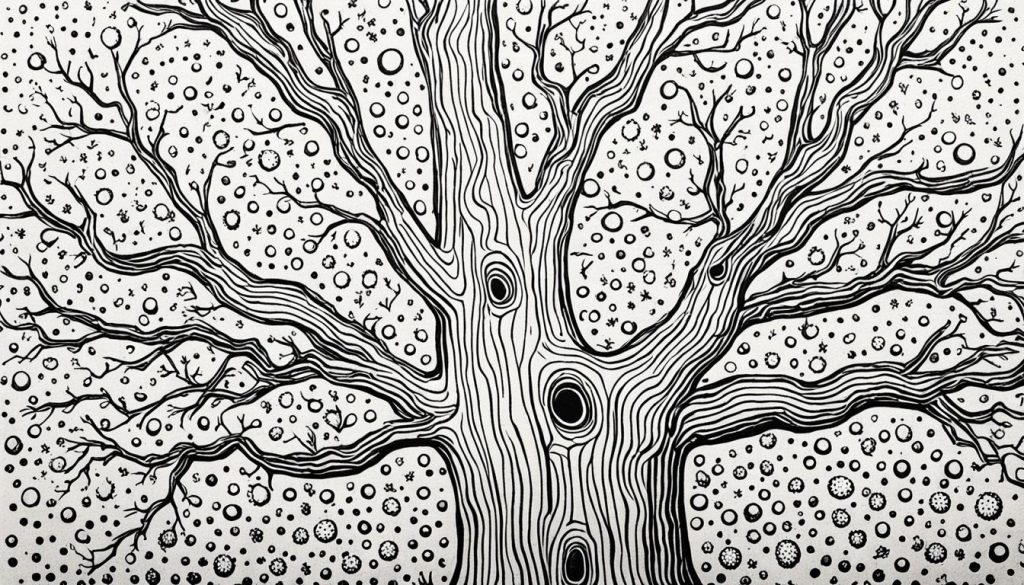 |
| Scumbling | Scribbled or irregular marks for a textured effect | 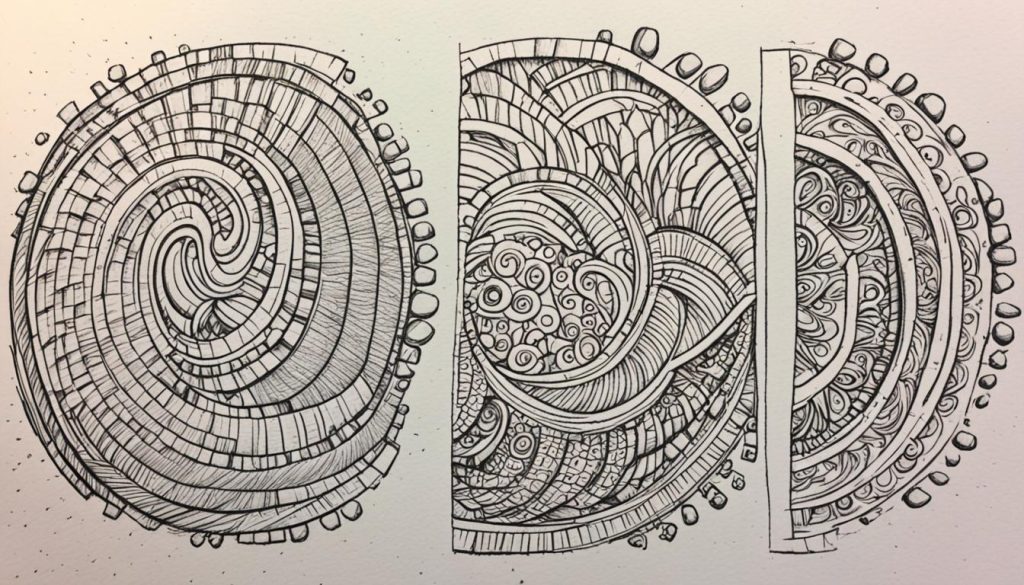 |
Shadows and Highlights
Adding shadows and highlights is another crucial aspect of finishing your drawings. Shadows help create depth and volume, while highlights bring attention to certain areas and add sparkle and contrast.
“Shadows and highlights add depth and volume to your drawings.”
To effectively utilize shadows and highlights, consider the following:
- Observation: Study the subject closely and analyze where the light source is coming from. This will guide you in determining where the shadows and highlights should be placed.
- Contrast: Use contrasting values to make your shadows appear darker and your highlights brighter. This creates visual interest and helps guide the viewer’s eye.
- Gradation: Transition smoothly from light to shadow or vice versa, creating a more realistic and gradual shift in values.
By incorporating shadows and highlights into your drawings, you can achieve a more three-dimensional and lifelike effect.
For visual reference, take a look at the example below:

Remember, when adding detail and texture to your drawings, it’s important to strike a balance. Avoid overdoing the details, as this can overwhelm the viewer and distract from the overall composition. Focus on capturing the essential elements and using texture, shadows, and highlights strategically to guide the viewer’s eye and create a visually engaging artwork.
Mistakes and Learning from Them
Mistakes are an essential part of the learning process. They shouldn’t discourage you, but rather be embraced as opportunities for growth and improvement. When it comes to drawing, mistakes are inevitable, but they are also valuable lessons that can help you evolve as an artist.
Embracing mistakes allows you to explore new ideas and techniques. It pushes you out of your comfort zone and encourages creativity. Whether it’s a misplaced line, an incorrect proportion, or a color choice that doesn’t quite work, each mistake teaches you something about your approach to drawing.
Learning from mistakes is all about building muscle memory. Just like an athlete trains their muscles to perform a specific movement, artists develop their hand-eye coordination and motor skills through repeated practice. By acknowledging and analyzing your mistakes, you can make adjustments and refine your technique. Over time, your hand will become more steady and your lines more precise.
“Mistakes are the portals of discovery.” – James Joyce
Working through mistakes can be frustrating, but it’s important to remember that every great artist has faced challenges along their artistic journey. Each mistake brings you one step closer to mastering your craft. So don’t get discouraged or give up. Instead, embrace the process and learn from each misstep.
To illustrate the importance of learning from mistakes, let’s take a look at a famous artist who experienced his fair share of setbacks – Vincent van Gogh.

The Artistic Journey of Vincent van Gogh
Vincent van Gogh is renowned for his iconic paintings, but his success did not come easily. Throughout his career, he faced numerous rejections, struggled with mental health issues, and wrestled with self-doubt. However, he never let these challenges deter him from his passion for art.
Van Gogh’s early works were marked by experimentation and a constant search for his unique style. He made mistakes, and he learned from them. His use of color, brushstrokes, and composition evolved over time, leading to the creation of some of the most celebrated masterpieces in art history.
By learning from his mistakes, van Gogh was able to develop a distinctive artistic voice and leave an indelible mark on the art world. His story is a testament to the power of perseverance and the transformative potential of embracing mistakes.
Building Muscle Memory Through Practice
To truly learn from mistakes, practice is essential. Regular drawing exercises help train your hand and develop muscle memory. The more you draw, the more instinctive and fluid your movements become.
Here’s a simple exercise to build muscle memory:
- Choose a subject or reference image.
- Set a timer for 5-10 minutes.
- Without worrying about perfection, draw quick sketches of the subject.
- Repeat this exercise daily, gradually increasing the complexity of the subjects.
This exercise helps you become more comfortable with your tools, improve your hand-eye coordination, and develop a more intuitive understanding of form and proportion. The aim is not to create a masterpiece with each sketch but to build your skills over time.
| Benefits of Embracing Mistakes | How to Learn from Mistakes |
|---|---|
| Encourages creativity and experimentation | Reflect on your mistakes and analyze what went wrong |
| Pushes you out of your comfort zone | Make adjustments and refine your technique |
| Develops resilience and perseverance | Keep practicing and don’t give up |
| Fosters growth and improvement | Seek feedback and learn from other artists’ mistakes |
Remember, mistakes are not failures but stepping stones on your artistic journey. Embrace them, learn from them, and use them as catalysts for growth. Building muscle memory takes time and patience, but with each stroke of the brush or pencil, you are one step closer to becoming the artist you aspire to be.
Advanced Techniques and Further Learning
Now that you have mastered the basic drawing skills, it’s time to take your art to the next level with advanced techniques. In this section, we will explore concepts such as 3D volumes, perspective, values, light and shadow, and foreshortening. These advanced drawing techniques will allow you to create more realistic and lifelike drawings that truly capture the depth and dimension of your subjects.
To begin, let’s delve into the world of 3D volumes. Understanding how to depict three-dimensional objects on a two-dimensional surface is crucial for achieving a realistic representation. By mastering the art of creating form and volume, you can bring your drawings to life. Experiment with shading and hatching techniques to add depth and dimensionality to your subjects.
Perspective is another fundamental concept in advanced drawing. It enables you to create the illusion of depth and distance in your artwork. Learning the principles of one-point, two-point, and three-point perspective will give your drawings a sense of realism and enable you to accurately portray objects from different angles.
Values, light, and shadow play a vital role in creating depth and dimension in your drawings. Understanding how light interacts with objects and how to effectively render shadows and highlights can transform a flat drawing into a three-dimensional masterpiece. Experiment with different lighting scenarios and explore techniques such as cross-hatching and blending to achieve realistic effects.
Foreshortening is a challenging technique but can add dynamic and dramatic elements to your drawings. It involves depicting an object as it appears when viewed at a particular angle or position. By accurately capturing foreshortening, you can create a sense of depth and perspective, making your drawings more visually engaging.
If you’re looking to further develop your skills in these advanced drawing techniques, we recommend the course “Sketching Fundamentals.” This comprehensive course will guide you through various exercises and projects to help you master 3D volumes, perspective, values, light and shadow, and more. With the guidance of professional instructors and the opportunity to interact with a supportive community of artists, you’ll be well on your way to becoming a master of advanced drawing techniques.
Remember, practice is key to improving your skills. Take the time to experiment and explore these advanced techniques, and don’t be afraid to make mistakes along the way. Embrace each drawing as a learning experience and enjoy the journey of continuous growth and artistic development.

| Technique | Description | Example |
|---|---|---|
| 3D Volumes | Create the illusion of depth and form by mastering shading and hatching techniques. |  |
| Perspective | Learn the principles of perspective to accurately represent objects from different angles. |  |
| Values, Light, and Shadow | Understand the interaction of light and shadow to create depth and realism in your drawings. | 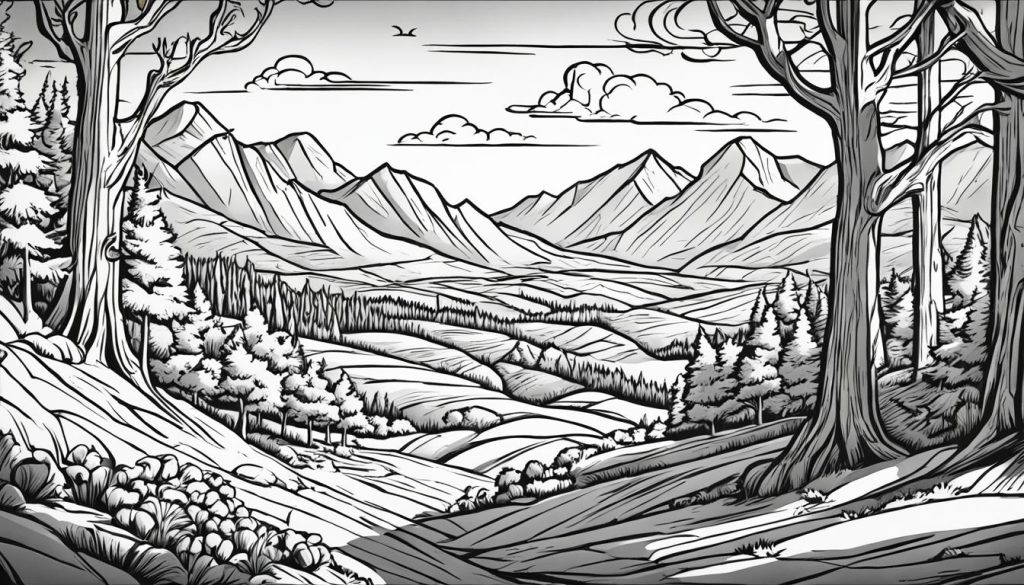 |
| Foreshortening | Depict objects as they appear when viewed from a specific angle, adding depth and perspective. | 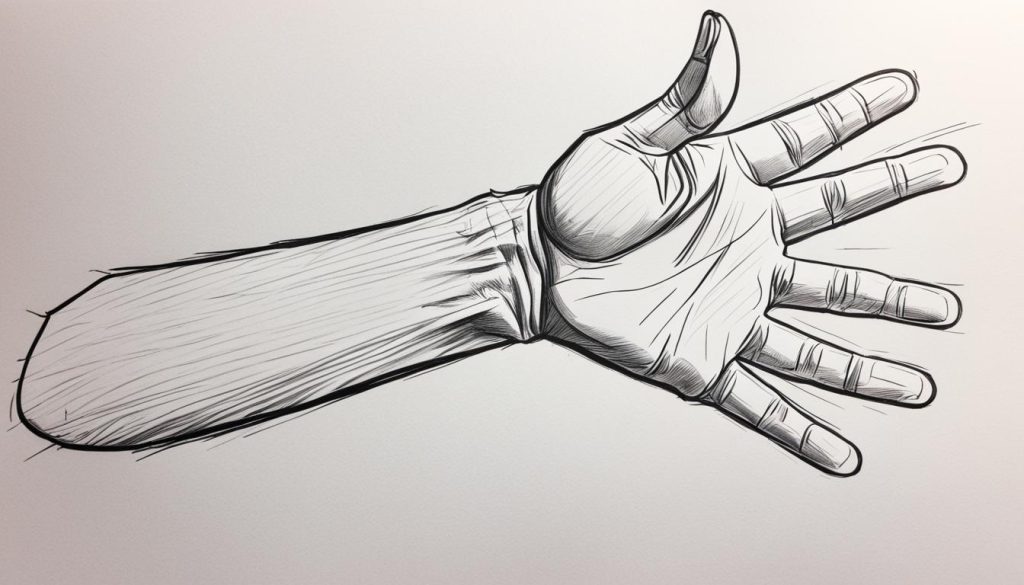 |
Drawing Tutorials for Different Subjects
Whether you’re a beginner or an experienced artist looking to refine your skills, this section provides a variety of step-by-step drawing tutorials for different subjects. From capturing the essence of animals to creating lifelike portraits of people and depicting the beauty of nature, these tutorials cover a wide range of subjects and techniques.
Drawing Animals
If you have a love for wildlife or want to bring your favorite pets to life on paper, these animal drawing tutorials are for you. Learn how to capture the grace of a running horse, the playfulness of a kitten, or the strength of a mighty lion. Each tutorial breaks down the process into simple steps, allowing you to gradually build your skills and create realistic animal drawings.
Drawing People
Portraits are a classic subject in art, and drawing people can be a rewarding challenge. Whether you’re interested in capturing a loved one’s likeness or exploring the human form, these tutorials will guide you through the process. Learn how to draw facial features, create realistic expressions, and add depth and dimension to your portraits. With practice, you’ll be able to bring your subjects to life on paper.
Drawing Nature
Nature provides endless inspiration for artists, and these drawing tutorials will help you capture its beauty. From majestic landscapes to intricate botanical illustrations, learn how to depict trees, flowers, mountains, and other natural elements with realism and detail. Discover techniques for capturing light and shadow, creating texture, and conveying the mood of different natural settings.
Each drawing tutorial in this section is accompanied by detailed step-by-step instructions and helpful tips. Whether you’re a beginner looking to learn the basics or an experienced artist seeking new challenges, these tutorials will help you improve your drawing skills and unleash your creativity.

Conclusion
Drawing is a skill that anyone can learn and improve with practice. Throughout this article, we have provided a comprehensive step-by-step guide on how to draw, covering everything from warming up exercises to adding detail and texture to your artwork. We have also introduced advanced techniques and recommended further learning resources to help you continue your artistic journey.
One important thing to remember is that mistakes are a natural part of the learning process. Embrace them as learning opportunities rather than getting discouraged. By working through your mistakes and persevering, you will build muscle memory and develop a deeper understanding of drawing concepts over time.
Enjoy the process of creating art and let your creativity flow. With dedication and practice, you can unlock your inner artist and master the art of drawing. So grab your pencils and sketchbooks, and embark on this exciting journey of self-expression and discovery. Happy drawing!

