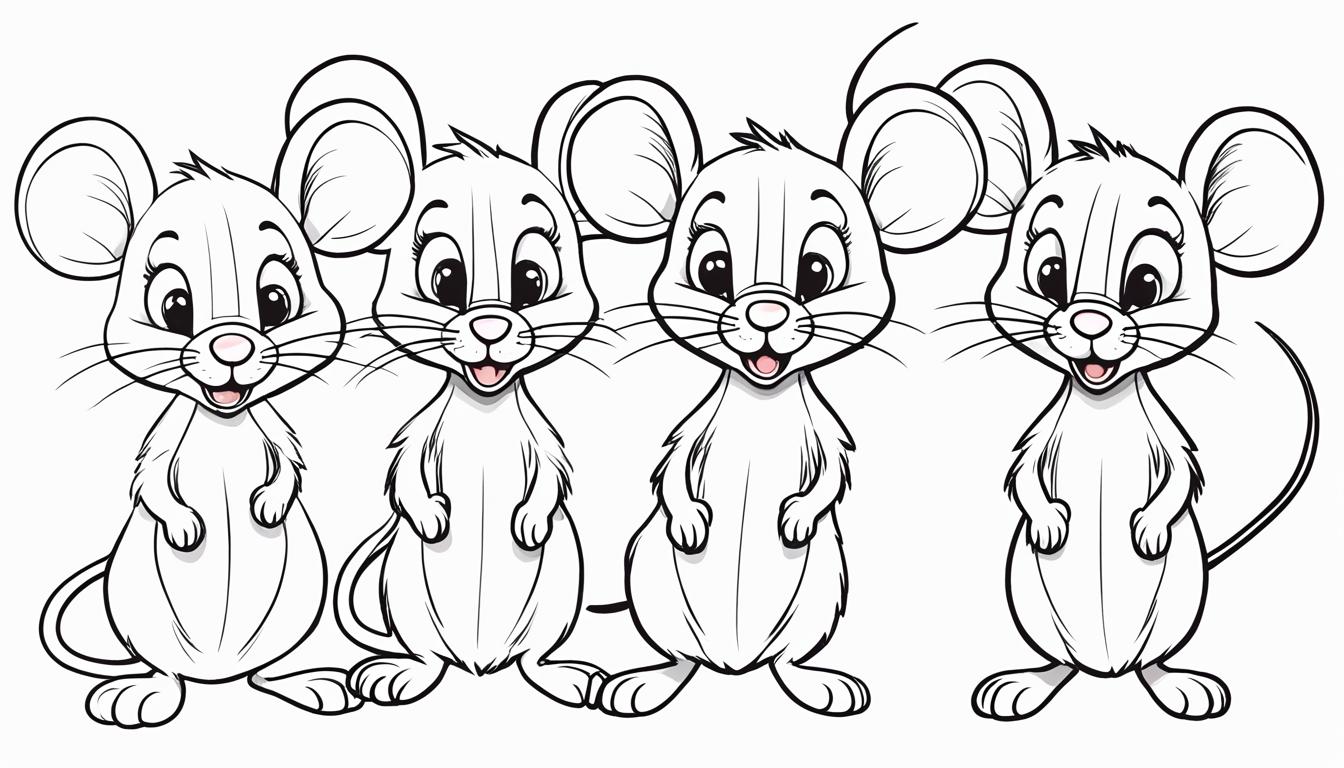
How to Draw a Mouse – Drawing Turorials and Coloring Tips
Have you ever wondered how artists bring cute and realistic mice to life on paper? Are you curious about the step-by-step process of creating a mouse drawing? Whether you’re a beginner or an experienced artist, learning how to draw a mouse can unlock your artistic talent and allow you to create adorable illustrations. In this article, we will guide you through drawing tutorials, share coloring tips, and explore techniques to enhance your mouse drawings. Get ready to discover the secrets behind bringing these charming creatures to life on the page!
- Step-by-step instructions on how to draw a mouse
- Techniques and tips for coloring your mouse drawing
- Guidance on shading, texture, and adding depth to your drawings
- A color guide for bringing your mouse drawing to life
- A printable mouse drawing worksheet for practice
Step-by-Step Mouse Drawing Tutorial
Are you ready to bring a cute and realistic mouse to life on your paper? Follow this step-by-step mouse drawing tutorial to create your very own adorable masterpiece. Whether you’re a beginner or an experienced artist, this tutorial will guide you through the process with easy-to-follow instructions.
Materials Needed:
- Pencil
- Eraser
- Blank paper or sketchbook
Step 1: Sketch the Mouse’s Tail
Start by drawing a curved line to represent the mouse’s tail. Keep it simple and leave some space for the rest of the body. Don’t worry about getting it perfect the first time; you can always make adjustments later.
Step 2: Outline the Body and Head
Next, sketch the mouse’s body and head using simple shapes. Draw an elongated oval for the body, connecting it to a smaller oval for the head. Position the head slightly tilted to give your mouse some personality. Remember, light strokes are key at this stage.
Step 3: Add the Arms and Feet
Now, it’s time to add some limbs to your mouse. Draw short curved lines for the arms and feet, keeping them proportional to the body. Don’t worry about adding too many details; we’ll refine them later.
Step 4: Define the Facial Features
Focus on the mouse’s face by adding two small circles for the ears. Then, draw two ovals for the eyes, slightly overlapping the head. Add a small oval for the nose and a curved line for the mouth. These details will bring your mouse to life!
Step 5: Refine and Finalize
Now that you have the basic structure, it’s time to refine your drawing. Erase any unnecessary guidelines and add more definition to the mouse’s body, limbs, and facial features. Pay attention to the curves, proportions, and details to create a more realistic appearance.
Remember, practice makes perfect! Don’t be afraid to make mistakes along the way. Every stroke brings you closer to your desired result.
Once you’re satisfied with your drawing, you can add shading, textures, or even color using your preferred artistic medium. Get creative and make your mouse artwork truly unique.
| Materials Needed | Instructions |
|---|---|
| Pencil | Use a pencil to sketch and refine your mouse drawing. It allows for easy erasing of mistakes. |
| Eraser | An eraser helps you remove any unwanted lines or guidelines. |
| Blank paper or sketchbook | Choose a clean sheet of paper or a sketchbook to bring your mouse drawing to life. |
Mouse Drawing Techniques and Tips
Mastering mouse drawing techniques allows you to bring your artwork to life with realism and detail. Whether you’re a beginner or looking to refine your skills, these tips will help you enhance your mouse drawings.
Shading for Depth and Dimension
Shading is an essential technique that adds depth and dimension to your mouse drawings. By understanding how light falls on different surfaces, you can create a realistic representation of a mouse’s form. Start by observing real-life references or photographs of mice to study the way light and shadow interact. Experiment with different shading techniques, such as cross-hatching or blending with a smudging tool, to achieve the desired effect.
Creating Texture
Texture plays a crucial role in bringing your mouse drawing to life. Mice have soft fur that varies in length and direction. To capture the texture accurately, use short, overlapping strokes or dots to represent individual hairs. Pay attention to the direction of the fur and vary your strokes accordingly. This technique adds depth and realism to your mouse drawing.
Adding Depth with Highlights
Highlights are crucial for creating depth and making your mouse drawing visually appealing. Determine the light source in your composition and identify areas that would catch the most light. Use a lighter shade or leave these areas blank to represent highlights. This technique adds contrast and makes your mouse drawing more three-dimensional.
Study Mouse Anatomy
Understanding the anatomy of a mouse can greatly enhance your drawing skills. Study the proportions and features of a mouse, such as the shape of the head, placement of the ears, and positioning of the limbs. This knowledge will help you accurately represent a mouse’s unique characteristics, resulting in more accurate and convincing drawings.
Practice Makes Perfect
Improving your mouse drawing skills takes practice and patience. Set aside regular practice sessions to work on different aspects of your drawings, such as shading, texture, and proportions. Don’t be discouraged by initial setbacks—learning and improvement come with time and practice. Keep experimenting, trying new techniques, and seeking inspiration from other artists to continually refine your skills.
Now that you have some essential techniques and tips under your belt, it’s time to put them into practice. Let’s move on to the next section and explore the color guide for your mouse drawings.
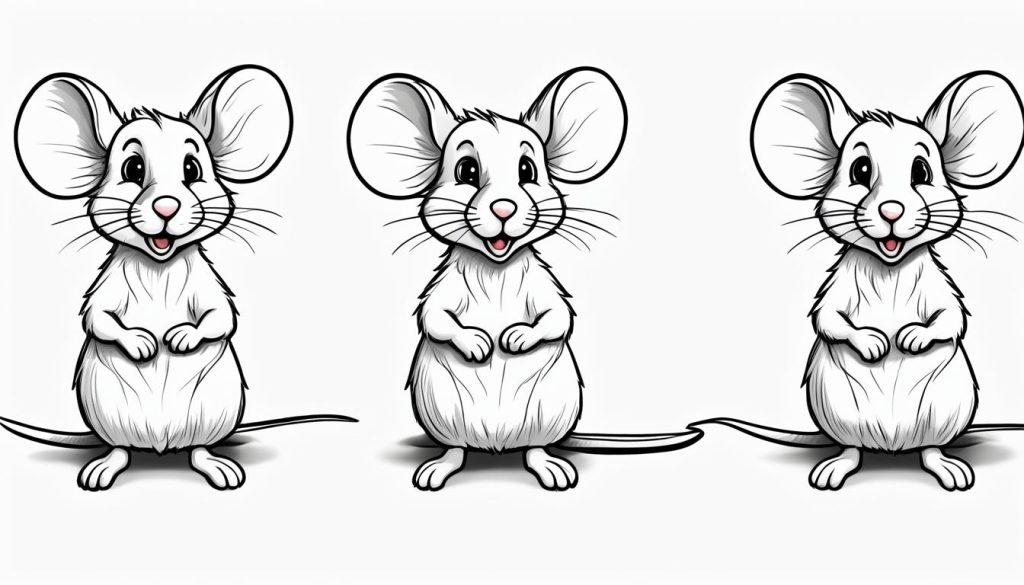
Color Guide for Mouse Drawings
Once you’ve completed your mouse drawing, it’s time to bring it to life with colors! In this section, we will provide a comprehensive color guide to help you choose the perfect shades for your mouse illustration. We will also recommend various coloring supplies that you can use to achieve stunning results.
Tips for Choosing Colors
When selecting colors for your mouse drawing, consider the following tips:
- Observe real mice or reference images to capture the natural color tones accurately.
- Start with a basic color palette and gradually add shading and highlights.
- Experiment with different color combinations to create unique and eye-catching effects.
- Consider the mood or environment you want to convey through your drawing and choose colors accordingly.
Recommended Coloring Supplies
Here are some tried-and-true coloring supplies that will help you achieve outstanding results:
| Coloring Supplies | Features |
|---|---|
| Markers | Provide vibrant and bold colors, great for adding precise details and shading. |
| Colored Pencils | Offer a wide range of colors and allow for blending and layering to create subtle gradients and textures. |
| Crayons | Perfect for creating a soft and smooth texture, especially suitable for children or beginners. |
Depending on your drawing style and preference, you can choose one or a combination of these coloring supplies to enhance your mouse drawing.
Creating Realistic Fur Textures
To make your mouse drawing appear more lifelike, focus on adding realistic fur textures. Here’s a simple technique you can try:
- Start by applying a base color to the entire mouse body. Use short, light strokes to mimic the direction of fur growth.
- Add darker shades along the edges and contours to create depth and dimension.
- Use a fine-tipped pen or pencil to add finer details such as individual hair strands or whiskers.
By following these steps and incorporating the right colors and techniques, you’ll be able to bring your mouse drawing to life and make it truly captivating.
Printable Mouse Drawing Worksheet
Practice makes perfect when it comes to improving your mouse drawing skills. To help you in your artistic journey, we have created a printable mouse drawing worksheet that you can download and print. This worksheet serves as a practice sheet to refine your mouse drawing abilities. Whether you are a beginner or an experienced artist, this worksheet is a valuable resource for honing your skills.
The mouse drawing worksheet features a blank space where you can unleash your creativity and practice the steps from our tutorial. Let your imagination roam free as you experiment with different poses, expressions, and details. It’s the perfect canvas to refine your technique and bring your mouse drawings to life.
Designed for both kids and adults, this printable PDF is suitable for individual practice or for use in art classrooms. It provides a structured format for developing your artistic prowess and gaining confidence in your abilities.
Remember, practice is key to mastering any skill, including drawing. By dedicating time to practice using this worksheet, you’ll steadily improve your mouse drawing technique and develop your own unique style.
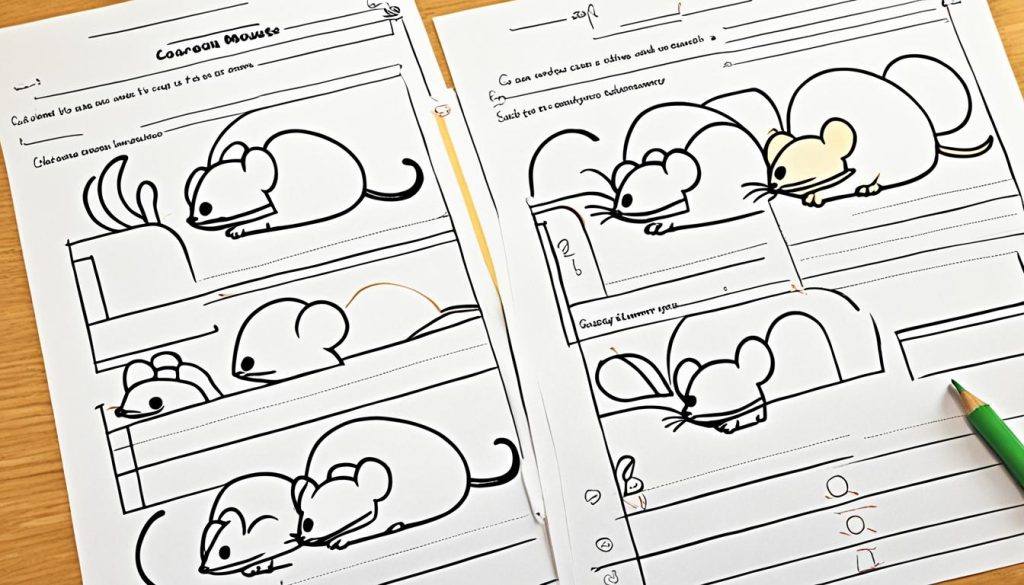
So go ahead and download our printable mouse drawing worksheet, grab your favorite drawing tools, and embark on an artistic adventure. Discover the joy of bringing adorable mice to life on paper and watch your drawing skills flourish.
More Easy Drawing Tutorials
If you’re eager to expand your drawing skills and try your hand at more subjects, we’ve got you covered! In this section, we’ve compiled a list of easy drawing tutorials that are perfect for beginners. Each tutorial comes with step-by-step instructions and a printable practice sheet to help you hone your artistic abilities.
Your Creative Journey Continues
Ready to dive into new drawing projects? Here are some easy drawing tutorials you can explore:
- Pumpkins: Celebrate the fall season by learning how to draw pumpkins. From cute and cartoony to realistic and detailed, these pumpkin drawing tutorials will guide you through the process of creating festive artwork.
- Acorns: Discover the beauty of nature with a step-by-step tutorial on drawing acorns. Explore various textures and shading techniques to capture the intricate details of these tiny wonders.
- Butterflies: Spread your artistic wings and learn how to draw butterflies in all their colorful glory. These tutorials will teach you how to draw different butterfly species, from simple designs to intricate patterns.
- Roses: Unleash your inner romantic by mastering the art of drawing roses. These tutorials will guide you through the process of capturing the graceful curves and delicate petals of this timeless flower.
Whether you prefer autumnal themes or delicate flowers, these easy drawing tutorials will keep you inspired and engaged. Remember to practice regularly and have fun with your creations!
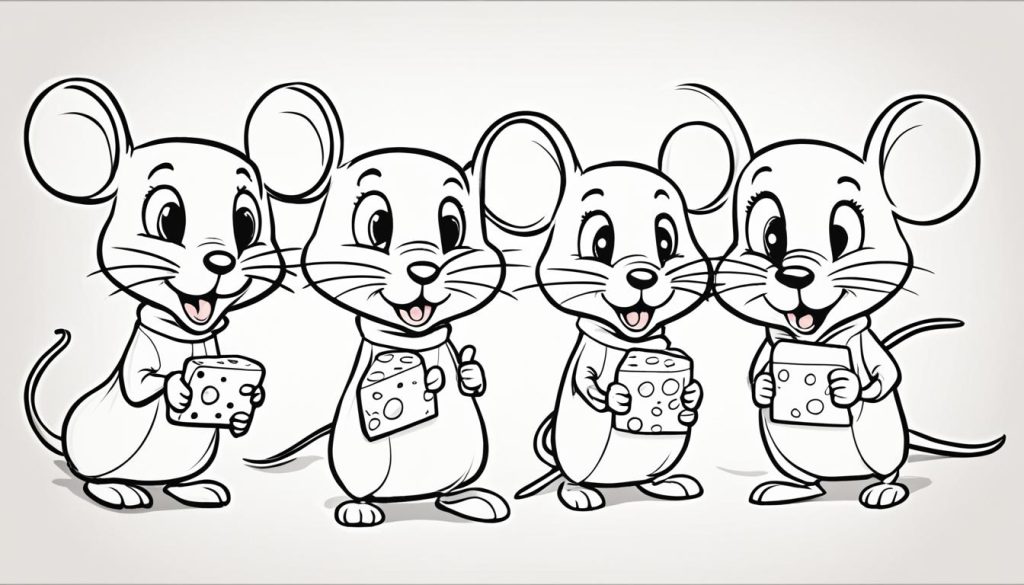
Easy Drawing Tutorials
| Tutorial | Description |
|---|---|
| Pumpkins | Celebrate the fall season by learning how to draw pumpkins. From cute and cartoony to realistic and detailed, these tutorials will guide you through the process of creating festive pumpkin artwork. |
| Acorns | Explore the beauty of nature with step-by-step tutorials on drawing acorns. Discover different shading techniques and methods to capture the intricate details of these tiny wonders. |
| Butterflies | Master the art of drawing butterflies with these tutorials. Learn how to depict various butterfly species and create beautiful, colorful designs. |
| Roses | Unleash your creativity and capture the elegance of roses with these tutorials. From simple designs to intricate patterns, learn how to create stunning rose artwork. |
The Fascinating World of Coloring with Colored Pencils
When it comes to adding vibrant and lifelike colors to your mouse drawing, colored pencils are an excellent choice. The versatility and ease of use make them a favorite coloring tool for artists of all skill levels. In this section, we will dive into the fascinating world of coloring with colored pencils and explore various techniques to enhance your mouse drawing.
Blending Colors for Smooth Transitions
One of the key techniques in coloring with colored pencils is blending. Blending allows you to create smooth color transitions and gradients, adding depth and dimension to your mouse drawing. To blend colors effectively, start by layering different shades on the paper. Then, use a blending tool or your fingertip to gently blend the colors together. This technique creates a seamless and realistic effect that brings your mouse to life.
Layering for Rich and Vibrant Colors
Layering is another technique that can make your mouse drawing truly stand out. Start with light pressure and gradually build up layers of color to achieve depth and richness. Experiment with different color combinations and layering techniques to create various effects. Remember to use a light touch and multiple layers to achieve vibrant and lifelike colors in your mouse drawing.
Creating Texture with Colored Pencils
Colored pencils provide an excellent opportunity to add texture to your mouse drawing. Whether it’s the fur, whiskers, or tiny details like eyes and ears, you can use colored pencils to create texture and bring your drawing to life. Experiment with different pencil strokes, such as hatching, cross-hatching, and stippling, to capture the unique texture of a mouse’s fur. Take your time and observe real-life references to accurately depict the texture in your drawing. The end result will be a realistic and visually appealing mouse.
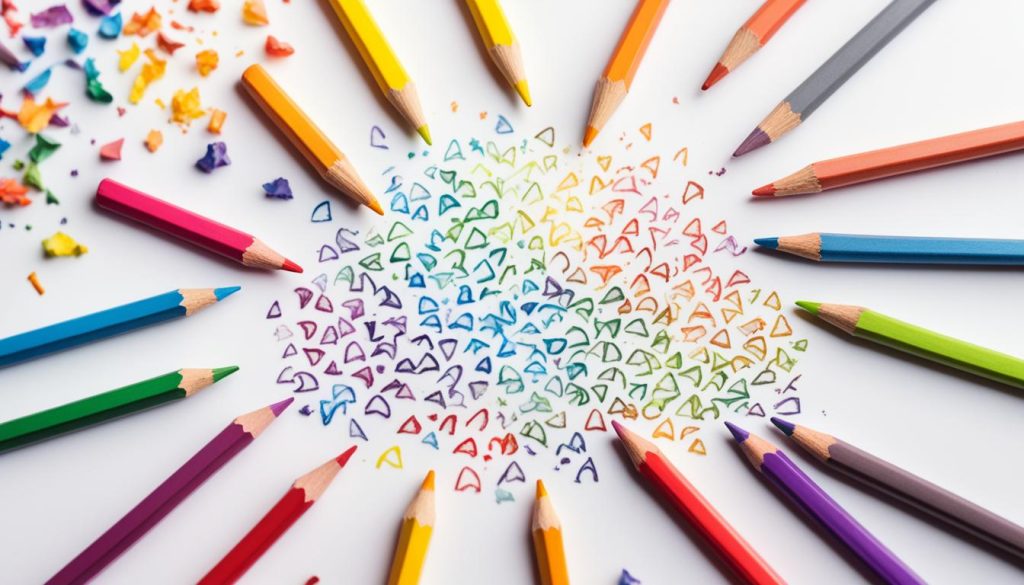
The image above showcases the beautiful results that can be achieved by coloring with colored pencils. The vibrant colors, smooth transitions, and delicate details bring the mouse drawing to life. By mastering the various techniques and practicing regularly, your colored pencil skills will continue to improve, enhancing your ability to create stunning and captivating drawings.
About The Graphics Fairy
In this section, we are excited to introduce you to The Graphics Fairy, a treasure trove of stock images that will ignite your creativity and enhance your artistic projects. With an extensive collection of vintage images, projects, and DIY ideas, The Graphics Fairy is a must-visit resource for artists, crafters, and designers.
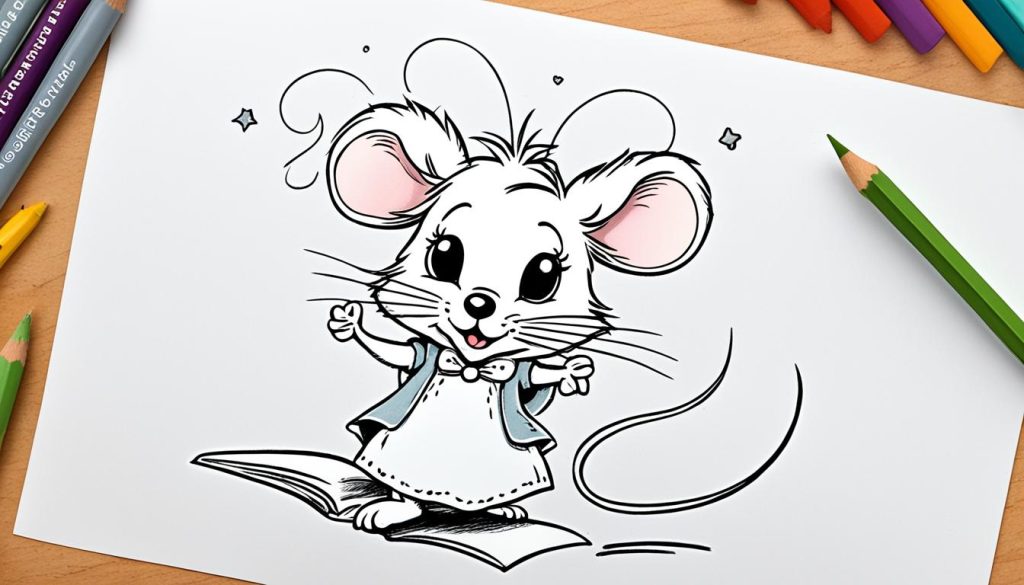
If you’re in search of inspiration or need high-quality stock images for your creative endeavors, look no further than The Graphics Fairy. This incredible website offers a wide range of carefully curated vintage images, from intricate illustrations to charming ephemera. These captivating visuals are perfect for adding a touch of nostalgia and uniqueness to your designs.
Unlock Your Creativity with Stock Images
At The Graphics Fairy, you’ll discover an extensive collection of stock images that can be used for various purposes, including:
- Art journaling
- Scrapbooking
- Card making
- Home decor projects
- Digital design
- And so much more!
Whether you’re creating personalized greeting cards or designing beautiful wall art, The Graphics Fairy offers an abundance of vintage images to suit your unique style and vision.
Projects and DIY Ideas
In addition to stock images, The Graphics Fairy provides a wealth of creative projects and DIY ideas to fuel your imagination. From step-by-step tutorials to crafty inspiration, you’ll find a multitude of exciting ideas to try.
“The Graphics Fairy has been my go-to resource for vintage images for years. Their vast collection and creative ideas have helped me bring my artistic visions to life. I highly recommend exploring their website for endless inspiration!” – Sarah, avid crafter
Join the Creative Community
Not only does The Graphics Fairy offer a wide range of resources, but it also provides a platform for connecting with fellow artists, crafters, and designers. Dive into the vibrant creative community by joining their forums, participating in discussions, and sharing your own artwork.
In Summary
The Graphics Fairy is your ultimate destination for stock images, vintage visuals, and creative inspiration. Whether you’re a seasoned artist or just starting on your creative journey, The Graphics Fairy will become your go-to resource for all things art, design, and crafting.
Conclusion
After going through the step-by-step tutorials, techniques, and coloring tips, we hope you have gained a deeper understanding of how to draw a mouse. Drawing a mouse might seem challenging at first, but with practice and patience, you can create adorable and realistic mouse illustrations.
Throughout this article, we have emphasized the importance of practice in improving your drawing skills. Just like any other skill, drawing requires consistent practice to master. So don’t be discouraged if your first attempts don’t turn out perfect. Keep practicing, and you will see your drawings improve over time.
Key Takeaways:
- Start by sketching the basic shapes of the mouse’s body and head.
- Add details such as ears, eyes, and nose to bring your mouse drawing to life.
- Experiment with shading techniques to create depth and texture.
- Choose the right colors and coloring supplies to enhance your mouse illustration.
- Practice regularly and try different drawing techniques to develop your skills.
Remember, drawing is a creative journey, and there are no right or wrong ways to express your artistic vision. Embrace your own style, experiment with different techniques, and have fun throughout the process.
So go ahead, grab your pencil, and start drawing some adorable mice! We can’t wait to see what you create.
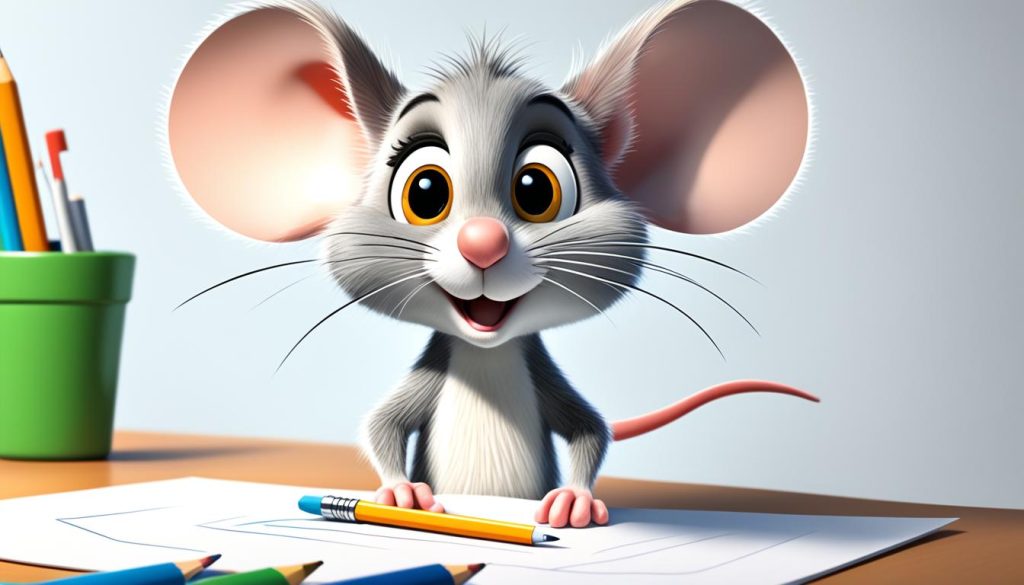
Resources
Are you looking to take your artistic skills to the next level? We have compiled a list of valuable resources that can help you develop your drawing abilities and unleash your creativity. Whether you’re a beginner or an experienced artist, these resources will provide you with the knowledge and inspiration you need.
Books are an excellent way to learn new techniques and gain insights from experienced artists. Some highly recommended drawing books include “Drawing on the Right Side of the Brain” by Betty Edwards and “Figure Drawing for All It’s Worth” by Andrew Loomis. These books cover a wide range of topics, from basic drawing fundamentals to advanced figure drawing.
If you prefer a more interactive learning experience, online courses can be a great option. Websites like Udemy, Skillshare, and Coursera offer a variety of drawing courses taught by professionals. You can choose courses that suit your skill level and specific areas of interest, such as portrait drawing, landscape sketching, or character design.
Engaging with a community of fellow artists is another effective way to develop your artistic skills. Online platforms like DeviantArt and Instagram provide a space for artists to showcase their work, receive feedback, and connect with other like-minded individuals. Joining art communities can provide you with valuable support, inspiration, and opportunities for collaboration.
Remember, practice and experimentation are keys to artistic growth. By utilizing these drawing resources, you can enhance your artistic skills, explore new techniques, and expand your creative horizons. Unleash your inner artist and watch your mouse drawings come to life!
