How to Draw a Sphere – Drawing Turorials and Coloring Tips
Have you ever wondered how artists create those perfect, realistic spheres in their drawings? Do you think it’s a skill reserved only for the most talented artists? Think again! Learning how to draw a sphere is not as complicated as it seems, and with the right techniques, anyone can master it. So, are you ready to unlock the secrets of drawing a sphere?
Whether you’re a beginner or an experienced artist, this article will guide you step-by-step through the process of drawing a sphere. From the materials you need to the shading techniques that create depth and dimension, we’ve got you covered. And if you want to take your sphere drawing to the next level, we’ll even show you how to add color for a truly eye-catching result.
So, let’s dive in and learn how to draw a sphere like a pro. Get your sketch pad ready and let your creativity flow!
Key Takeaways:
- Learning how to draw a sphere is a skill that anyone can master with practice and the right techniques.
- Using the correct materials, such as a sketch pad, pencil, and blending tool, will make the drawing process easier and more enjoyable.
- By following a step-by-step guide, you can create realistic and 3D-looking spheres on paper.
- There are alternative methods, like using an egg cup or a real-life spherical object as a reference, to draw a sphere.
- Adding color to your sphere drawing can enhance its vibrancy and depth, creating a visually appealing result.
Materials Needed for Drawing a Sphere
To draw a sphere, you will need a few basic materials:
- A sketch pad or paper: Choose a smooth surface that allows your pencil to glide easily.
- A pencil: Select a medium-soft graphite pencil to achieve different shades and textures.
- A circular object to trace: This could be a coin, a compass, or any other circular object with a desired size.
- A blending tool: Use a cotton ball or tissue to blend and soften shading for a more realistic effect.
By having these materials ready, you can dive into the drawing process smoothly and enjoy the journey of creating a lifelike sphere.
“Having the right materials not only helps you achieve better results but also makes the drawing experience more enjoyable.”
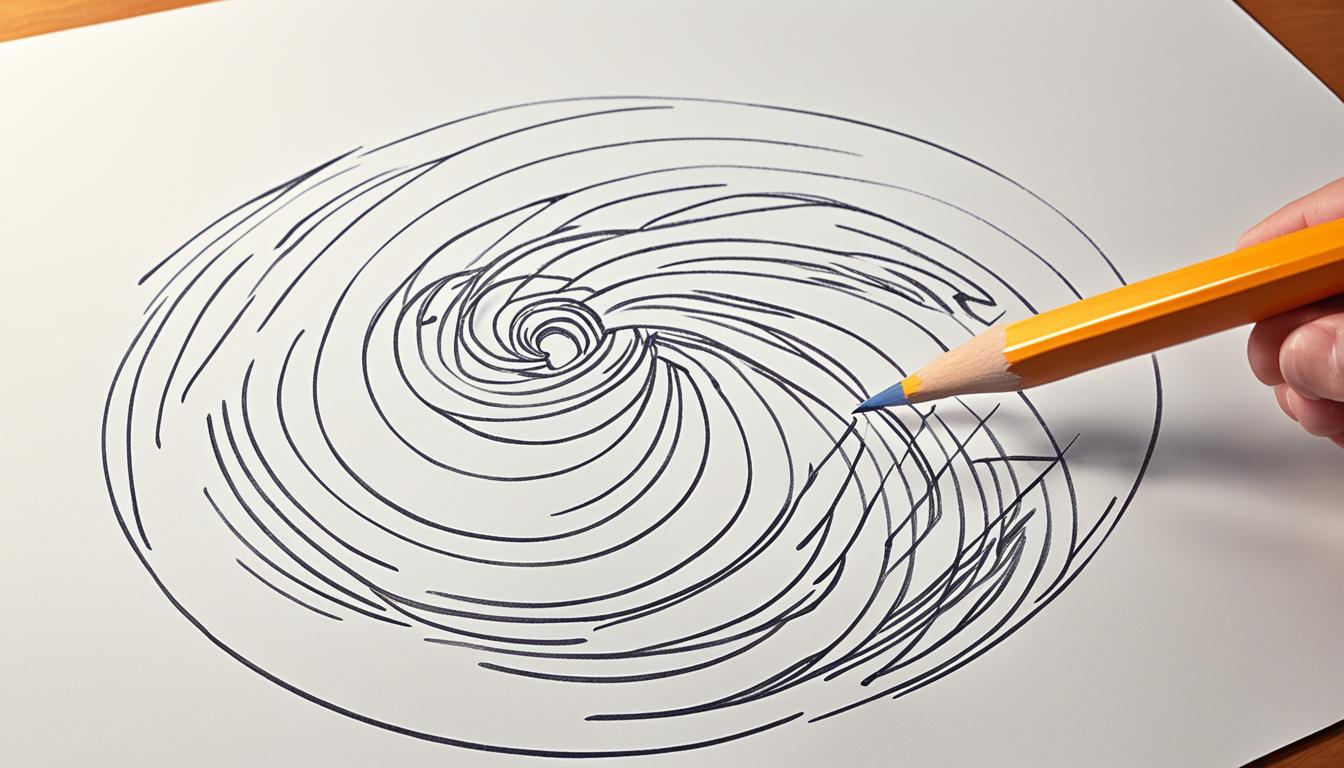
Step-by-Step Guide to Drawing a Sphere
Drawing a sphere may seem challenging, but with a step-by-step guide, you can easily create a realistic and 3D-looking sphere. Follow these instructions to master the art of drawing a sphere:
- Step 1: Start by tracing a circle using a circular object. This will serve as the base of your sphere.
- Step 2: Determine the direction of the light source. This will help you create accurate shading and highlights.
- Step 3: Begin adding shading to your sphere. Use a pencil to create gradual layers of shading, focusing on the areas where the light doesn’t reach and creating darker shadows.
- Step 4: Smooth out the shading using a blending tool such as a cotton ball or tissue. This will help create a seamless transition between light and dark areas.
- Step 5: Pay attention to the core shadow, which is the darkest part of the sphere, and the highlights, which are the brightest parts. Adding these details will enhance the 3D effect.
Following these step-by-step instructions will guide you through the process of drawing a sphere. Practice and patience are key to improving your skills. Keep experimenting with different shading techniques and observe real-life spheres to enhance your drawings.
Remember, drawing a sphere is all about capturing the play of light and shadow. Take your time and enjoy the creative process!

| Common Mistakes to Avoid | Tips to Overcome Them |
|---|---|
| Drawing a flat circle instead of a rounded shape | Focus on carefully shaping the outline of the sphere and pay attention to shading and highlights. |
| Not considering the direction of the light source | Take a moment to analyze the light source and visualize how it would affect the shading and highlights. |
| Using excessive shading | Use subtle and gradual shading to create a realistic sphere. Start light and build up the intensity if needed. |
| Neglecting to create highlights and shadows | Highlights and shadows are crucial for capturing the 3D effect. Pay attention to these details to make your sphere drawing stand out. |
Alternative Methods for Drawing a Sphere
While the previous method involves drawing a sphere freehand, there are alternative methods that you can try.
One method involves using an egg cup as a model and drawing its outlines. This allows you to capture the basic shape and proportions of a sphere effortlessly. Simply place the egg cup on your paper and lightly trace its outline. Then, refine the shape by adding details and shading to create a three-dimensional effect.
Another method is to use an actual spherical object as a reference. This could be a ball, a fruit like an apple, or any other spherical item you have on hand. Place the object under a light source and observe how the light falls on its surfaces. Then, sketch the outlines and experiment with shading to recreate the lighting and shading effects on your drawing.
Both of these alternative methods provide valuable opportunities to study and understand the lighting and shading of a sphere. By utilizing everyday objects as references, you can enhance the realism and accuracy of your sphere drawings.
| Method | Description |
|---|---|
| Egg Cup Method | Use an egg cup as a model and draw its outlines on your paper. Add details and shading to create depth and dimension. |
| Spherical Object Method | Use an actual spherical object as a reference. Observe the lighting and shading effects on the object and recreate them in your drawing. |
These alternative methods provide a fresh perspective on drawing a sphere and can help you improve your skills by exploring different approaches. Whether you choose to use an egg cup or a spherical object, experimenting with alternative methods can lead to more realistic and captivating sphere drawings.
Now that you have learned about alternative methods, let’s move on to the next section and discover some valuable tips for perfecting your sphere drawing.
Tips for Perfecting Your Sphere Drawing
Drawing a sphere requires practice and attention to detail. Here are some tips to help you perfect your sphere drawing:
- Experiment with different shading techniques: Try using cross-hatching, stippling, or blending to create different effects and textures in your sphere drawing.
- Observe real-life spheres for inspiration: Take a look at objects like fruits, marbles, or even planetary bodies to study how light interacts with spherical surfaces.
- Use a kneaded eraser for adjustments: A kneaded eraser is a versatile tool that allows you to lift or lighten areas of your drawing. It can help you refine the highlights and shadows of your sphere.
- Practice drawing spheres from different angles: Drawing spheres from different perspectives will improve your understanding of their structure and how light falls on them. Try drawing spheres from above, below, and from the side.
By following these tips, you can refine your skills and create impressive sphere drawings. Let’s take a look at the example below to see how these tips can make a difference:

Practice makes perfect!
Don’t be discouraged if your first attempts at drawing a sphere don’t turn out as expected. Remember that drawing is a skill that improves with practice. Keep experimenting, learning from your mistakes, and have fun with your artistic journey!
Common Mistakes to Avoid When Drawing a Sphere
When it comes to drawing a sphere, beginners often make some common mistakes that can hinder the realistic portrayal of their artwork. By being aware of these mistakes and avoiding them, you can create more accurate and visually pleasing sphere drawings.
-
Drawing a flat circle instead of a rounded shape: One of the most common mistakes is drawing a sphere as a flat circle instead of giving it a rounded shape. Remember that a sphere is a three-dimensional object, and it should appear as such in your drawing. Pay attention to the curves and contours to accurately depict its roundness.
-
Not paying attention to the direction of the light source: Lighting plays a crucial role in creating realistic drawings. When drawing a sphere, it is essential to consider the direction of the light source. By understanding how the light falls on the sphere, you can accurately depict the highlights and shadows.
-
Using excessive shading: Another mistake is using too much shading, which can result in a heavy and unrealistic-looking sphere. Be mindful of the balance between light and shadow, and use shading sparingly to create depth and dimension.
-
Neglecting to create highlights and shadows: Highlights and shadows are essential elements in giving a sphere its three-dimensional appearance. Failing to include them can make the sphere look flat and lifeless. Pay attention to the areas of the sphere that catch the most light and those that remain in shadow and add highlights and shadows accordingly.
By avoiding these common mistakes and applying the correct techniques, you can elevate your sphere drawing skills and create more realistic and appealing artwork.

Adding Color to Your Sphere Drawing
While shading with pencils can create a realistic sphere, you can also add color to enhance your drawing. Use colored pencils or other coloring tools to add depth and vibrancy to your sphere. Consider the light source and add highlights and shadows accordingly. Experiment with different color combinations to create unique and visually appealing sphere drawings.
Adding color to your sphere drawing allows you to bring your artwork to life and make it more visually captivating. It opens up a world of possibilities for expressing your creativity and adding your personal touch to the drawing. Colored pencils are a popular choice for adding color as they provide precise control and a wide range of hues. You can blend different colors together to achieve smooth transitions and create a sense of dimensionality in your sphere.
When applying color to your sphere drawing, pay attention to the direction of the light source. Determine where the light is coming from and imagine how it would affect the colors on the sphere. Apply lighter shades on the parts that are facing the light source to create highlights, and darker shades on the opposite side to indicate shadows. This technique helps to simulate the three-dimensional form of the sphere and make it more realistic.
Experimenting with different color combinations can add a unique and artistic flair to your sphere drawing. Try using complementary colors, analogous colors, or even monochromatic color schemes to create different moods and effects. Don’t be afraid to mix and blend colors to achieve the desired visual impact.

Adding color to your sphere drawing allows you to unleash your creativity and take your artwork to the next level. It adds vibrancy and depth to your drawing, making it visually striking and captivating to the viewer. So, grab your colored pencils, experiment with different color combinations, and bring your sphere drawing to life with a splash of color!
Showcasing Your Sphere Drawing Skills
Now that you have mastered the art of drawing a sphere, it’s time to showcase your skills and share your creations with the world. There are various ways you can exhibit your sphere drawing abilities:
1. Share on Social Media and Art Communities
Take advantage of social media platforms like Instagram, Facebook, and Twitter to share your sphere drawings. Create a dedicated art account or use relevant hashtags to reach a wider audience. Join art communities and forums, such as DeviantArt or Reddit’s art subreddits, where you can share your artwork, receive feedback, and connect with other artists who share your passion for drawing spheres.
2. Participate in Art Contests or Exhibitions
Enter art contests or exhibitions that focus on drawings and illustrations. Look for opportunities in your local community, schools, art galleries, or even online platforms that host art competitions. Showcasing your sphere drawings in a public setting allows you to gain recognition, receive constructive criticism, and potentially win awards or prizes.
3. Collaborate with Other Artists
Collaborating with other artists can provide new perspectives and ideas for your sphere drawings. Join forces with fellow artists to create joint projects, art books, or themed exhibitions that highlight your combined skills. Collaborations not only offer exposure but also foster a sense of artistic community and inspire further growth in your sphere drawing abilities.
4. Create an Online Portfolio or Website
Build an online portfolio or website to showcase your sphere drawings in a professional and organized manner. Include high-resolution images, descriptions, and even timelapse videos of your drawing process. Link your portfolio to your social media accounts or art communities to drive traffic and attract potential clients or art enthusiasts who may be interested in purchasing your artwork or commissioning custom sphere drawings.
Don’t miss out on opportunities to express your sphere drawing skills and receive recognition for your talent. Whether it’s through social media, art contests, collaborations, or your online portfolio, embrace the chance to share your artwork and celebrate your unique ability to bring spheres to life on paper.

Conclusion
Drawing a sphere may initially appear daunting, but with dedication, practice, and the proper techniques, anyone can create lifelike and three-dimensional spheres. By following step-by-step instructions, utilizing the appropriate materials, and paying careful attention to lighting and shading, you can produce impressive sphere drawings. Remember to embrace experimentation, learn from mistakes, and enjoy the artistic journey.


