How to Draw Chibi – Drawing Turorials and Coloring Tips
Have you ever wondered how artists create those adorable chibi characters? Their cute and bubbly appearance seems to captivate everyone’s hearts. But what if I told you that drawing chibis is not as complicated as it may seem? Whether you’re an aspiring artist or simply want to try your hand at a new craft, our comprehensive guide will teach you everything you need to know about drawing chibis.
From understanding the basic anatomy of chibis to mastering the art of coloring, we’ve got you covered. Learn the step-by-step techniques for drawing the perfect chibi head, capturing facial expressions that convey emotions, creating dynamic poses, and even designing fashionable outfits.
So, are you ready to dive into the enchanting world of chibis and bring your own adorable characters to life? Let’s get started!
Key Takeaways:
- Chibis have a distinct style characterized by their smaller, cuter appearance.
- The anatomy of chibis includes specific shapes for the head, body, arms, hands, legs, and feet.
- Facial expressions play a significant role in conveying emotions in chibi characters.
- Chibis can be posed creatively despite their proportions.
- Personalizing chibi characters adds uniqueness and individuality to their designs.
Getting to Know the Shapes
Before you start drawing chibi characters, it’s important to understand their anatomy. Chibis are characterized by their smaller and cuter appearance. In terms of shape, the head can be drawn in various forms, such as circles, squares, or any other shape that suits your preference. The body should be smaller than the head, resembling a bobblehead figure. For the arms, you can choose between drawing ovals with a separation for the elbows or simplified triangular shapes. Hands can have varying numbers of fingers, depending on the pose or action. The legs follow a similar process as the arms, with the addition of feet and a waist.
- Head: Draw a circle or any shape you prefer.
- Body: Make the body smaller than the head, giving it a bobblehead-like appearance.
- Arms: Choose between ovals with a separation for the elbows or simplified triangular shapes.
- Hands: Add varying numbers of fingers based on the pose or action.
- Legs: Follow a similar process as the arms, adding feet and a waist.
Understanding the basic shapes of chibi characters is key to creating their cute and appealing appearance. By familiarizing yourself with these foundational techniques, you’ll be ready to bring your chibi characters to life!
Head Details
The head of a chibi character plays a crucial role in capturing its personality. While the general anatomy remains consistent, the details can vary to add uniqueness to your chibi illustrations. Let’s focus on some key aspects of the chibi head:
Eyes
The eyes of chibi characters are typically larger than those in regular anime/manga styles, giving them a cuter appearance. However, don’t hesitate to experiment with different eye styles that align with your preferences. You can explore various shapes, designs, and expressions to bring your chibis to life.
Hairstyles
Choosing the right hairstyle can significantly contribute to the overall character design of a chibi. It’s essential to start by identifying the hairline and establishing the flow of the hair. Add simple flow lines and leaf-like shapes to create a cleaner and more defined hair texture. By paying attention to the details, such as adding strands or layers, you can achieve a polished and visually appealing hairstyle for your chibi characters.
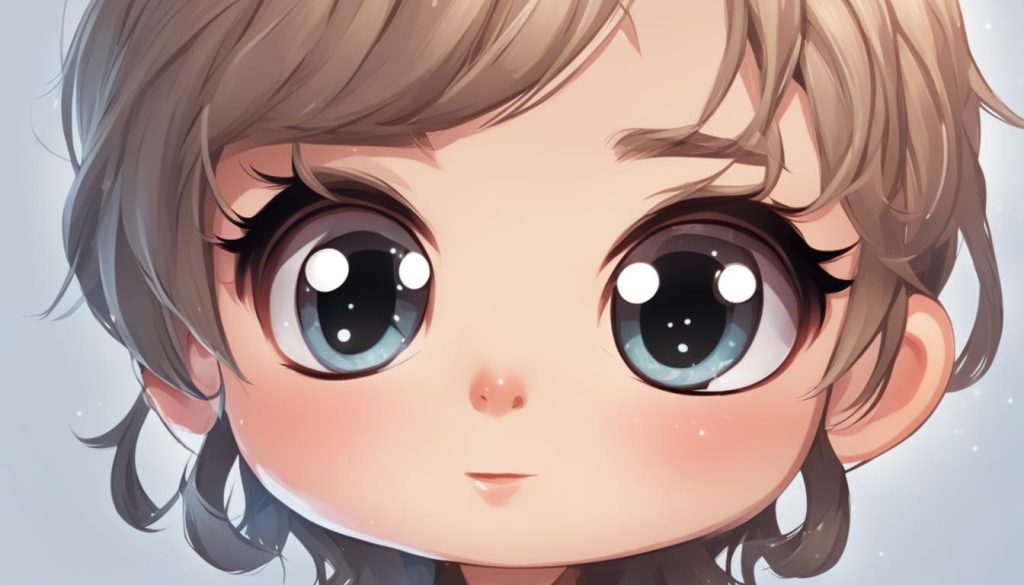
With the proper attention to head details, including the eyes and hairstyles, you can enhance the personality and charm of your chibi characters. Remember, each detail contributes to the overall visual impact and cuteness that chibis are loved for!
Facial Expressions
Facial expressions are key to bringing your chibi characters to life. With their cute and exaggerated expressions, chibis can convey a wide range of emotions, just like emojis. By mastering different facial expressions, you can enhance the cuteness and charm of your chibi illustrations.
Experiment with various emotions such as happiness, sadness, shock, anger, joy, and more, to give your chibis depth and personality. Play around with eyebrow positioning, mouth shapes, and eye sizes to achieve the desired expression. Remember that subtle changes can make a big difference in capturing the right emotion.
Here are a few ideas to inspire your chibi’s facial expressions:
- Creating a big smile with wide-open eyes for a cheerful and happy expression.
- Curving the eyebrows downward and adding tear-shaped eyes for a sad or crying expression.
- Drawing narrowed eyes, furrowed eyebrows, and a tilted mouth for an angry or frustrated expression.
- Using wide-open eyes, raised eyebrows, and an open mouth for an excited or surprised expression.
Remember, practice makes perfect! Don’t be afraid to experiment and try different facial expressions to find the ones that suit your chibi characters best.

Bring Your Chibis to Life with Expressions
“Facial expressions play a significant role in conveying emotions for chibi characters. Chibis often have exaggerated expressions, similar to emojis. These expressions can include happiness, sadness, shock, anger, joy, and more. Adding these expressions enhances the cuteness and charm of your chibi. Experiment with different facial expressions to bring your characters to life.”
Poses
While chibi characters may have limitations in dynamic poses due to their proportions, they can still be posed creatively. The key is to use limb or anchor joints as guides when positioning the character. By understanding these joint points, you can create various poses for your chibi characters. Take inspiration from examples that demonstrate different poses, allowing your chibis to express different moods and actions.
Using Limb and Anchor Joints for Creative Poses
To create dynamic and expressive poses for your chibi characters, it’s important to understand how to utilize limb and anchor joints effectively. Limb joints refer to the points where arms, legs, and other limbs connect to the body. These joints act as pivot points and provide flexibility for movement. Anchor joints, on the other hand, are the stable connections where the body or limbs meet the ground or any other supporting surface.
By strategically positioning these joints, you can achieve a wide range of engaging and lively poses for your chibi characters. Experiment with different combinations and angles to bring out the desired expressions and actions.
Expressing Moods and Actions through Poses
Poses can effectively convey the mood and action of your chibi characters. Whether it’s a happy, sad, surprised, or determined chibi, the pose plays a vital role in capturing the desired emotion. Here are some examples of poses that can enhance specific moods and actions:
- A chibi with raised arms and a big smile portrays joy and excitement.
- A chibi with slumped shoulders and downward gaze conveys sadness or disappointment.
- A chibi with wide eyes and an open mouth can showcase surprise or shock.
- A chibi in an action pose, with one leg lifted and arms in motion, depicts movement and energy.
By studying the body language of real-life individuals or observing poses in various media, you can develop a better understanding of how to pose your chibi characters to effectively communicate different emotions.
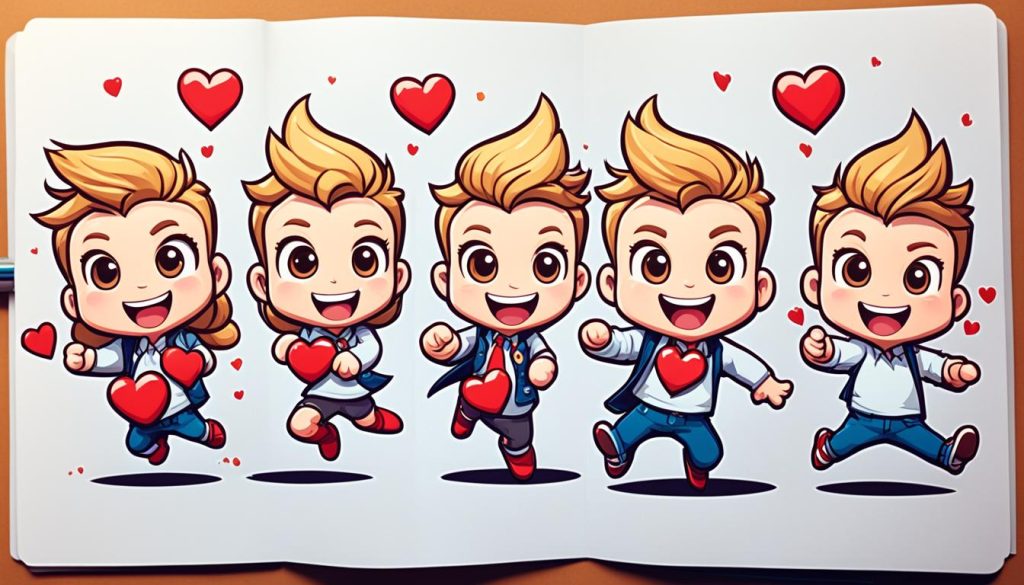
Now, let’s take a look at a table that showcases different pose ideas for chibi characters:
| Pose | Description |
|---|---|
| Happy Dance | A chibi character jumping with raised arms and a big smile, expressing pure joy. |
| Crying | A chibi character with tears streaming down their face, hunched shoulders, and a pouty expression, conveying sadness or heartbreak. |
| Superhero Stance | A chibi character with legs apart, hands on hips, and chest protruding forward, representing confidence and strength. |
| Thinking | A chibi character with one hand on their chin and a pensive expression, indicating deep contemplation or pondering. |
With these pose ideas as inspiration, you can bring your chibi characters to life by incorporating a range of emotions and actions into your illustrations.
Clothing
Dressing your chibi characters is an important aspect of their design. It allows you to showcase their personality and style. When it comes to clothing chibis, the possibilities are endless. You have the freedom to choose any fashion style you prefer, from casual to formal, trendy to retro. Let your creativity shine as there are no restrictions! In this section, we will guide you on how to adapt different clothing styles to fit the chibi body shape, so your characters are both fashionable and unique.

Adapting Clothing Styles
Adapting clothing styles to the chibi body shape requires some modifications to ensure a perfect fit. Here are a few tips to help you achieve the desired look:
- Keep the clothing proportions in mind. Chibi characters have larger heads and smaller bodies, so make sure the clothing reflects this proportion. It’s best to emphasize the cuteness of chibis by opting for slightly oversized tops or dresses with flared skirts.
- Simplify the details. Since chibis have a simplified and cute appearance, it’s essential to simplify the clothing details as well. Avoid intricate patterns or complex designs. Instead, focus on bold colors and clean lines.
- Play with accessories. Accessories can add a lot of character to chibis. Experiment with hats, scarves, belts, bags, and jewelry to enhance the overall look. Keep in mind that the accessories should complement the outfit without overwhelming the character.
Examples of Clothing Styles
To inspire your creativity, here are some examples of clothing styles that work well with chibis:
| Clothing Style | Description |
|---|---|
| Casual | Comfortable and relaxed outfits such as t-shirts, jeans, shorts, and sneakers. |
| Gothic | Dark and edgy outfits with lace, ruffles, corsets, and platform boots. |
| Kawaii | Cute and colorful outfits with pastel colors, bows, frills, and oversized accessories. |
| Vintage | Classy and elegant outfits inspired by different eras, such as 1950s dresses or Victorian-style gowns. |
| Sporty | Athletic and energetic outfits with sportswear, sneakers, and sweatbands. |
Remember, these are just a few examples. Feel free to mix and match styles or create your own unique fashion statements. Let your imagination run wild and have fun designing fashionable outfits for your chibi characters!
Character Reference to Chibi Style
Transforming an existing character into a chibi version can be an exciting and rewarding artistic endeavor. In this step-by-step tutorial, we will guide you through the process of bringing your character to life in a cute and charming chibi style. By following these techniques and tips, you’ll be able to create a unique chibi representation of any character. Let’s get started!
Sketching
The first step in turning your character into a chibi is to create a rough sketch. Start by simplifying the proportions and exaggerating the head size compared to the body. Use basic shapes to block out the different body parts and ensure a balanced composition. Pay attention to the facial expression and pose to capture the essence of your character in chibi form.
Adding Details
Once you have the basic structure, it’s time to add details to your chibi character. Refine the facial features, such as the eyes, nose, and mouth, keeping them simplified and exaggerated for a cute and expressive look. Pay attention to any unique characteristics that define your character and incorporate them into the chibi design.
Creating Cleaner Outlines
To give your chibi character a polished appearance, clean up the sketch by creating cleaner outlines. Use bold lines to define the contours of the body, head, and facial features. Erase any unnecessary guidelines or overlapping lines to achieve a neat and professional look.
Coloring with Flat Colors
Now it’s time to add color to your chibi character. Start by applying flat colors to different sections of the character, such as the hair, eyes, skin, and clothing. Choose colors that suit your character’s design and personality. Use the bucket tool or a selection tool in your preferred digital drawing software to fill in the colors neatly.
Adding Shadows and Highlights
To add depth and dimension to your chibi character, incorporate shadows and highlights. Determine the light source and imagine where the shadows and highlights would fall on the different body parts. Use a darker shade for shadows and a lighter shade for highlights. Apply these shades strategically to create a three-dimensional effect and make your chibi character pop.
Remember, practice and experimentation are key when transforming a character into chibi style. Don’t be afraid to try different techniques and explore various poses and expressions. Have fun and let your creativity soar!
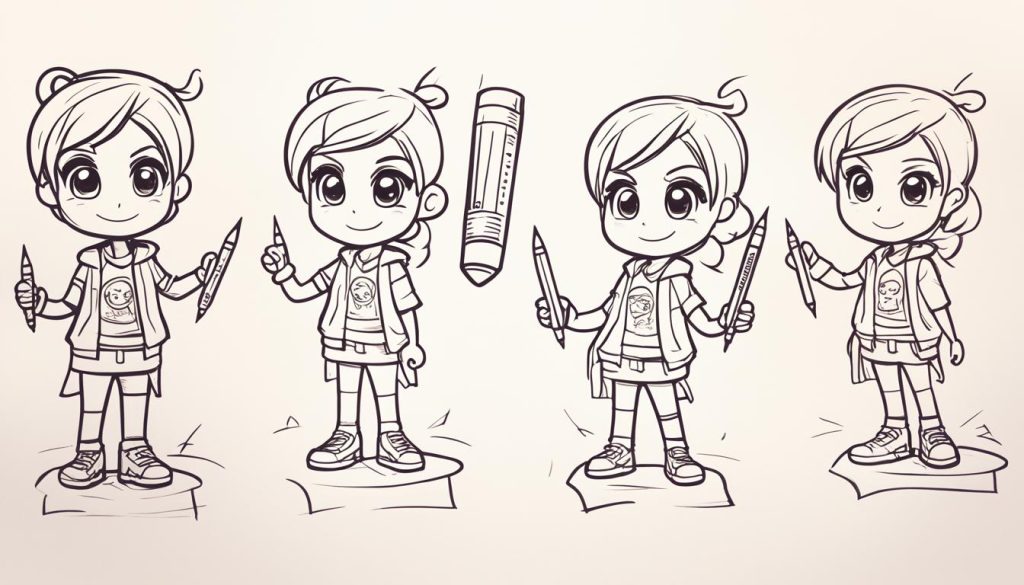
By following this step-by-step guide, you can turn any character into an adorable chibi version. Enjoy the process and unleash your imagination to create charming and unique chibi characters!
Technique and Tips for Acrylic Keychains
Acrylic keychains have become a popular choice for chibi character merchandise. These adorable and marketable keychains allow fans to showcase their favorite chibi characters wherever they go. In this section, we will provide you with essential tips and techniques for creating chibi art suitable for acrylic keychains.
Using Templates
Creating chibi artwork for acrylic keychains can be made easier by using templates. Templates provide a structured framework and help ensure that your artwork fits perfectly within the keychain dimensions. You can find pre-sized acrylic keychain templates online or create your own using graphic design software. By starting with a template, you’ll have a clear idea of the available space for your chibi drawing.
Preparing the Artwork
Before transferring your chibi artwork to the template, it’s important to prepare it properly. Scan or digitally capture your artwork at a high resolution to maintain the quality. Clean up any smudges or imperfections using graphic editing software. Adjust the contrast and brightness to ensure that your chibi characters stand out and look vibrant. Once your artwork is ready, you can proceed to transfer it onto the acrylic keychain template.
Adding White Fill
When designing artwork for acrylic keychains, it’s crucial to consider the transparent nature of the material. To ensure that your chibi characters look their best, add a white fill layer to the background of your artwork. This will prevent the keychain’s transparency from affecting the colors and details of your chibi characters. The white fill will provide a solid background, making your artwork pop and appear more appealing.
Creating the Cut Area
Another important aspect to consider when creating artwork for acrylic keychains is the cut area. The cut area refers to the portion of the artwork that will be removed to create the keychain’s shape. It’s essential to clearly define this area within your artwork using a separate layer or color. By doing so, you can ensure that your chibi characters are positioned correctly within the final keychain product. Make sure to follow the guidelines provided by your keychain manufacturer regarding the cut area specifications.
By following these tips and techniques, you’ll be able to create stunning chibi artwork specifically designed for acrylic keychains. Now, let’s move on to the next section, where we will explore how to personalize your chibi characters and make them truly unique.
Personalizing Chibi Characters
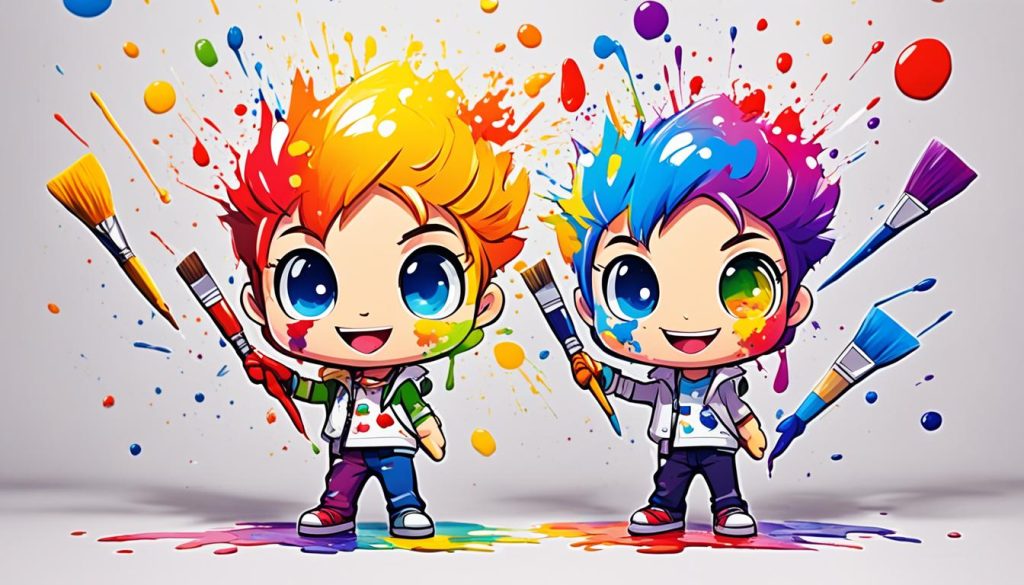
Personalizing chibi characters is an essential aspect of their design. By adding unique features, focusing on balance, and playing with different hairstyles and accessories, you can make your chibi characters stand out and showcase their individuality. Here are three key tips to help you personalize your chibi creations:
- Maximize and Emphasize Unique Features: Take advantage of the chibi style and exaggerate the distinctive features of your characters. Whether it’s their large eyes, cute button nose, or expressive mouth, emphasize these characteristics to enhance their charm and personality. You can also explore other unique attributes, such as freckles, glasses, or clothing details that reflect their individuality.
- Focus on Balance: Achieving balance is crucial in creating visually appealing chibi characters. Pay attention to the proportions of their body, head, and facial features. Ensure that each element complements the others and contributes to their overall harmonious appearance. Experiment with different poses and angles to find the right balance that suits your character’s personality and expression.
- Play with Different Hairstyles and Accessories: Hairstyles and accessories can significantly impact a chibi character’s overall look. Experiment with various hairdos, such as pigtails, buns, or stylish cuts, to reflect their personality or profession. Additionally, accessories like hats, bows, or even a favorite item can add that extra touch of uniqueness to your chibi characters.
By implementing these tips, you can take your chibi characters to the next level, infusing them with their own distinct identities. Let your creativity soar as you personalize your chibis and watch them come to life!

Now, let’s explore how to draw chibi faces and learn some helpful techniques and tricks in the next section.
Tips for Drawing Chibi Faces
Drawing the faces of chibi characters requires attention to detail and technique. Follow these three tips to create charming and expressive chibi faces that capture the essence of these adorable characters.
1. Maintain a Balanced Face-Body Proportion
Chibi characters are known for their larger heads in proportion to their bodies, which contributes to their cuteness. When drawing the face, ensure that it is slightly larger in relation to the body. This balanced proportion will highlight the unique features and capture the signature chibi look.
2. Simplify the Face Parts
Simplicity is key when drawing chibi faces. To achieve the desired effect, simplify the facial features by using basic shapes and minimal details. For example, instead of drawing intricate eyes, use large, round or oval shapes to represent them. Similarly, keep the nose and mouth simple, using simple lines or slight curves to convey expression.
3. Adjust the Location of Facial Features
The placement of facial features plays a significant role in conveying different expressions and moods. To express happiness, place the eyes slightly higher on the face, and curve the mouth upwards into a smile. For a sad or pouting expression, lower the eyes and curve the mouth downwards. Experiment and make subtle adjustments to achieve the desired emotional effect.
“Drawing chibi faces requires a balance of proportion, simplicity, and carefully placed features to capture their charm and expression.”

| Tips for Drawing Chibi Faces | Benefits |
|---|---|
| Maintain a Balanced Face-Body Proportion | Enhances overall chibi character appearance |
| Simplify the Face Parts | Conveys cuteness and emphasizes unique features |
| Adjust the Location of Facial Features | Allows for differentiation of expressions and moods |
Creating Chibi Body Outlines
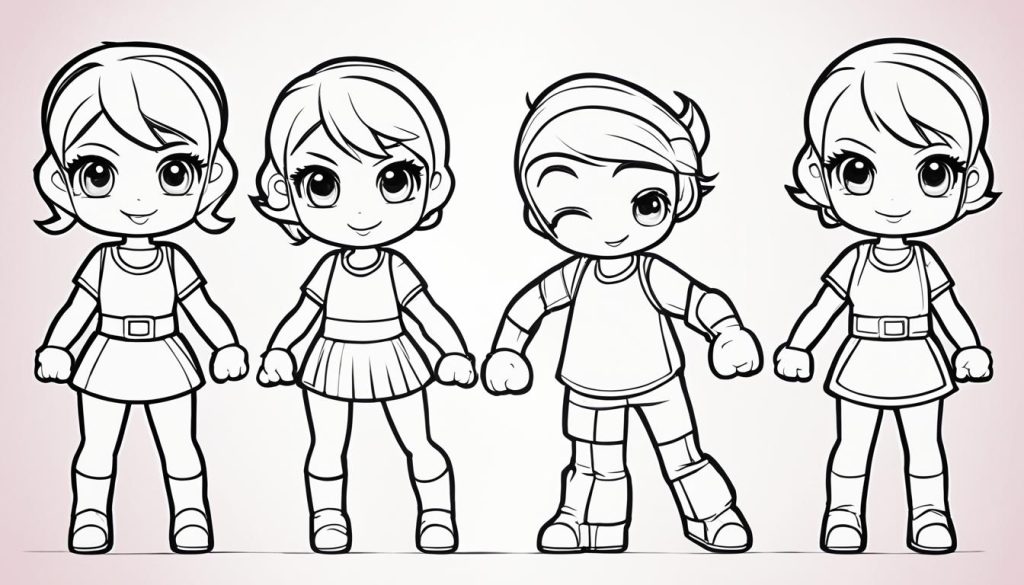
Drawing chibi characters is not just about the head and facial features. The body outlines of chibis also play a crucial role in creating their distinctive and adorable appearance. In this section, we will explore the techniques and basics of chibi body drawing, emphasizing roundness and ignoring the conventional rules of skeletal proportions.
When drawing chibi bodies, it’s important to simplify and stylize the outlines. This means focusing on creating round and curved shapes rather than perfectly proportioned bodies. Chibis are known for their cute and chubby appearance, so don’t be afraid to exaggerate the roundness in their body contours.
Here are a few key tips for creating well-balanced and visually appealing chibi body outlines:
- Start by sketching a simple oval shape for the head, keeping it slightly larger than the body to maintain the chibi aesthetic.
- For the body, create a smaller oval shape that connects smoothly to the head. Remember to emphasize the roundness, making it appear plump and cute.
- The arms can be simplified into curved lines with rounded ends. You can experiment with different arm positions, such as one arm resting on the hips or both arms raised in a playful gesture.
- For the legs, draw two slightly curved lines starting from the bottom of the body. Again, maintain the roundness and avoid adding too many details.
- Finish off the body outline by adding simple rounded shapes for the hands and feet. These can be as simple as circles or ovals with minimal details.
Remember, chibi body proportions can vary depending on the effect you want to achieve. If you want your chibi to appear cuter, you can make the head larger in proportion to the body. On the other hand, if you want your chibi to look more mature or slender, you can adjust the body proportions accordingly.
Now that you have learned the basics of creating chibi body outlines, it’s time to put your skills into practice. Grab your drawing tools and start sketching adorable chibi characters with unique body shapes and proportions!
| Advantages of Simplified Chibi Body Outlines | Disadvantages of Simplified Chibi Body Outlines |
|---|---|
| 1. Quick and easy to draw | 1. Lack of realism compared to more detailed character designs |
| 2. Emphasizes cuteness and charm | 2. Limited range of body poses and movements |
| 3. Allows for creative variation and personal style | 3. May require additional practice to achieve consistent results |
Conclusion
Drawing chibi characters is a fun and rewarding artistic endeavor. By following the tutorials and tips provided in this article, you will be able to create your own unique chibi illustrations. Remember to experiment with different styles, expressions, poses, and clothing to bring out the individuality and charm of your chibi characters. Have fun exploring the world of chibi art!
Chibi art allows you to unleash your creativity and imagination. With a few simple techniques and practice, you can master the art of drawing chibis. Start by familiarizing yourself with the basic anatomy of chibi characters, including the shapes of their heads, bodies, arms, hands, legs, and feet. Once you have a solid foundation, you can move on to adding head details, facial expressions, poses, and clothing that reflect the personality of your chibi characters.
Don’t be afraid to try different styles and experiment with various elements to make each of your chibi illustrations truly unique. Whether you prefer cute and cuddly chibis or bold and expressive ones, there’s no limit to what you can create. Let your imagination run wild and have fun bringing your chibi characters to life on the page.
So grab your pencils, markers, or digital drawing tools and embark on an exciting chibi drawing adventure. With patience, practice, and a touch of personal flair, you’ll be able to create chibi illustrations that will make you proud. Let your artistic journey begin and immerse yourself in the wonderful world of chibi art!
