How to Draw Braids – Drawing Turorials and Coloring Tips
Are you tired of struggling to draw realistic braids? Do you want to learn the secrets to creating intricate braid patterns that will impress anyone who sees your artwork? Look no further! In this tutorial, we will guide you step by step on how to draw braids with ease. From creating the perfect outline to adding shadows and final details, we’ve got you covered. Get ready to take your drawing skills to the next level!
Key Takeaways
- Master the art of drawing braids with step-by-step tutorials.
- Learn how to create realistic braid patterns and add intricate details.
- Discover tips and techniques for shading and coloring braids.
- Unlock the versatility of different braid styles and variations.
- Get creative and experiment with various colors and designs to enhance your drawings.
Step 1 – Creating an Outline
In this first step of our tutorial, we’ll guide you through the process of creating the outline of a braid. This foundational step sets the stage for the realistic depiction of braids in your drawing. To begin, gather your materials, including two vertical 2H pencil lines and a straight middle line.
Note: The purpose of creating an outline is to establish the structure and shape of the braid before adding intricate details and shading.
Here’s how to create the outline:
- Using a 2H pencil, draw two vertical lines parallel to each other. These lines will serve as the boundaries of the braid. The distance between the lines should be wider at the top and gradually taper towards the bottom, mimicking the natural tapering of a braid.
- Next, draw a straight line in the middle of the two boundary lines. This line represents the central guideline that helps maintain symmetry and directionality.
Note: The image illustrates the process of creating the outline for a braid.
By using a 2H pencil for the outline, you ensure that it will become faint and nearly invisible as you progress with shading and rendering the braid. This allows your drawing to focus on the intricate details and textures while maintaining a realistic appearance. Remember to keep your lines light and gentle, as the outline is the groundwork for the subsequent steps.
“The outline sets the stage for intricate detailing, creating a strong foundation for your braid drawing.”
| Step 1 – Creating an Outline | Materials | Techniques |
|---|---|---|
| Use two vertical 2H pencil lines as boundaries | 2H pencil | Creating tapering effect |
| Add a straight line in the middle for guidance | Paper | Maintaining symmetry |
| Working surface |
Step 2 – Drawing the Braid Pattern
In this step, we will focus on drawing the intricate pattern of the braid within the outlined shape. Mastering this technique will help bring your drawing to life with stunning detail and realism.
To begin, it is recommended to use zigzag lines within the spaces of the outline. Start with the left side of the braid and follow the natural flow of the hair. The zigzag lines should be drawn in a continuous manner, ensuring that the curved ends of each zigzag line touch the corners of the guideline in the middle. This interlocking wave pattern creates the illusion of a tightly woven braid.
Using a steady hand and a light stroke, carefully draw each zigzag line, focusing on maintaining consistent spacing and curvature. Pay attention to the positioning of the zigzag lines, as they should align with the overall shape of the braid.
Once you have completed the pattern on one side, repeat the process on the other side of the braid. Alternate the zigzag lines at the corners to maintain the flow and symmetry of the braid. This attention to detail will give your drawing a more authentic look.
Remember to take your time and practice this technique to refine your skills. Stay patient and keep experimenting with different variations of the pattern to create unique braid designs.
Now, let’s take a moment to appreciate the skill and artistry involved in drawing braids. Take a look at the image below to see a beautiful example of a braid pattern.

| Zigzag Lines | Interlocking Wave Pattern |
|---|---|
| Start with the left side | The curved ends touch the corners of the guideline |
| Follow the flow of the hair | Create a tightly woven braid |
| Draw zigzag lines with consistent spacing | Repeat on the other side, alternating at corners |
Step 3 – Adding Detail to the Braid
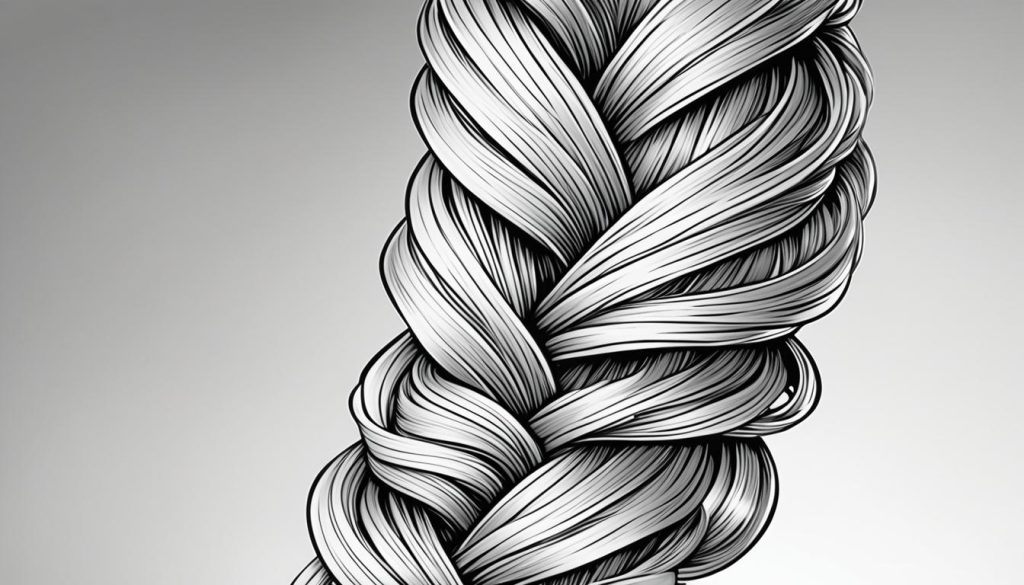
Now that you have completed the braid pattern, it’s time to add those small details that will bring your drawing to life. These details play a significant role in creating a realistic look for your braid.
One of the key techniques to add depth to your braid is using different shades of pencils. Start by using a darker shade along the edges of the braid, gradually transitioning to a lighter shade towards the middle part. This variation in shading creates a sense of volume and dimension to the hair.
Next, focus on the top of the braid where the hair roots are visible. Use a 2B pencil to carefully draw root hairs, paying attention to the direction of the strands. This detail adds authenticity to your drawing and makes it appear more natural.
Remember, every braid is unique, so don’t be afraid to experiment with different shading techniques and pencil shades. By varying the shades and textures, you can depict a wide range of hair colors and styles in your drawings.
| Detail | Technique |
|---|---|
| Use different pencil shades | Dark shade for edges, lighter shade for middle |
| Draw root hairs | Use a 2B pencil for a natural look |
| Vary shading techniques | Create diverse hair colors and textures |
Step 4 – Adding Shadows
To bring your braid drawing to life, it’s essential to add shadows that create a three-dimensional effect. By considering the direction of light, you can achieve realistic shading. Start by using a lighter shade to gently shade the edges of the braid, giving them a subtle highlight. For the shadowed areas of the braid, use a slightly darker shade to achieve depth. Remember to keep the contours of the braid lighter, as they would receive more direct light.
Additionally, you can enhance the realism of your braid drawing by adding a tuft of hair at the tip of the braid. This detail adds texture and completes the overall look. Don’t forget to include a hair tie at the base of the braid for that natural finishing touch, making it appear more authentic.
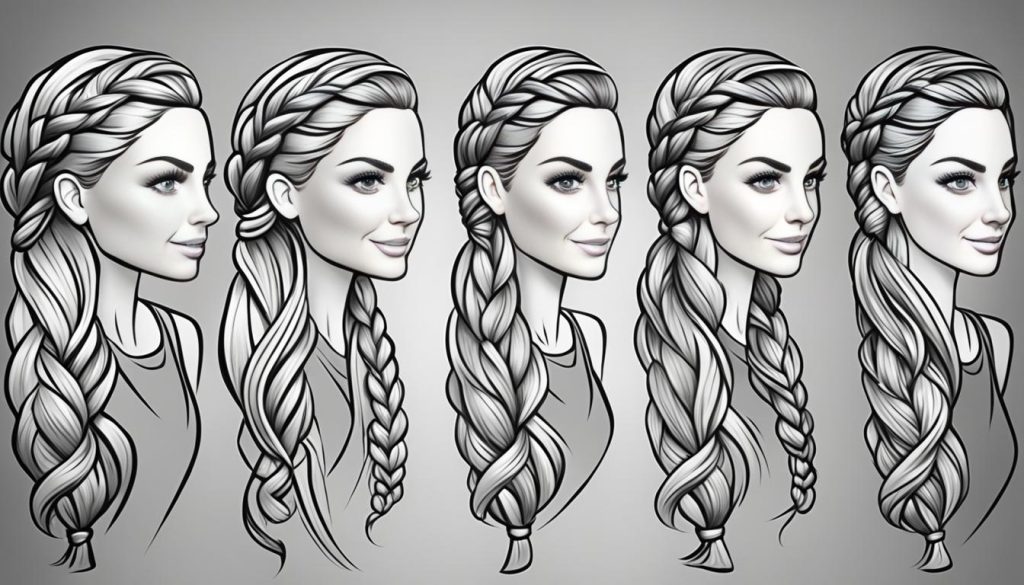
Continue refining your braid drawing by following the other steps in this tutorial. With each step, your braid will become more intricate and lifelike.
Step 5 – Adding Loose Hairs and Final Details
In this step of the tutorial, we’ll focus on adding loose hairs and final details to bring your braid drawing to life. By incorporating these small elements, you’ll achieve a more natural and realistic look. Let’s dive in!
Adding Loose Hairs
To create a more organic appearance, it’s important to include loose hairs throughout your drawing. Using a lighter pencil shade, gently sketch these hairs around the braid. The density of loose hairs can be increased near the hair tie, where strands are more likely to escape.
Tip: Pay attention to the direction of the hair strands and vary their thickness and height to mimic real hair movement.”
By focusing on these details, you’ll elevate the authenticity of your drawing and make the braid look even more realistic. Take your time and experiment with different hair lengths and angles to achieve the desired effect.
Final Details
With the loose hairs in place, it’s time to add those final touches that will enhance the overall realism of your braid drawing. Consider the following aspects:
- Refine the shading on the individual strands, adjusting for light and shadow based on your chosen light source.
- Emphasize the texture of the hair by lightly sketching in subtle highlights where the light hits the strands.
- Add any additional small details, such as wispy flyaways or strands of hair framing the face, to further enhance the natural look.
Remember, the devil is in the details, so take your time and pay attention to these final touches. They can make a significant difference in the overall quality of your braid drawing.
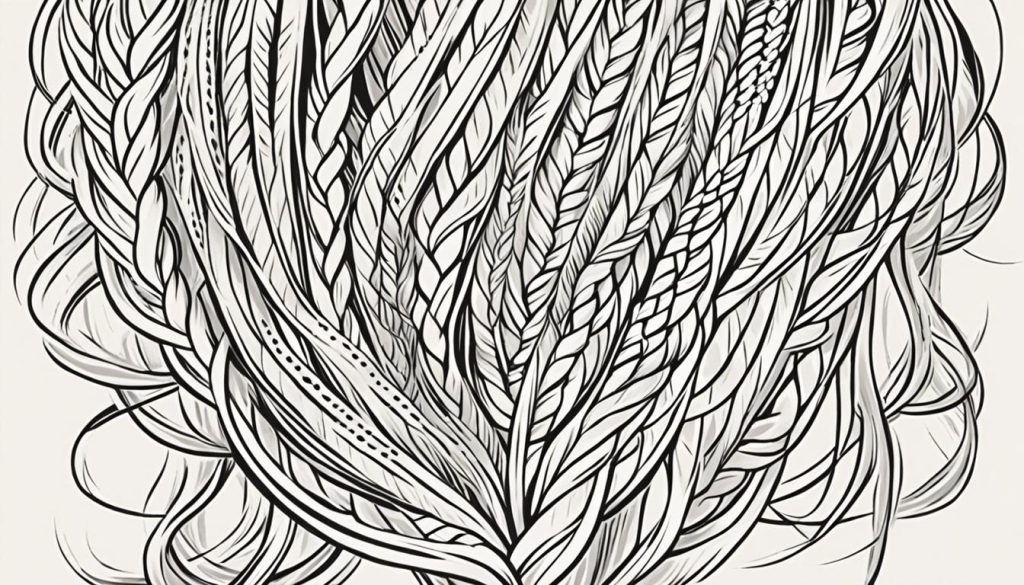
Now that you’ve mastered the art of adding loose hairs and final details, your braid drawing is nearly complete. In the final section of the tutorial, we’ll explore tips and techniques for coloring braids, giving your drawing even more depth and dimension.
Tips for Coloring Braids
Coloring braids in a drawing requires careful consideration of shading and contrast. Here are some tips to help you achieve beautiful and realistic results:
- Varying Pencil Shades: Utilize different pencil shades to create contrast and color intensity in the braids. For silver or gray hair, an HB pencil can be used, while a 2B pencil is ideal for darker-colored hair.
- Consider the Light Source: Keep in mind the direction of the light source when coloring the braids. To achieve a more authentic look, shade the interlocks darker than the contours to create depth and dimension in the drawing.
- Blending Techniques: Experiment with blending different pencil shades, such as 2H and HB, to create the perfect shade of gray for gray hair. Blending can help achieve a smoother transition and add realism to the drawing.
Remember, practice is key when it comes to coloring braids. Don’t be afraid to try different techniques and pencil shades to achieve the desired effect. Now let’s take a closer look at the step-by-step process of drawing braids and see how these coloring tips can be applied.
| Tips for Coloring Braids |
|---|
| Varying Pencil Shades |
| Consider the Light Source |
| Blending Techniques |
Different Braid Styles and Variations
Now that you’ve learned the techniques for drawing realistic braids, let’s explore the world of different braid styles and variations. While the tutorial focused on the french braid, there are many other braids that you can try out. These variations allow you to showcase your creativity and experiment with unique shapes and designs.
Dutch Braid
The dutch braid is a stylish and versatile braid that looks stunning in drawings. It involves weaving the hair under instead of over, creating a beautiful three-dimensional effect. The dutch braid is perfect for adding depth and texture to your braided hairstyles.
Milkmaid Braids
If you’re looking for a romantic and feminine hairstyle, the milkmaid braids are a great choice. This style involves braiding two sections of hair and wearing them as a crown around the head. The milkmaid braids give a lovely ethereal touch to your drawings and can be adorned with flowers or ribbons for a whimsical look.
Halo Braids
The halo braid is a stunning hairstyle that encircles the head like a halo. It is created by braiding the hair in a circular pattern, starting from one side and working your way around. The halo braid adds elegance and sophistication to your drawings, making the character look like a goddess or royalty.
Remember, these are just a few examples of the many braid styles and variations you can explore. Feel free to mix and match different braid techniques to create your own unique hairstyles. The possibilities are endless, and each braid style can add a distinct touch to your drawings, showcasing your artistic flair.
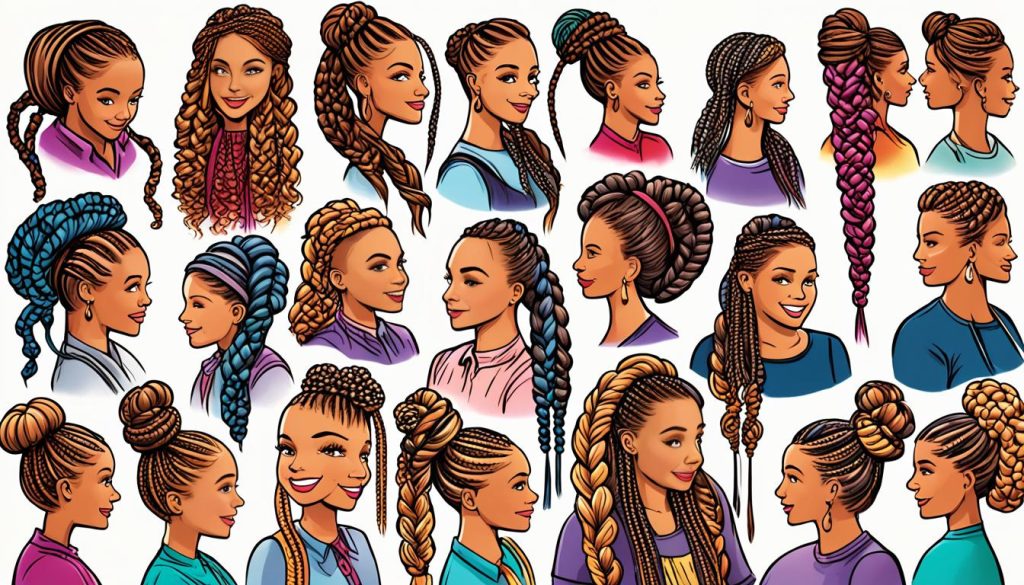
So go ahead, experiment with different braid styles and variations, and let your imagination run wild. Whether it’s a classic french braid, a trendy dutch braid, or a whimsical milkmaid braid, braided hairstyles can add charm and character to your drawings.
Conclusion
Congratulations on completing the tutorial on how to draw braids! This article has provided step-by-step instructions for drawing realistic braids, along with tips for adding detail and shading. By practicing these techniques, you can master the art of drawing braids and apply them to various braid styles and variations.
Don’t be afraid to get creative and experiment with different colors and designs. The versatility of the techniques learned in this tutorial allows for endless possibilities. Whether you want to draw a classic French braid or try out trendy braided hairstyles like the Dutch braid or milkmaid braid, you now have the skills to bring your ideas to life.
Remember, drawing braids takes practice and patience. Each stroke of the pencil brings you closer to creating stunning, lifelike braids. So keep practicing, refining your skills, and soon you’ll be able to draw braids with confidence and expertise. Enjoy the process and have fun exploring the world of braided hairstyles in your art!


